It’s not every day that your little sister gets married. Our summer was largely structured around the joy of getting to go down south for nearly two months, to see our families and be a part of Leah’s wedding. Now that I’m kinda into quilting a little (haha), this was also the perfect excuse to make my first-ever queen sized quilt.
First, the fabric. I’m really glad I asked what colors they would like, because I was expecting them to want something neutral. I was so wrong! She asked for red and turquoise, her husband and her favorite colors, respectively. That left me scratching my head a little, but I was in luck. Connecting Threads (where I have bought all my fabric so far because I can get free shipping even to my remote location, though I hope to also support some local quilt shops) had a brand-new fabric collection called Grand Versailles which was just right. So if you’re impressed with my color choices, that’s because all the work was already done for me!
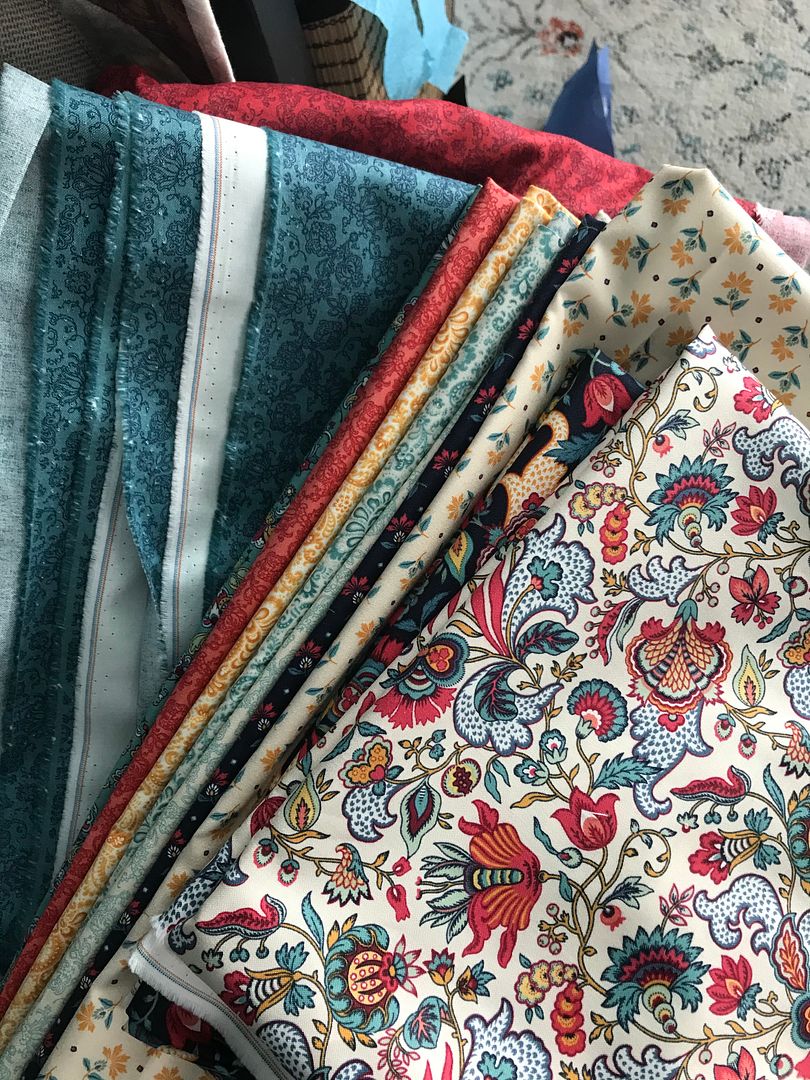
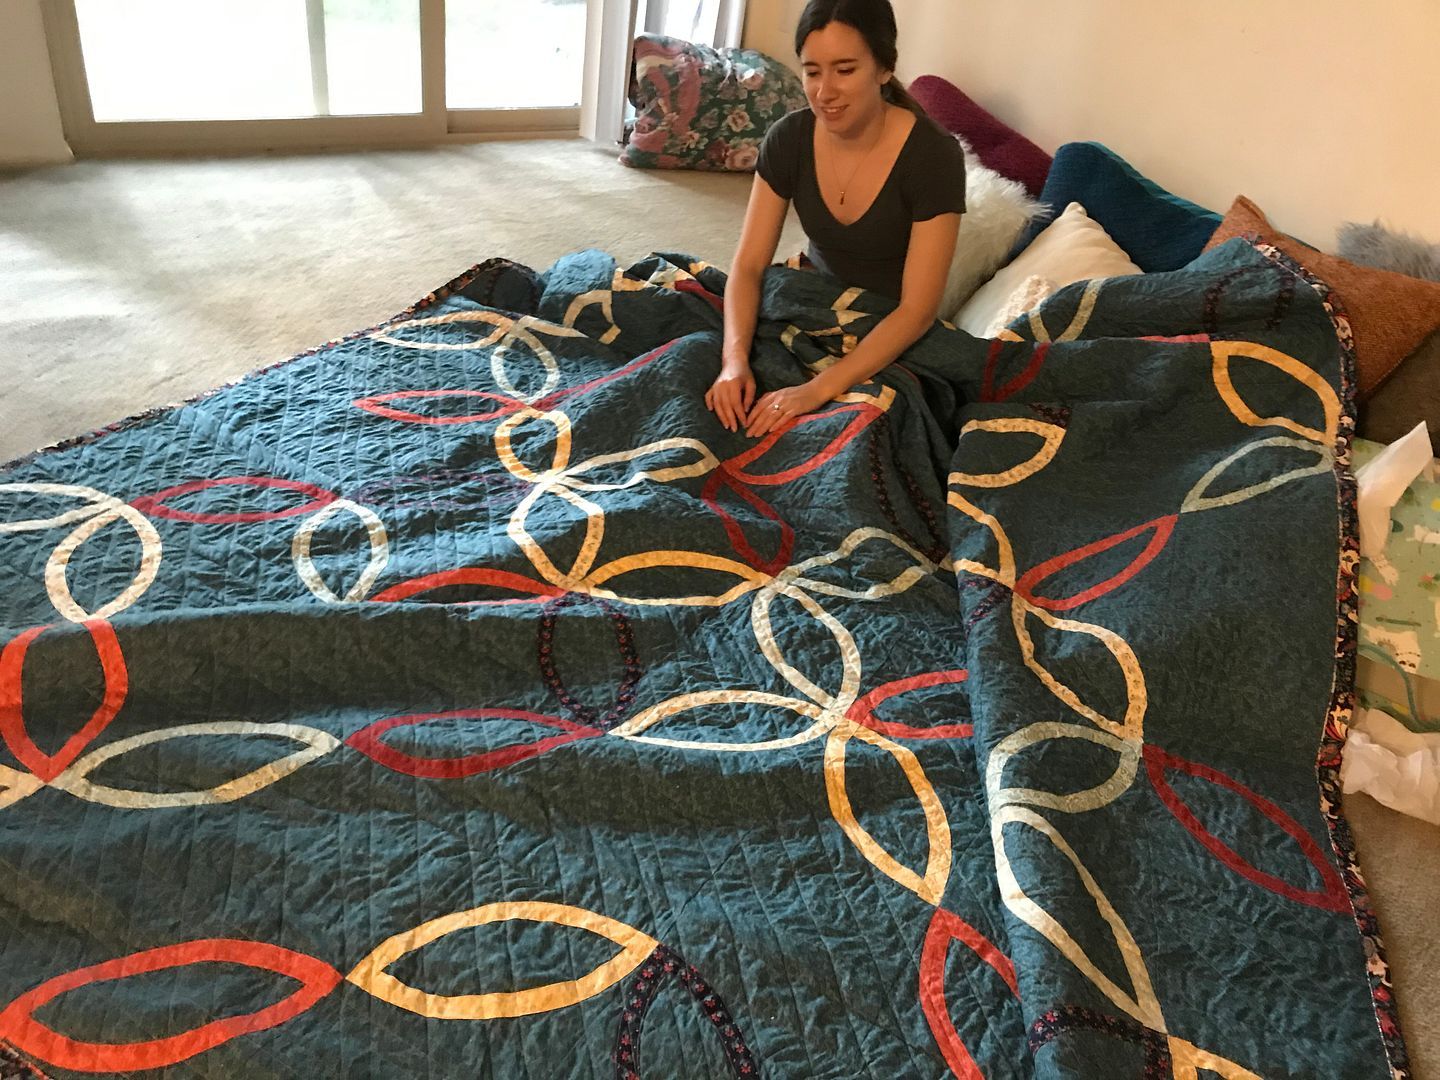
Here are about twenty-nine yards of fabric, pictured atop the beautiful quilt that Jared and I received for our wedding, made by my mother-in-law Erika. It’s a traditional log cabin design that we have enjoyed for thirteen years.
Next, the pattern. It’s called the “Modern Wedding Ring Quilt,” and you’ll see why in a minute. I gotta stop a minute give some props to Latifah Saafir. I made this whole quilt following her Craftsy class, “Modern Quilts with Bias Tape Applique.” Latifah is a truly impressive modern quilt artist, who not only designed this quilt, but invented the bias tape applique technique. She’s doing really cool stuff now with clamshell shapes, and she has a “Quilt Cadets” line of projects for kids which I have my eye on. If you like this, I definitely encourage you to check out her work!
_IMG_7732.JPG)
Having received all that beautiful fabric in the mail, the next step was to cut it all up. Following Latifah’s super-efficient technique, I took all the contrast colors (one yard each) and a yard each of the main colors, and cut them into bias strips.

Next step was to sew these strips all together diagonally and trim the seams.

This huge pile of ribbons was then transformed into bias tape, with the help of an iron and a tiny tool called a bias tape maker. This little object is so simple! But let me tell you, I don’t think I’ll be buying any more bias tape any time soon.

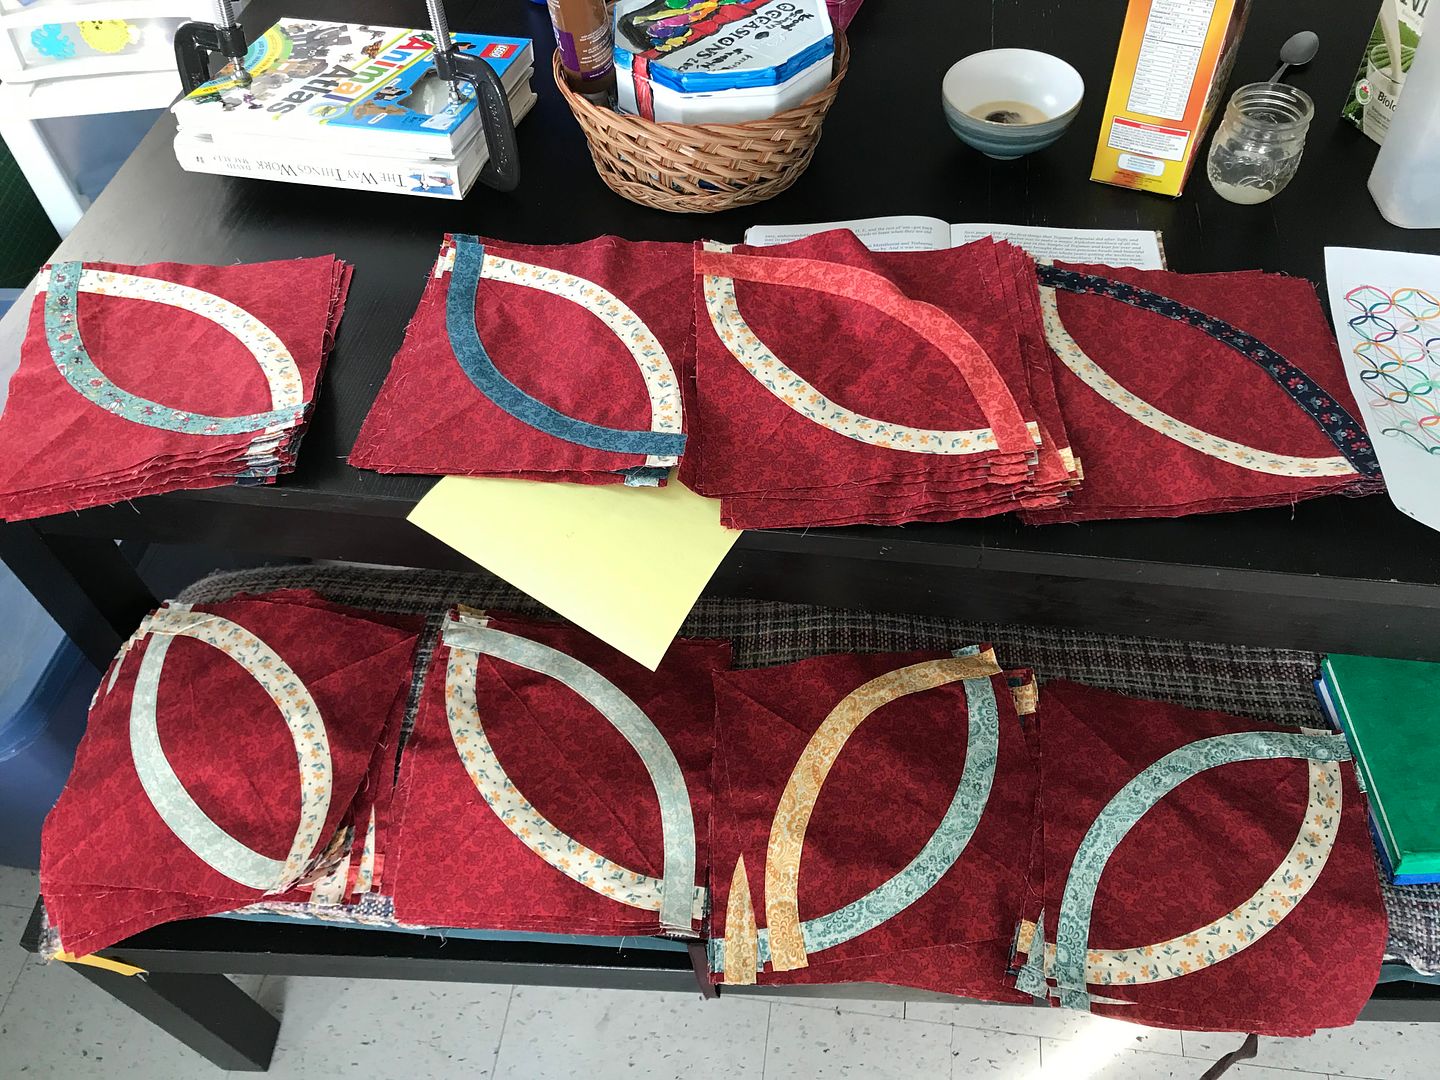
Several pounds of bias tape later, I was ready to start making some blocks.

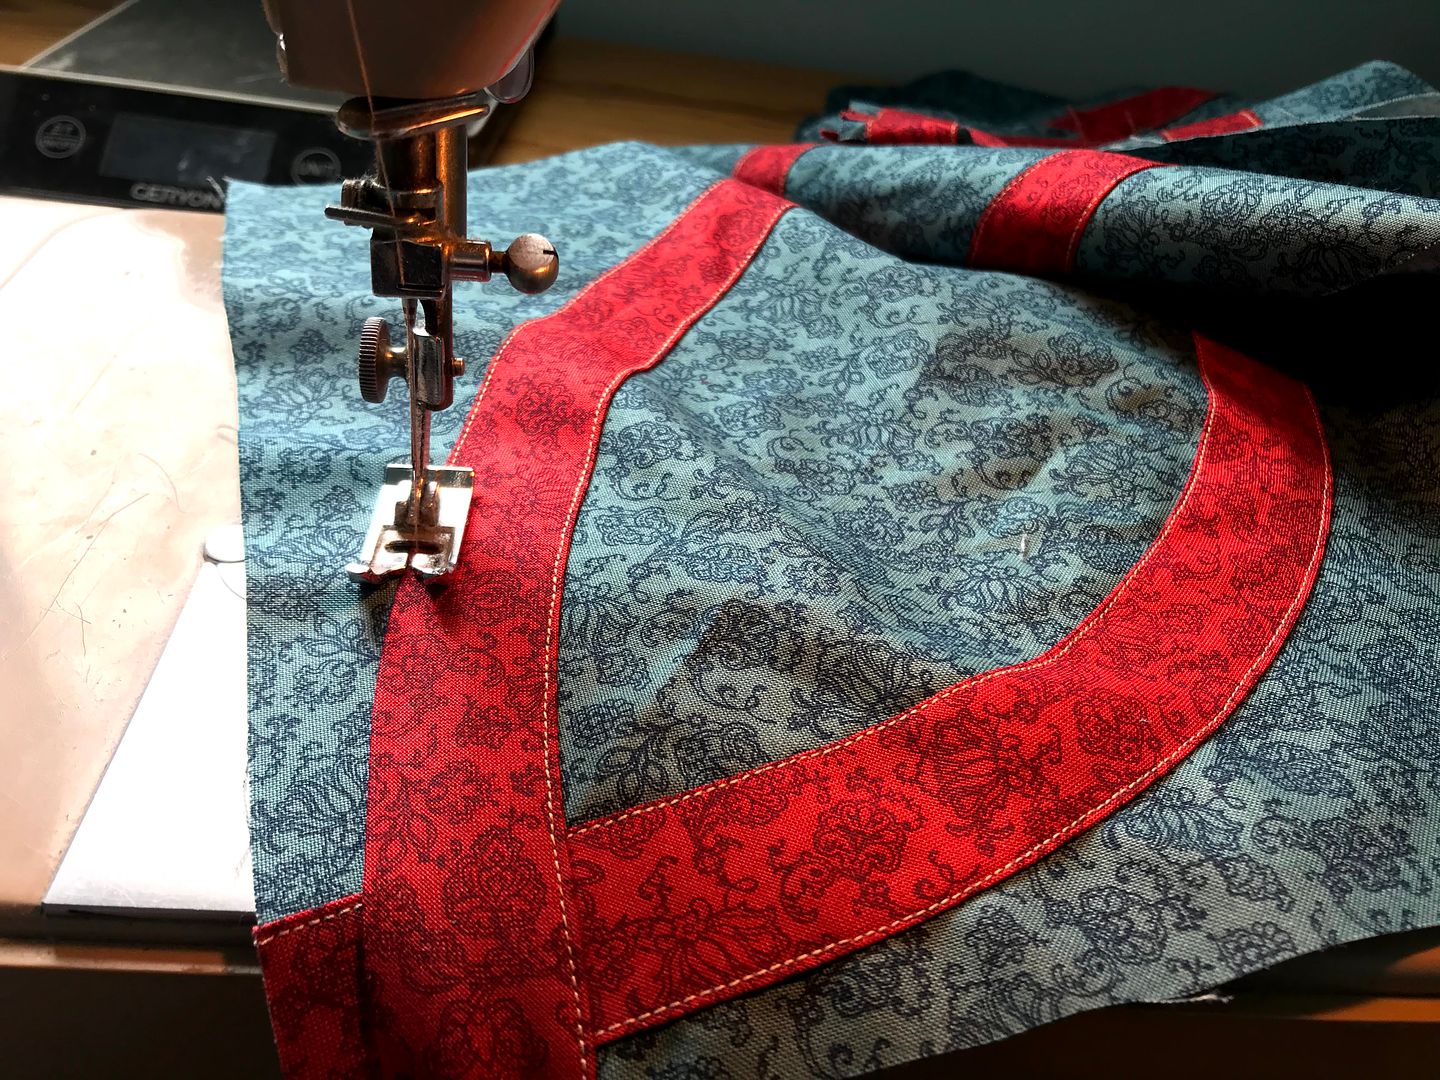
Latifah’s technique is a simple and effective way of making curved shapes which is way easier than doing a bunch of curved piecing. You draw the shape you want on your blocks, in this case using a template. Then you just top stitch the bias tape directly on, centering the tape on the line. Inside edge first.

Please note that I had forgotten at this point that I was supposed to use a zipper foot for the applique. I did switch to a zipper foot later, and it made lining up the stitches on the edge of the tape way easier.
You start by sewing down the inside of the curve, then you iron the tape flat. Because bias tape has a bunch of natural stretch, it flattens easily under the iron. Then sewing the outside edge is breeze.
I added my own bit of efficiency to this process with some assembly line sewing. For each color, I would sew all the inner lines on one strip, connecting several squares by one piece of bias tape. I’d iron them all, then sew the other side. Then I cut them apart, and did the same with the other half of the shape. After trimming the excess bias tape, I’d have a tidy pile of squares.

Out of 110 total squares, 74 were appliqued. But because of the techniques above, the applique process only took a few days.

I laid out the squares according to the pattern and sewed them all into a quilt top. Latifah had included diagrams for several sizes of quilt, and I just followed it, arranging the colors in as balanced a way as I could.
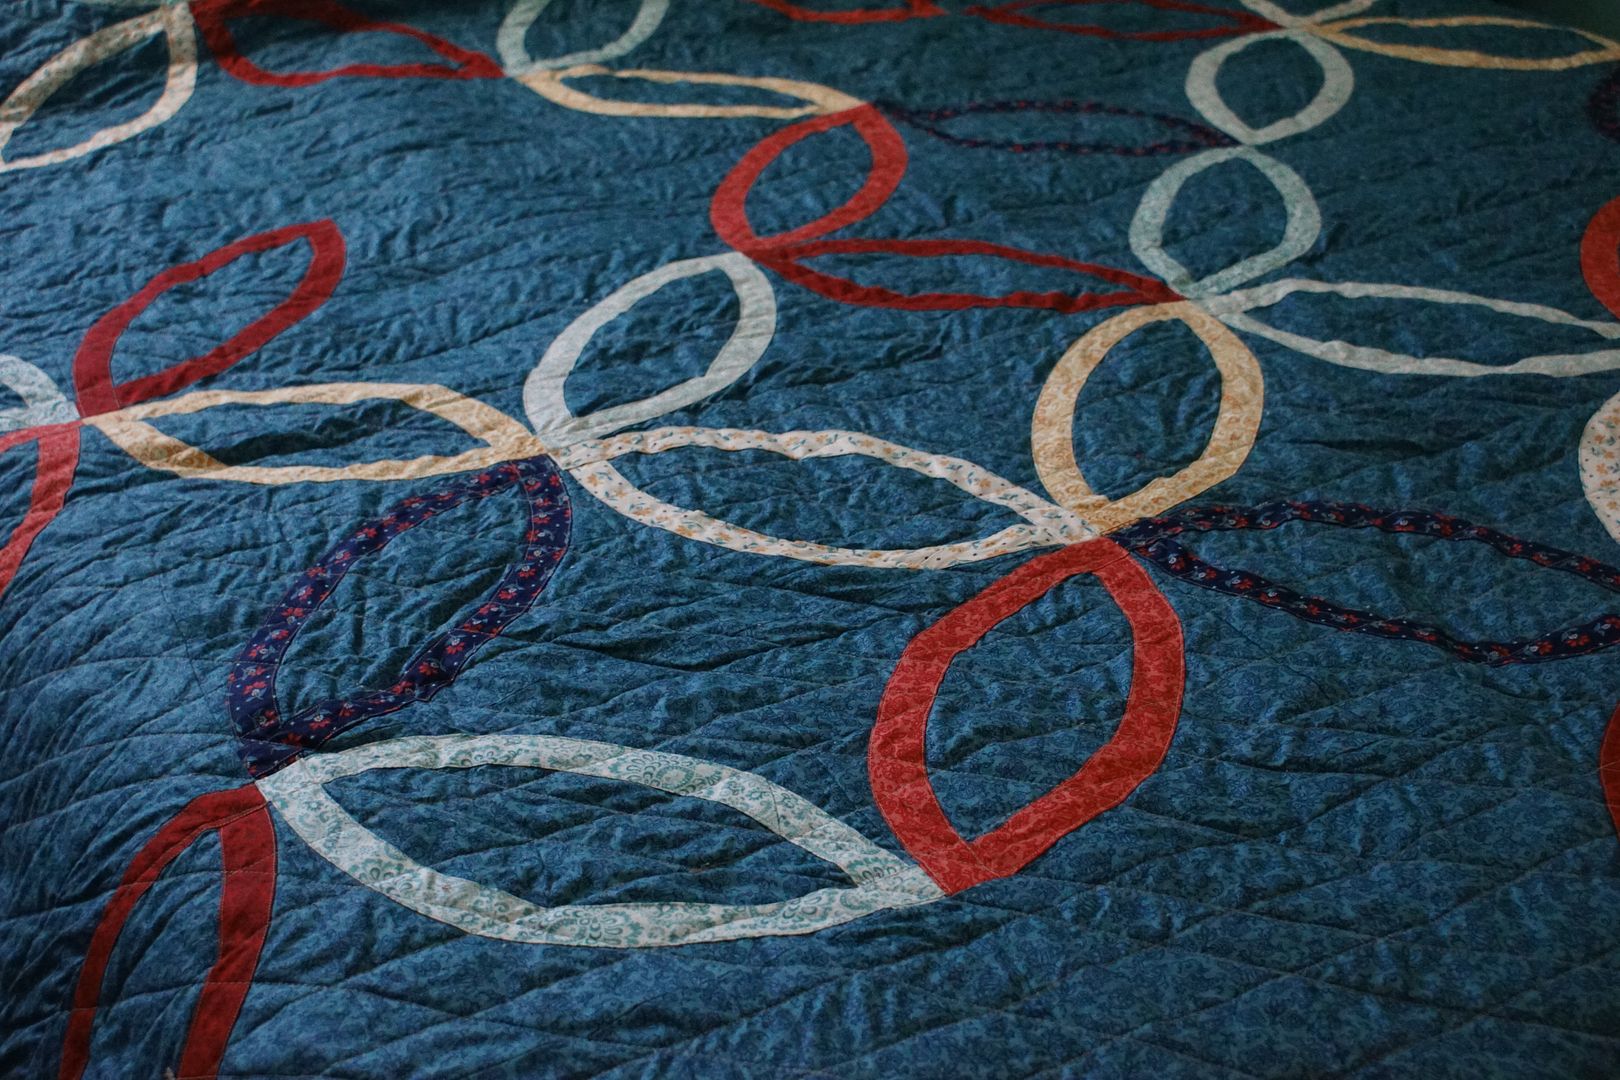
Now, this is an exploded, modern take on the double wedding ring pattern. I had so much fun making the top that I decided to make a full-on, traditional arrangement of double wedding rings for the other side. After all, why make something simple when you can make it twice as complicated?
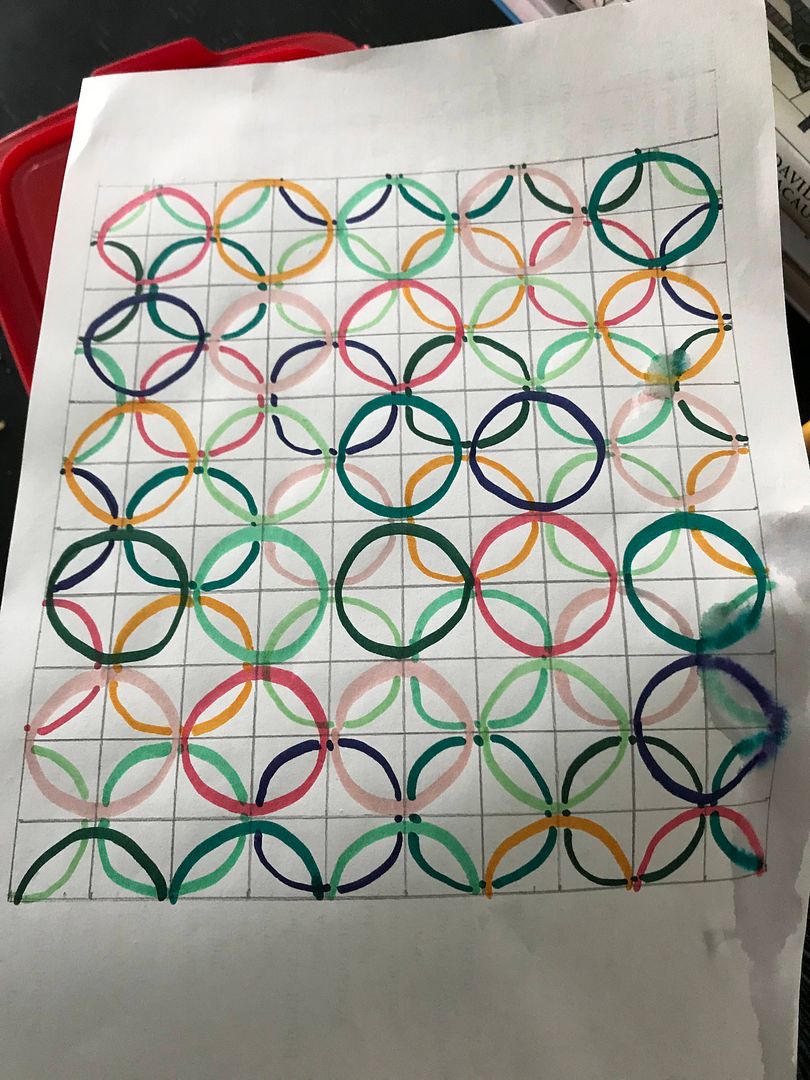
After weighing my bias tape to be sure I had enough, I planned out my arrangement of rings. I then used this diagram to figure out exactly how many squares would have each color as a bottom strip color. I did all 110 squares worth of “bottom” strips, then I sorted them into piles according to which top strip color they would get.
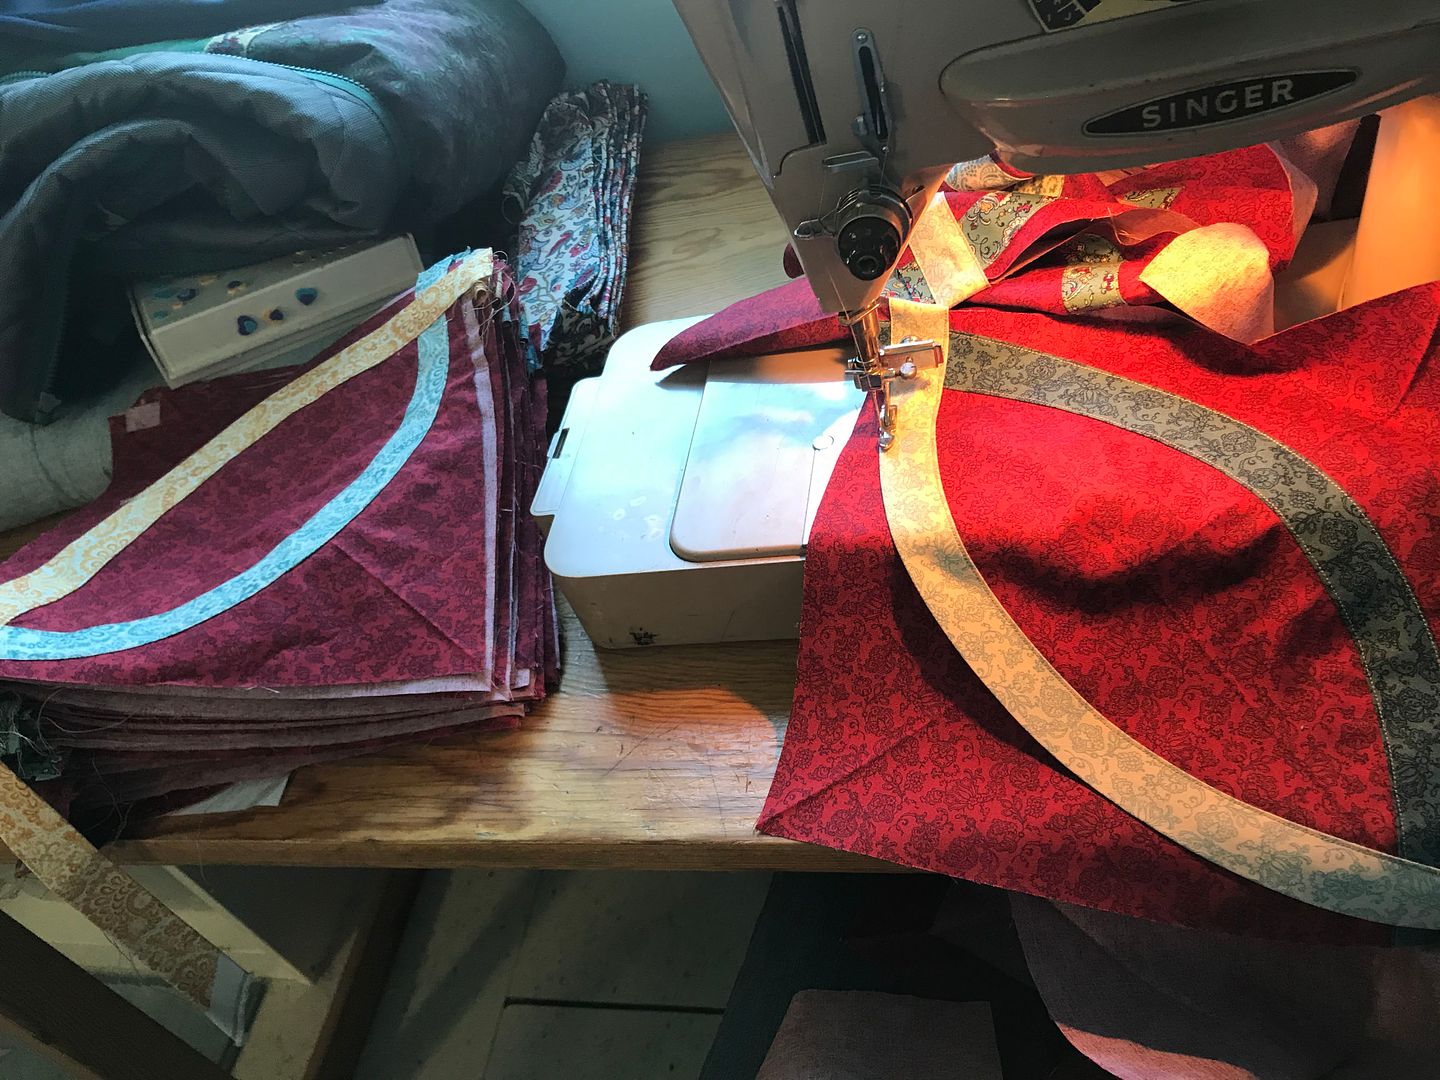
Again, this made the process super fast and fun, taking only a few days. Efficiency is empowering! It’s one of the things I enjoy so much about quilting.
Then it was just a matter of laying the squares out according to my diagram, and sewing them together.

Once the two quilt tops were together, next came the basting process. I appropriated the floor of the church, which after mopping and drying, made a large enough surface to tape and pin a queen-sized quilt.
This was very touchy. Normally, you make a plain-ish backing for your quilt that is a good six inches larger than your quilt top all around, so you have some margin for error in basting your quilt. Making a quilt back that is essentially another quilt top, and is exactly the same size as the front, means you have to center the top and bottom pretty much perfectly to avoid cutting off some edges in assembly.
I anticipated this, but I did not anticipate that the appliqued squares had a bit of draw-in to them diagonally. This meant that the teal side, which has several non-patterned squares, was actually a little larger all over than the red, all-over patterned side. In the end, I just had to do my best and call it good enough.
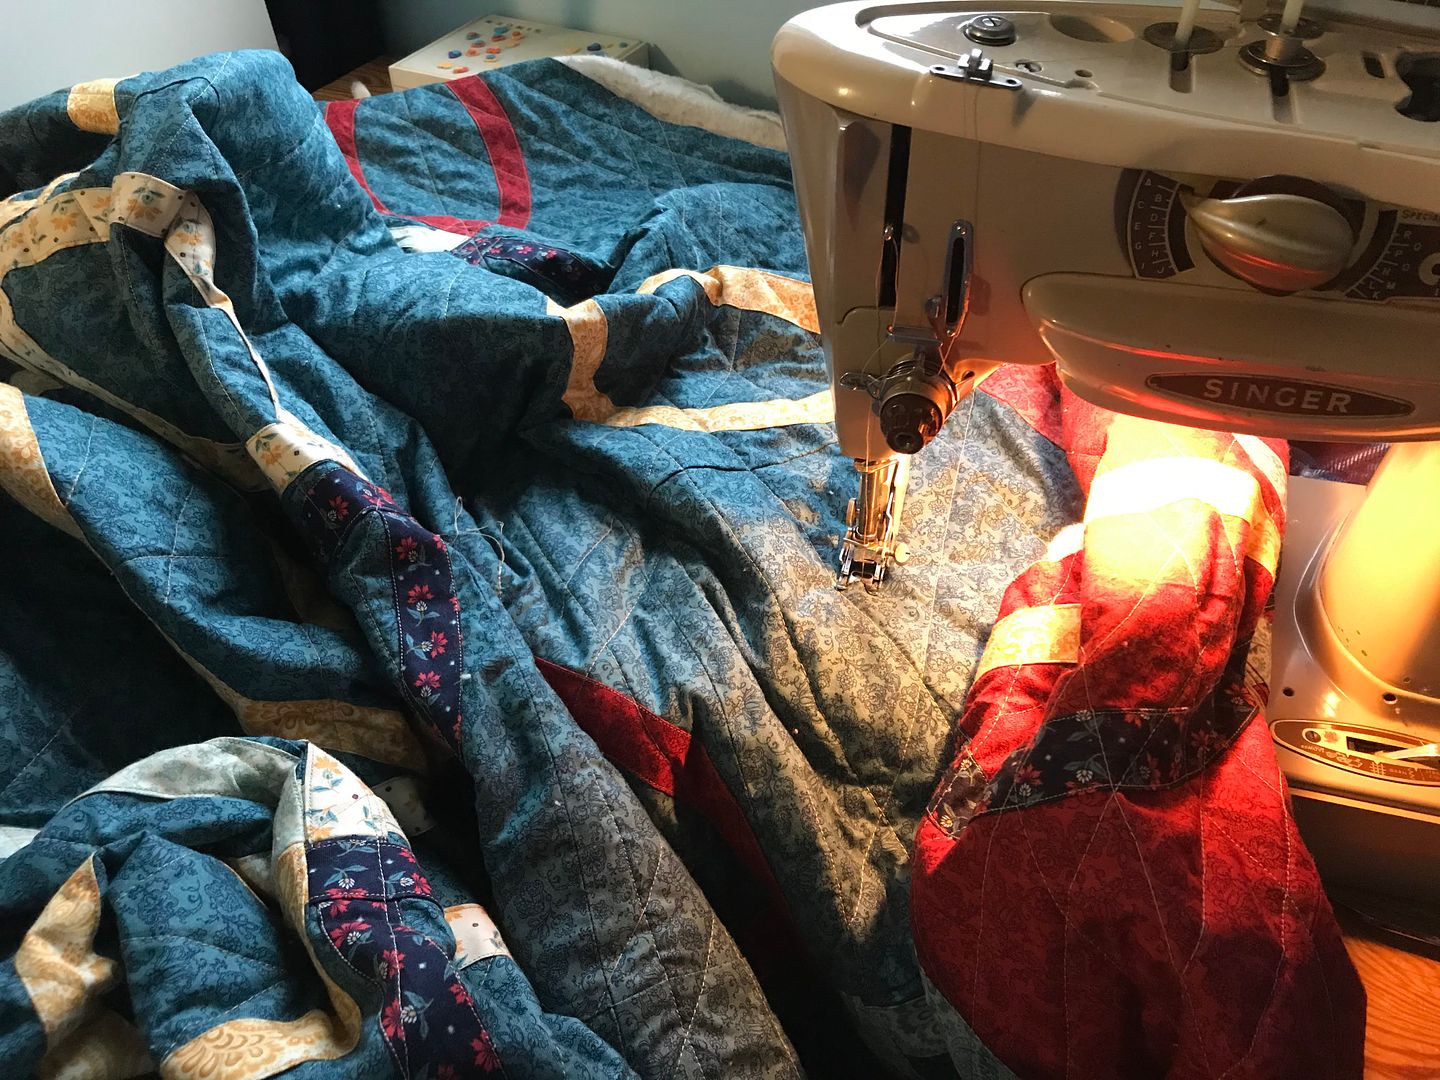
For quilting, I again followed Latifah’s pattern. I made all-over straight horizontal lines, intentionally a bit irregularly spaced, then made diagonal all-over straight lines. Wrestling a queen sized quilt through a standard machine hundreds of times is intense work. I didn’t really put enough basting pins, so there are definitely some puckers. But this was a case of “done is good enough.”
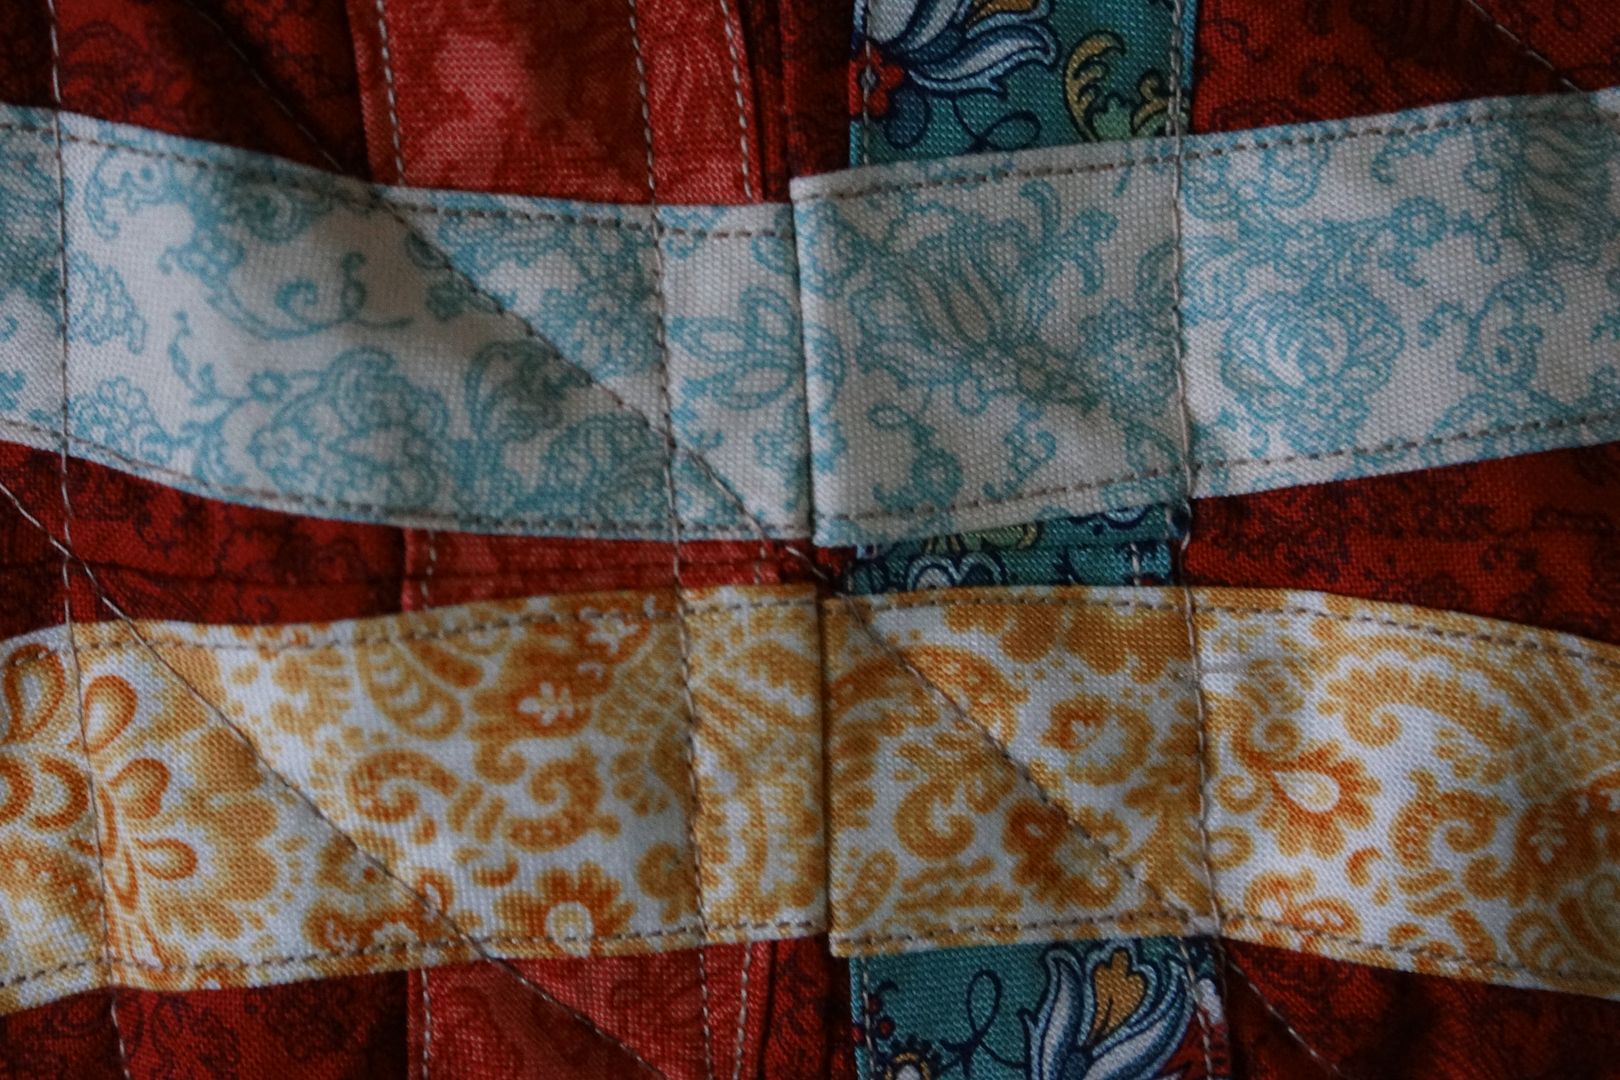
The one downside of this otherwise awesome pattern is that it made for some areas of the quilt top with a lot of layers of fabric. This became an issue where four corners of the appliqued shapes came together. Where the strips cross each other, that’s five layers of fabric. Where two bias tape pieces are joined in a seam, that’s six. That means that when you’re trying to iron those seams flat, that’s twelve layers of fabric!
This was actually fine for putting the quilt tops together, but became an issue in the quilting. I did make sure the top and bottom were oriented such that where there was a thick spot on one side, there was no thick spot at the other. But when my machine was trying to quilt through those areas, I got a lot of skipped stitches. Maybe a $3,000 Janome machine could handle it, but my vintage beauty could not! It took enough patience and convincing to get my machine to handle all this quilting at all; this was the best I could get for the thick spots.

That meant that when the quilting was done, I had to go back and fix all these spots by hand. This took several hours. I just took a needle and thread and faked it, catching the floating thread on both sides. Above you see what it looked like before a fix, and below is after.
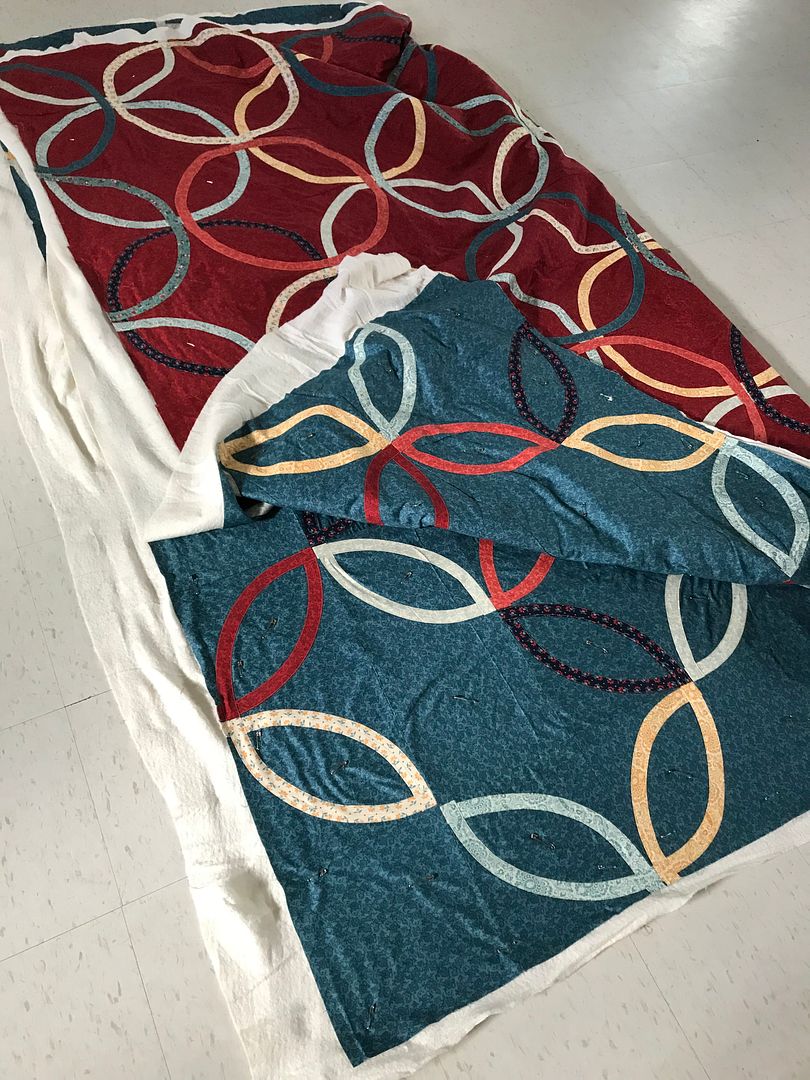
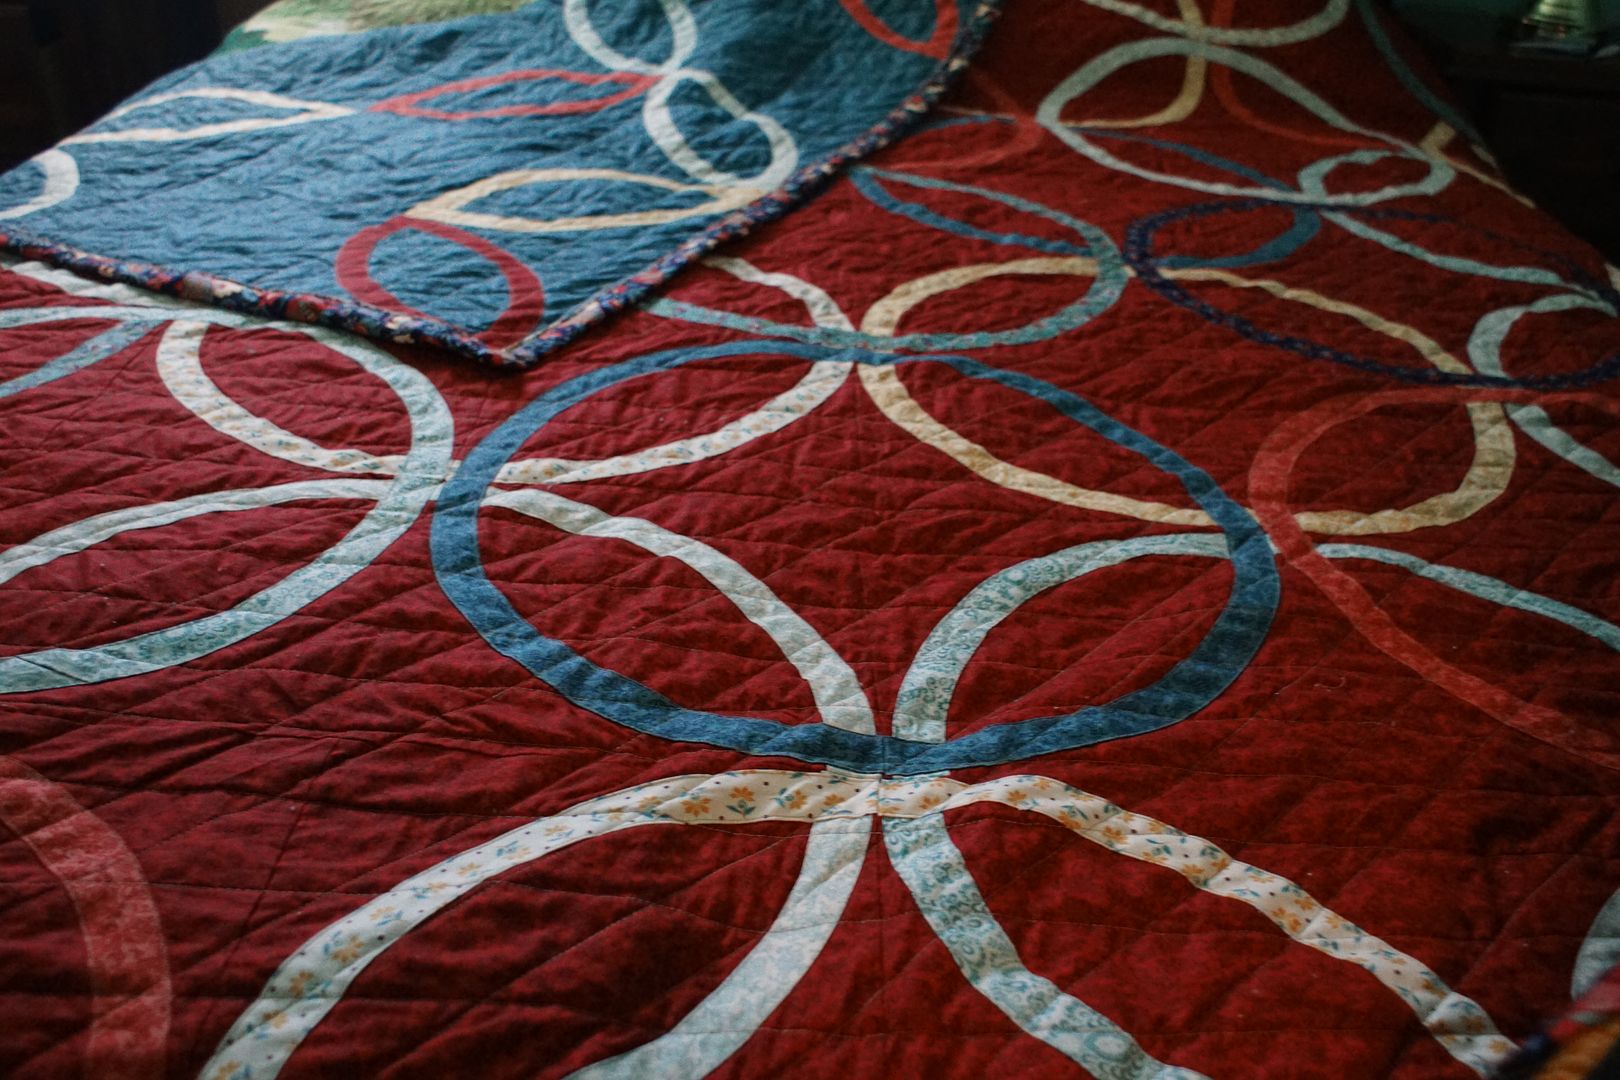
And so, with a few days to spare before we got on a plane, the double-sided modern wedding ring quilt was complete!
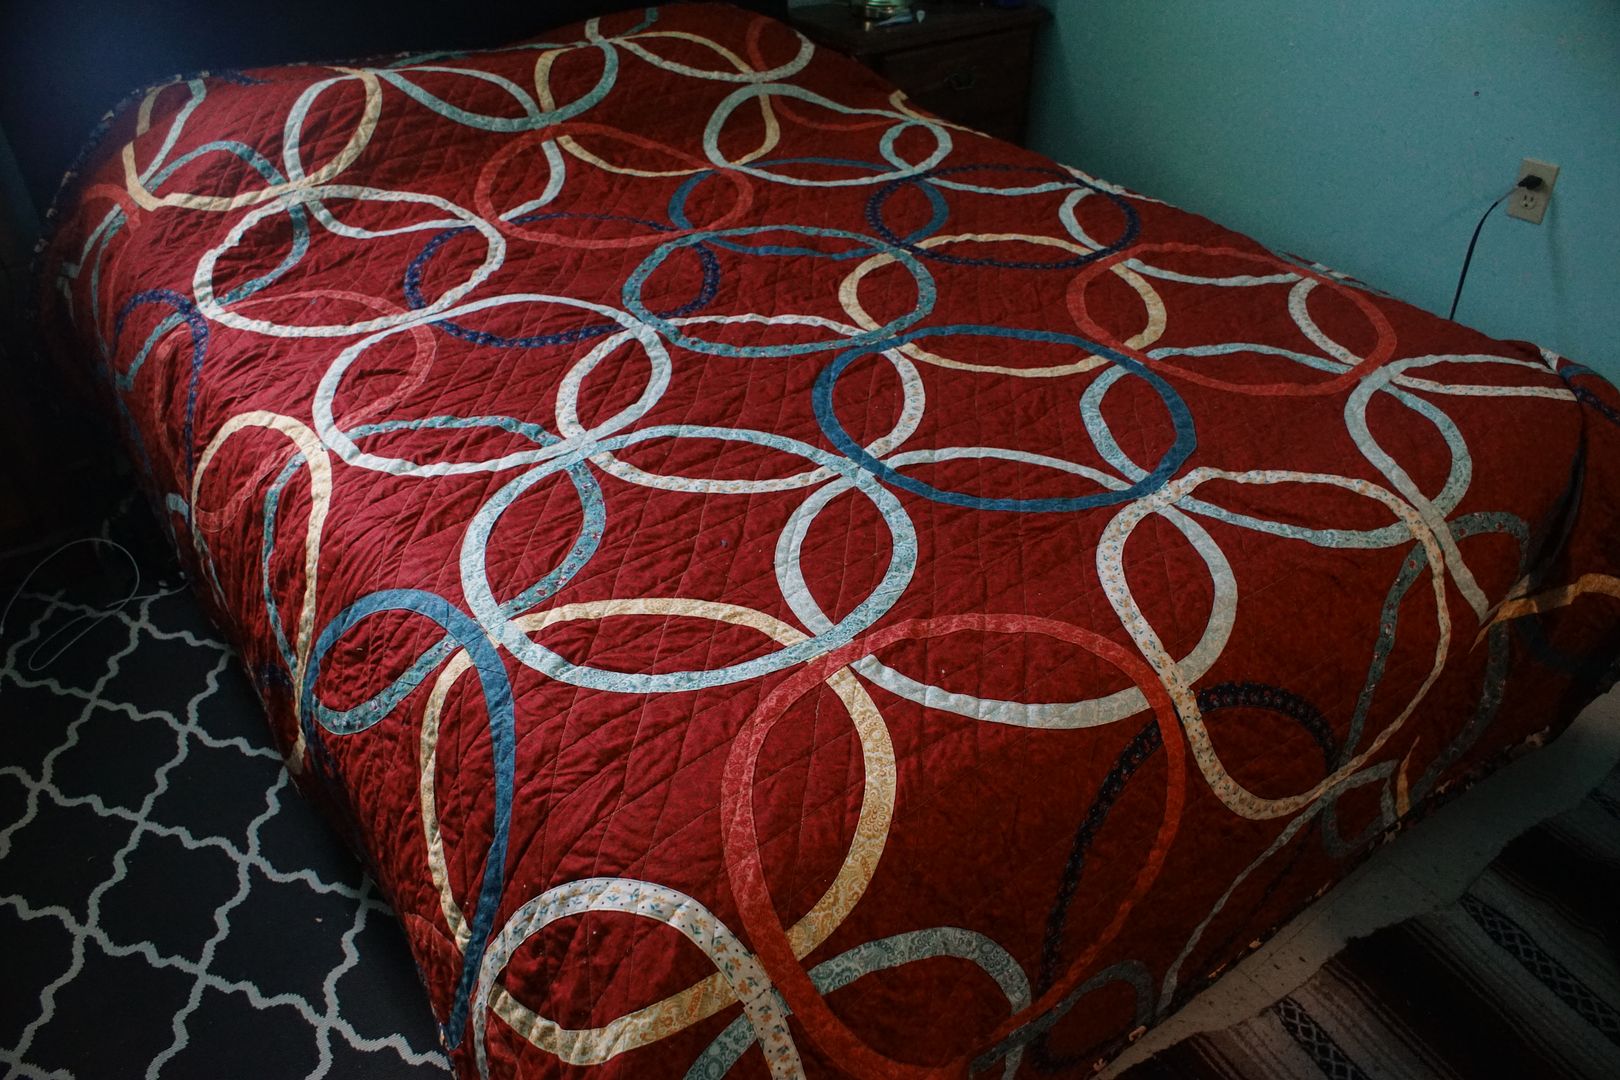
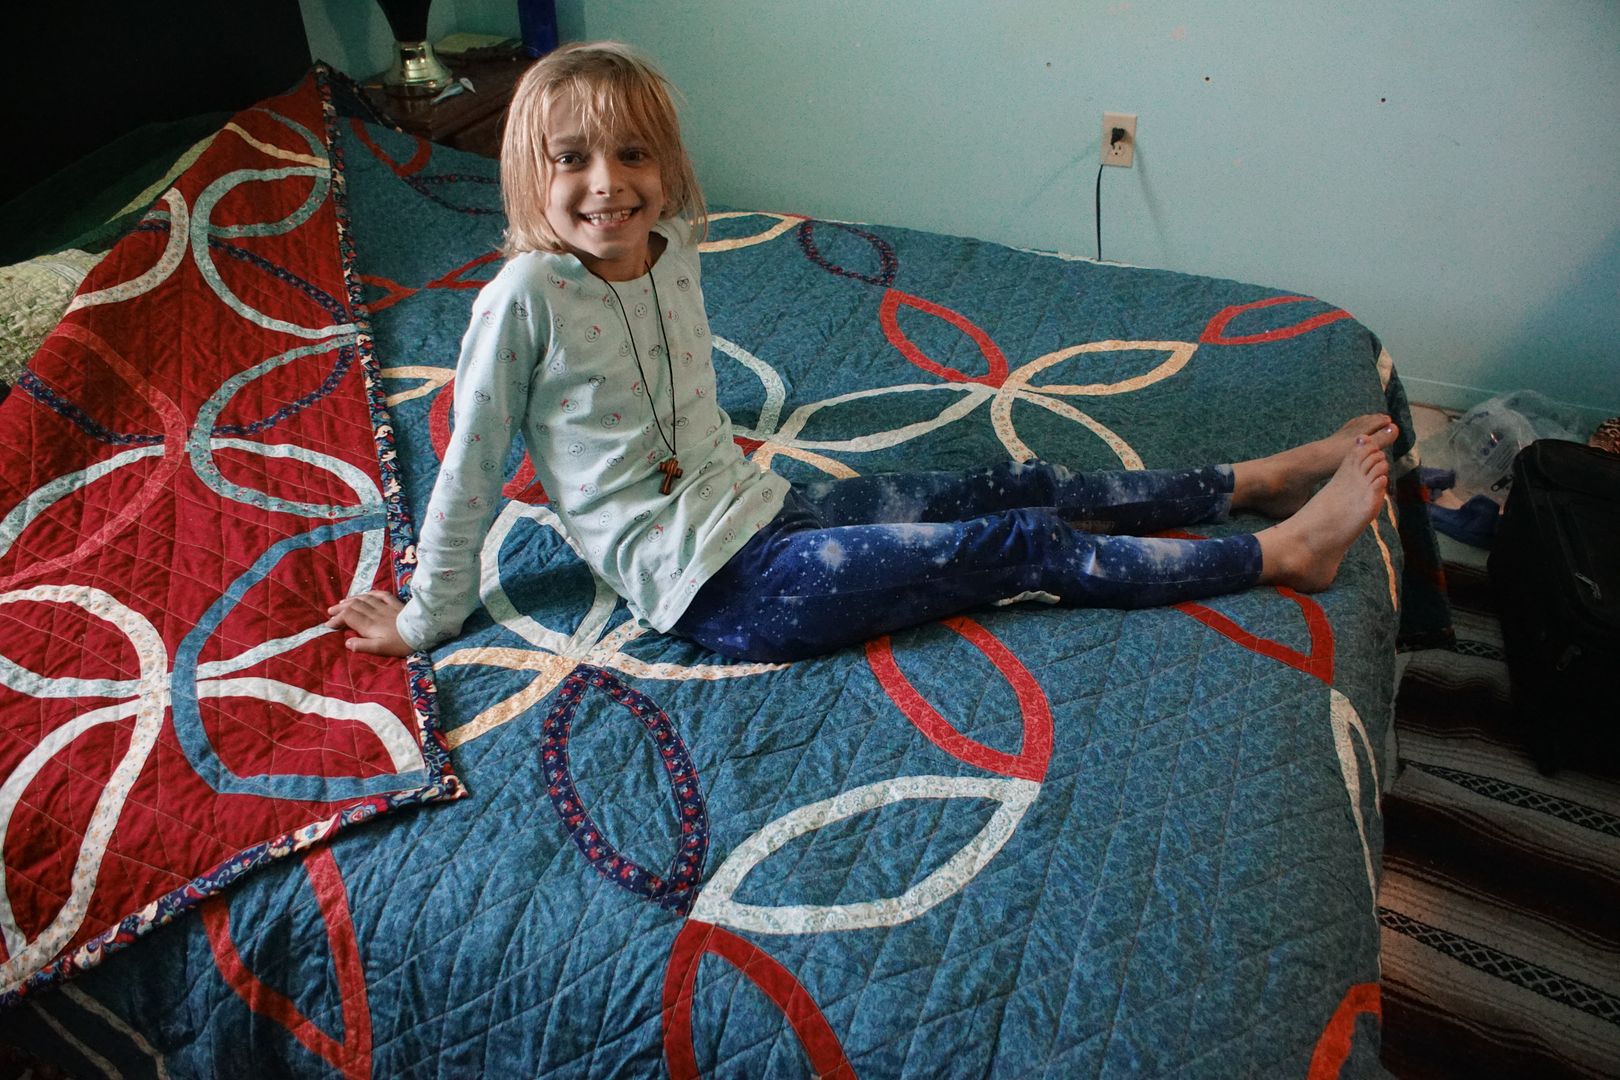
Traditional side above, modern side below. They can make their bed according to their mood.

As you can see below, because the top and bottom did not align perfectly, I did end up losing a little bit of quilt edge. There was more loss on the teal side, so when I decided to make a flanged binding, I put the louder flanged edge on the teal side. That is likely to draw the eye away from the cut off areas, though frankly I don’t think they look too bad.

I love the variety of lines, and how the curves are so forgiving of my irregularities in technique. I also am happy that each side has a different feel and aesthetic. The playful and the orderly, but both modern and unified. I think that represents Leah and Carlo pretty well.

A big thank-you to Stringbean for being my photo shoot helper, and to the kids for their patience through all the hours I ignored them to make this quilt!
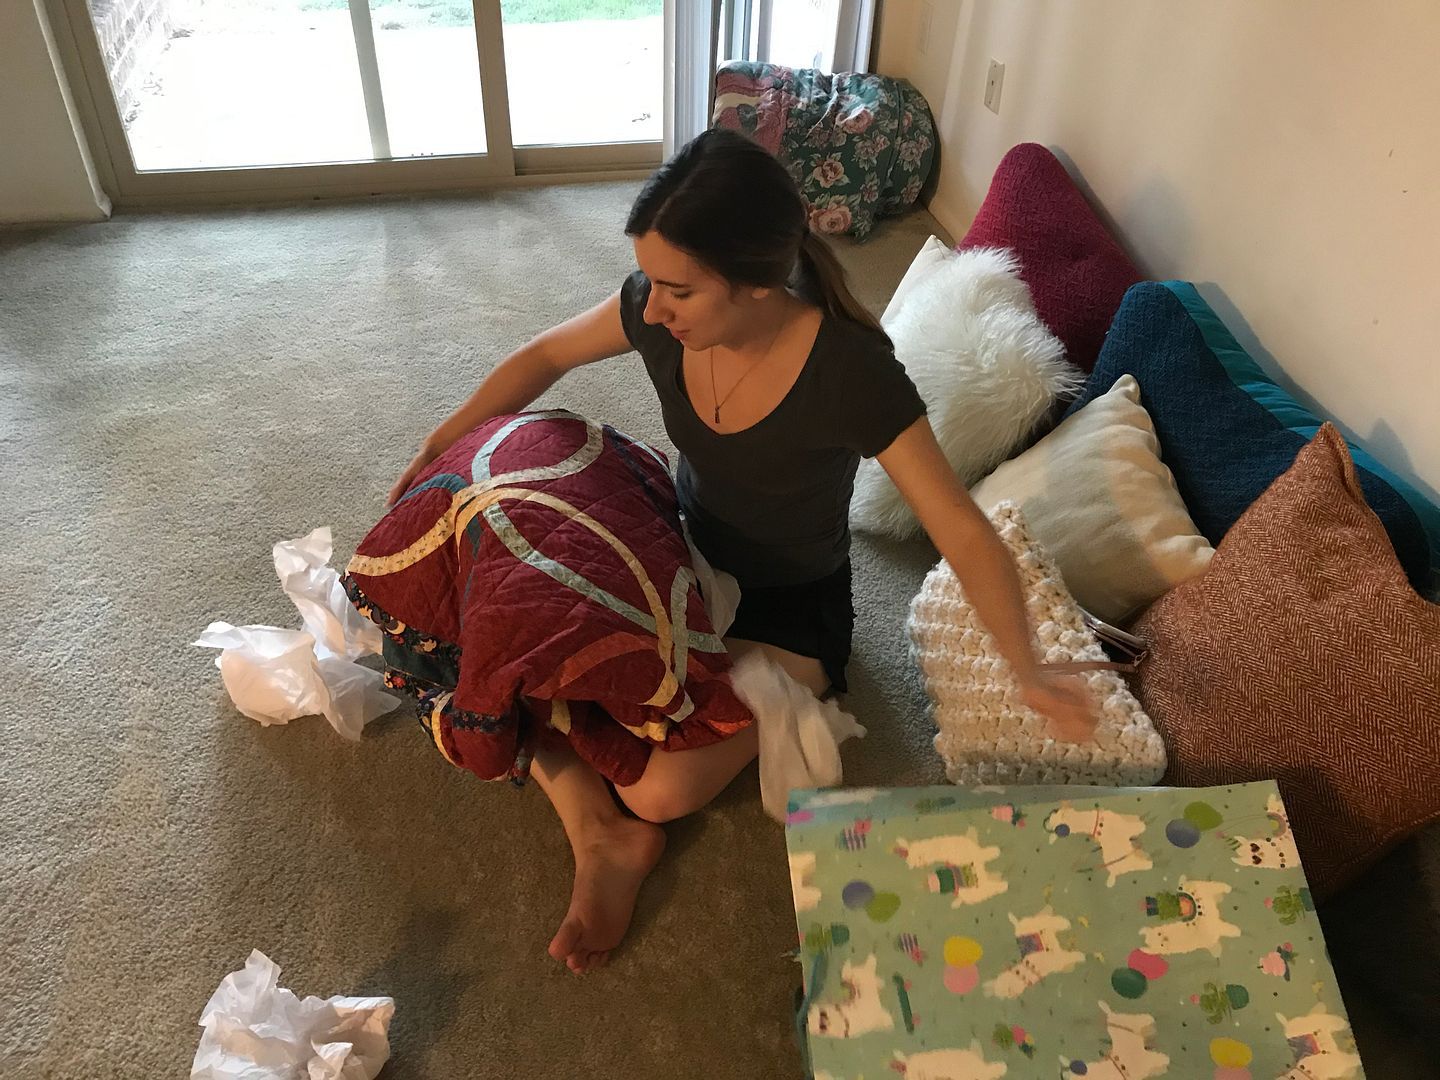
Leah made all the happy noises upon receipt. As a fellow artist and maker of beautiful things, I couldn’t think of a better recipient.
As to the wedding day itself? After threatening rain all week, the sky cleared, and we had perfect weather. (All pictures below are by Sheilani Eisenbeiss.)
The ceremony went beautifully…
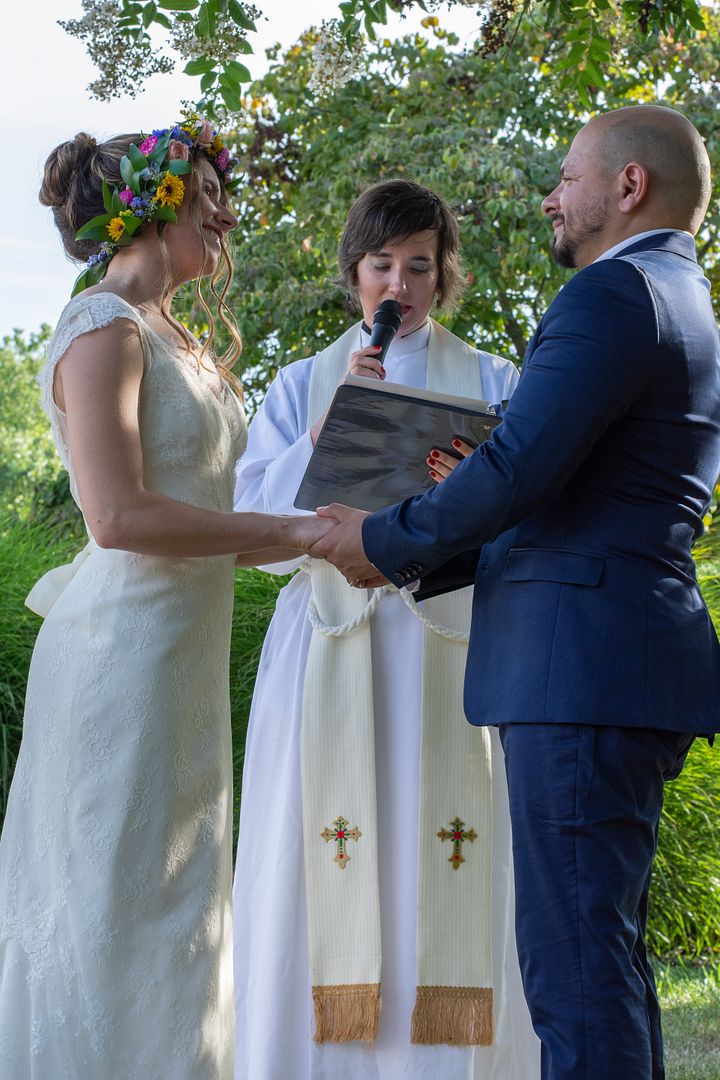
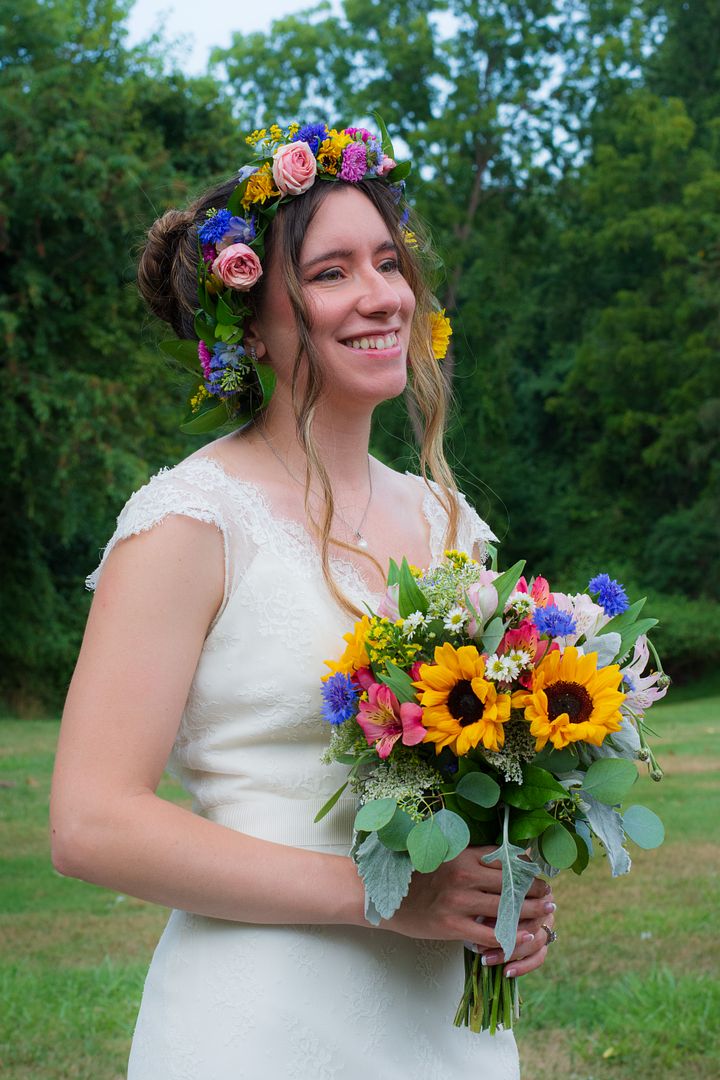
…the bride was gorgeous…
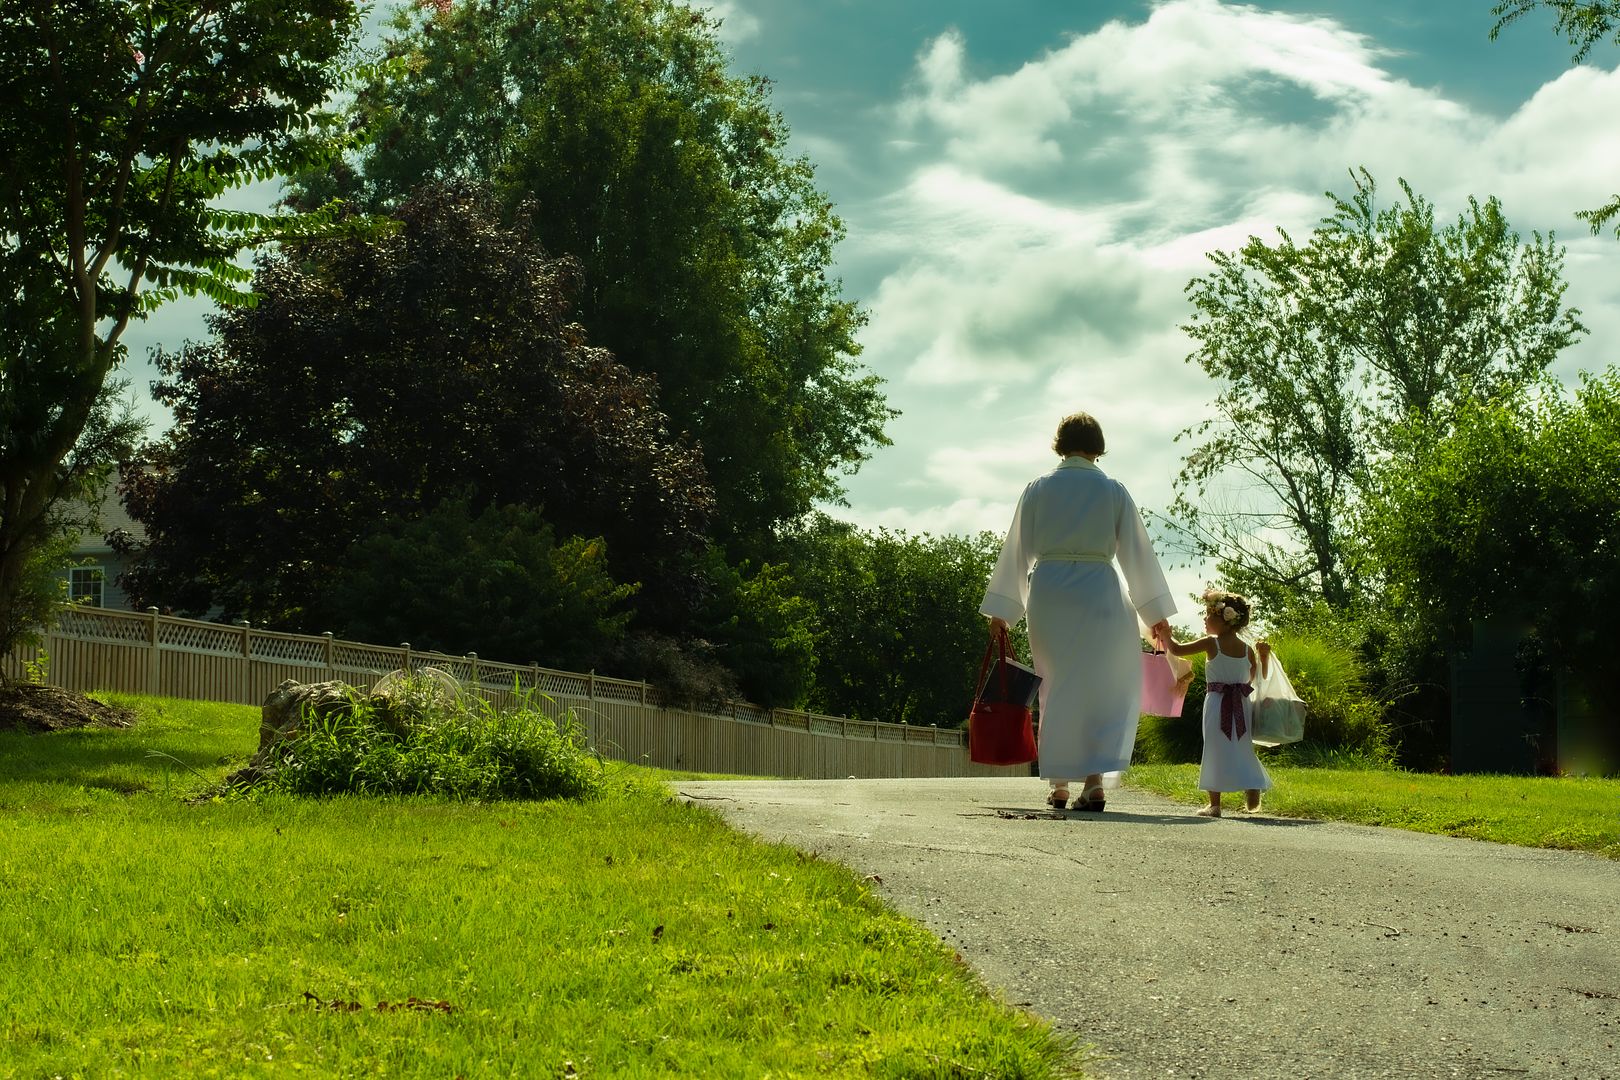
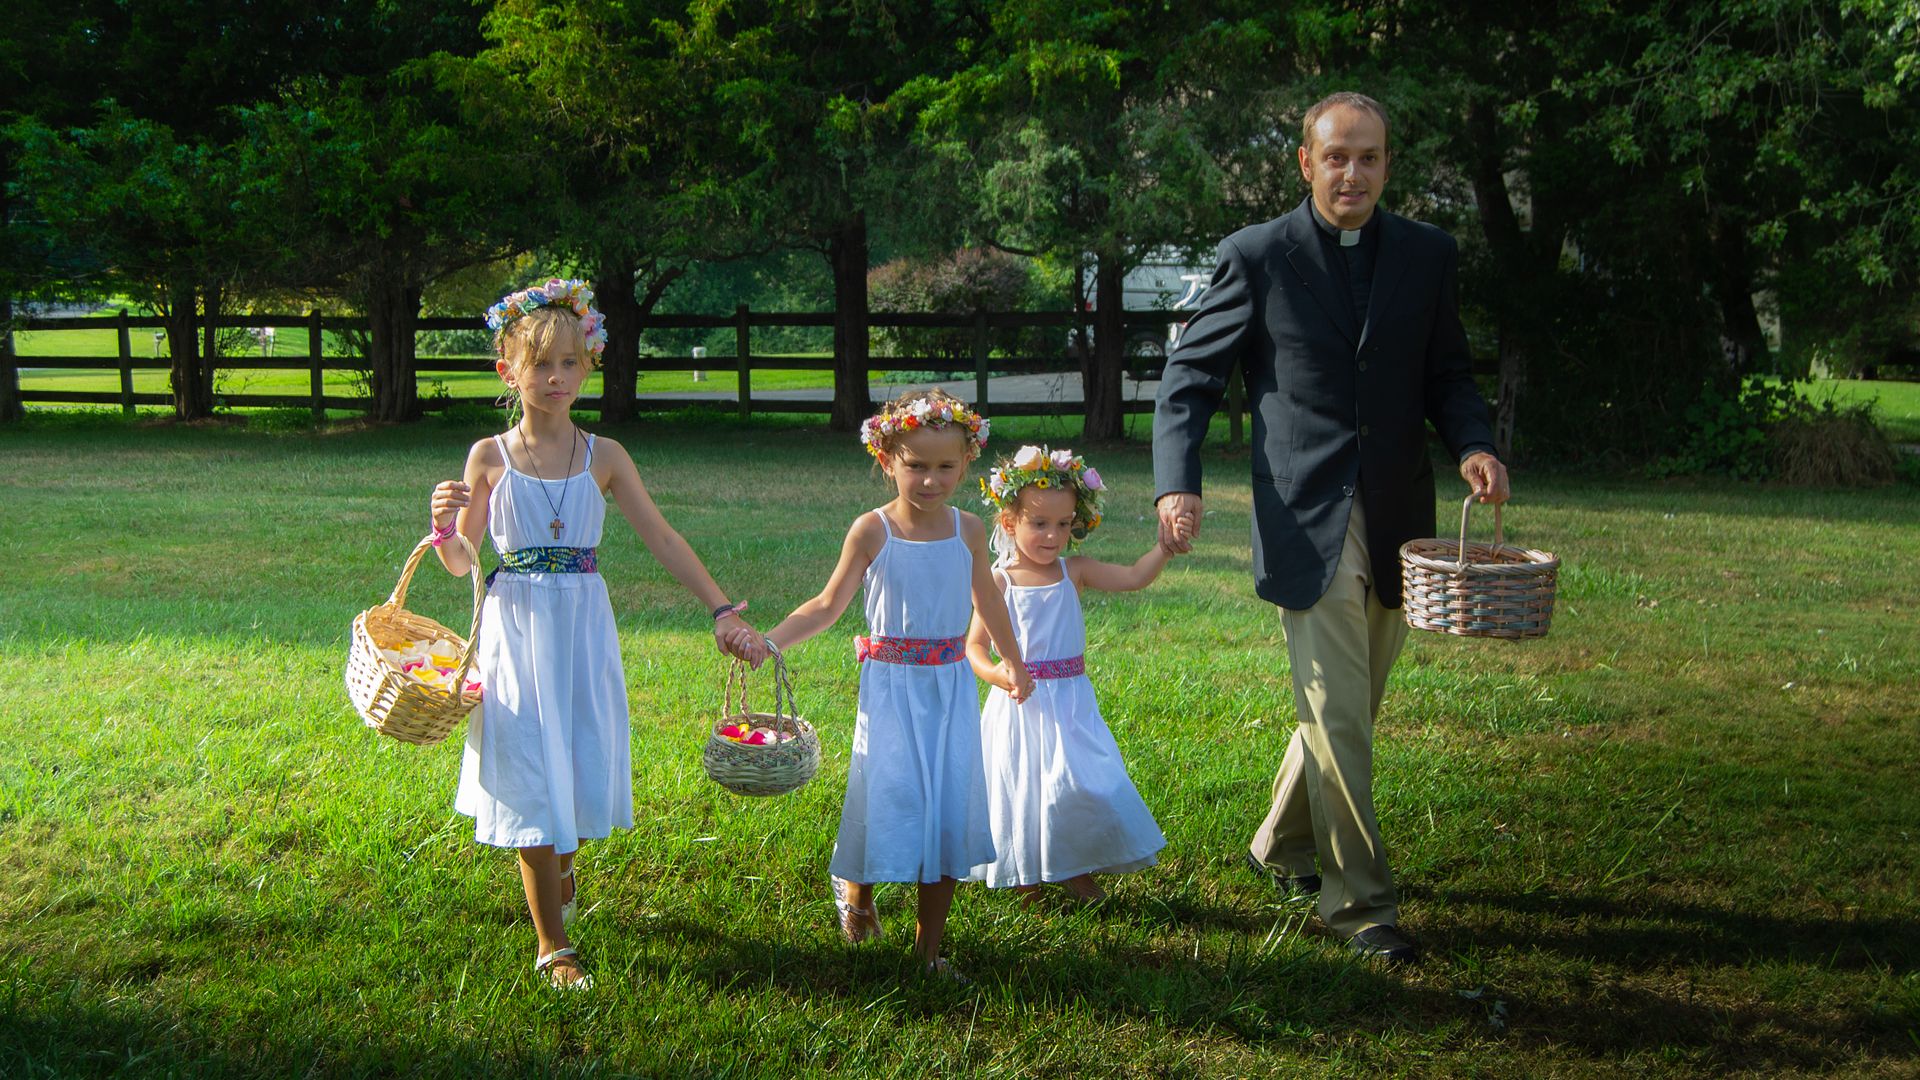
…and the flower girls were pretty cute too.

The reception was a romping good time, with only one major power outage, and the cake was so delicious that I woke up craving it the next day.
Thanks to Leah and Carlo for letting us be a big part of your special day. We love you loads and loads, and trust the Lord to answer our prayers to bless your marriage. We send you our love from far away!

One thought on “Wedding Rings”