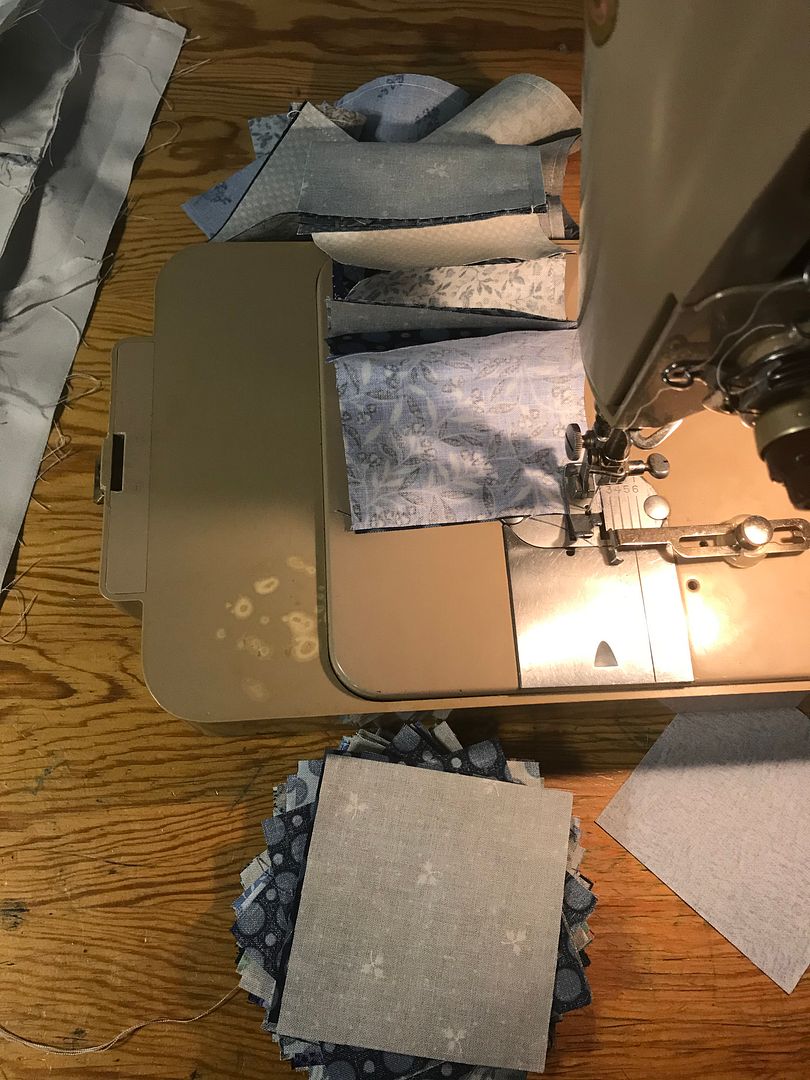
So, Stringbean’s quilt is finished. It happened a little faster than I thought. I didn’t take as many pictures of this process, partly because getting it done required my phone to be in the hands of a small person. But I’ll take you through the process, as there was lots of learning that I want to record.
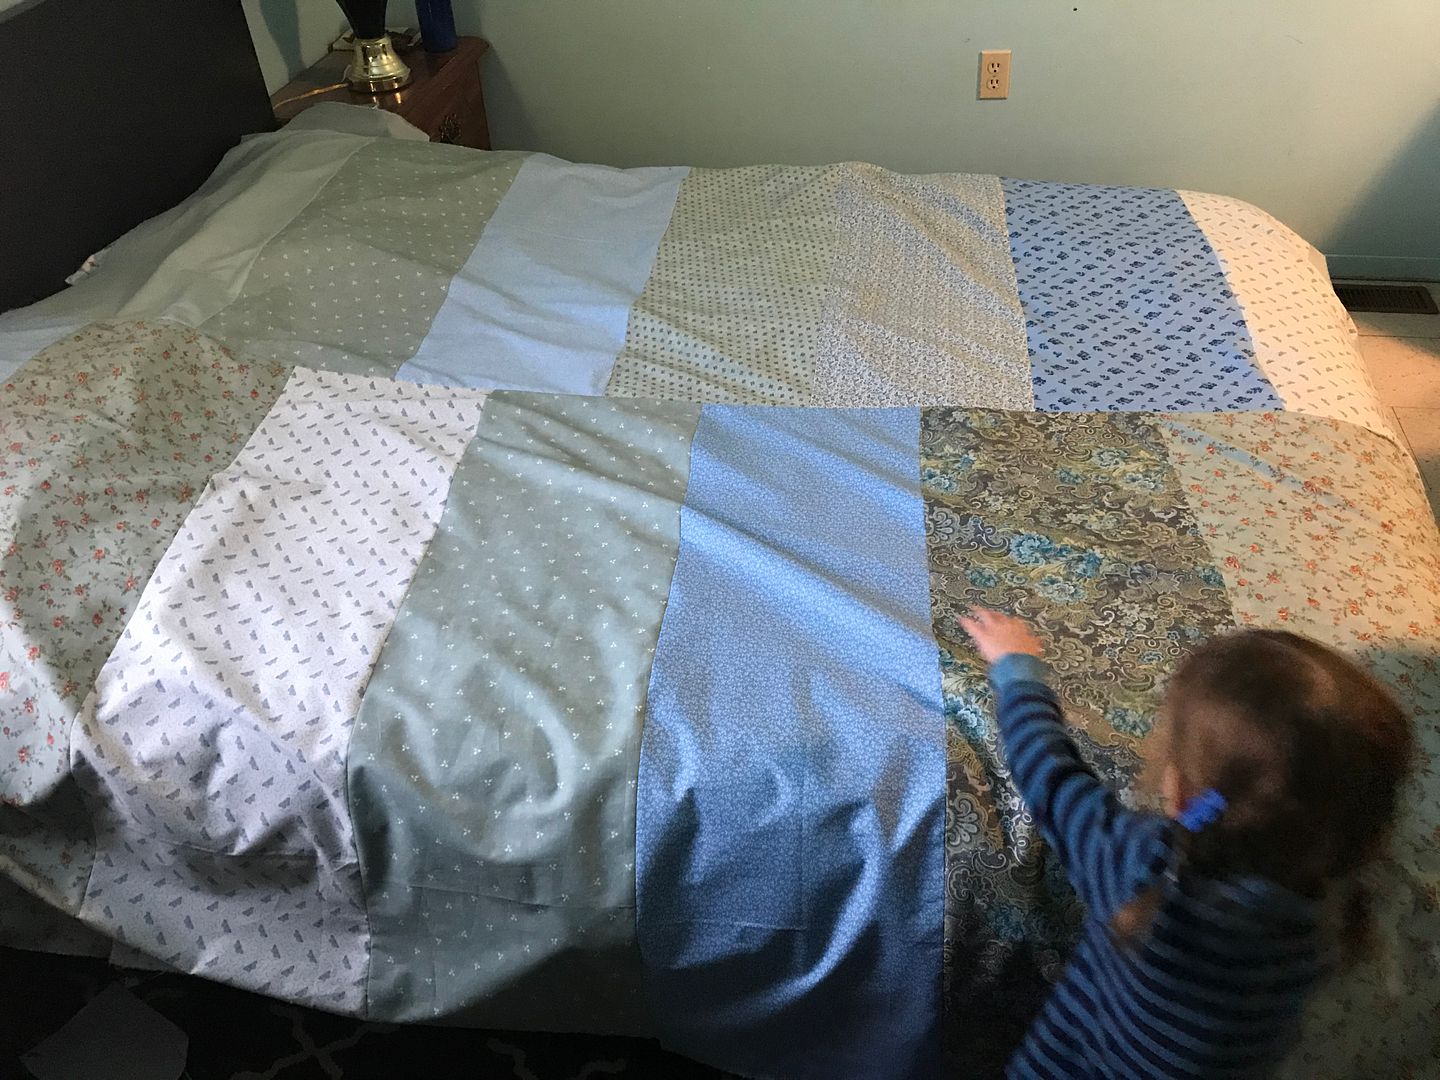
Putting the blocks together was pretty straightforward, as you might imagine. There was the process of deciding on the final layout, assembling rows, then putting the rows together.
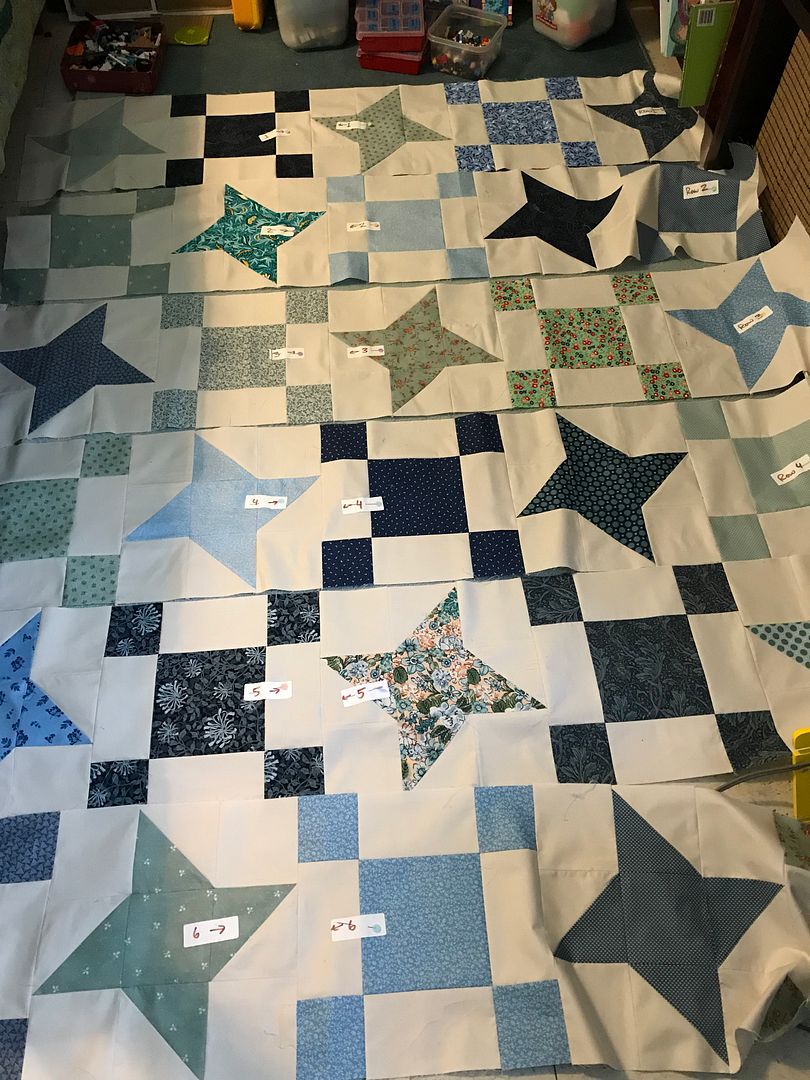
Making the blocks had taught me a lot about what works (or rather, what doesn’t) in lining up intersections. Much generous pinning, and getting right up to the pins when sewing, was what worked for me. I’m pleased to say that my intersections between blocks came out beautifully, and I didn’t clip off the tips of any of my stars.
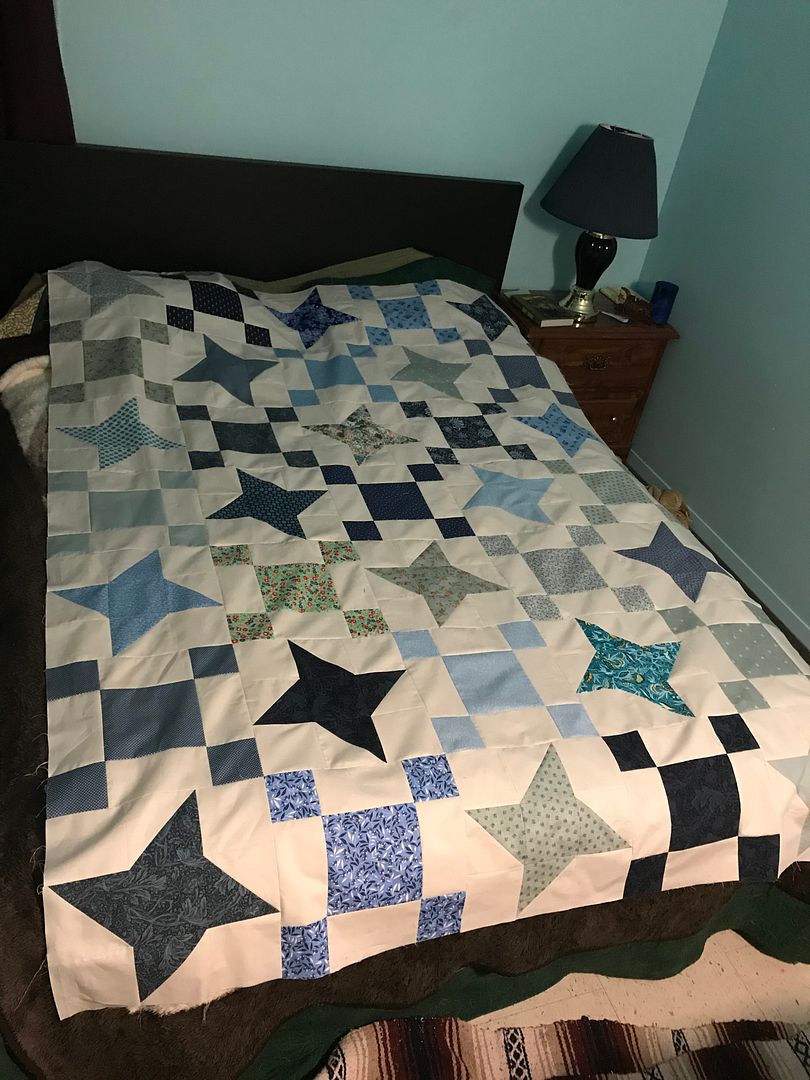
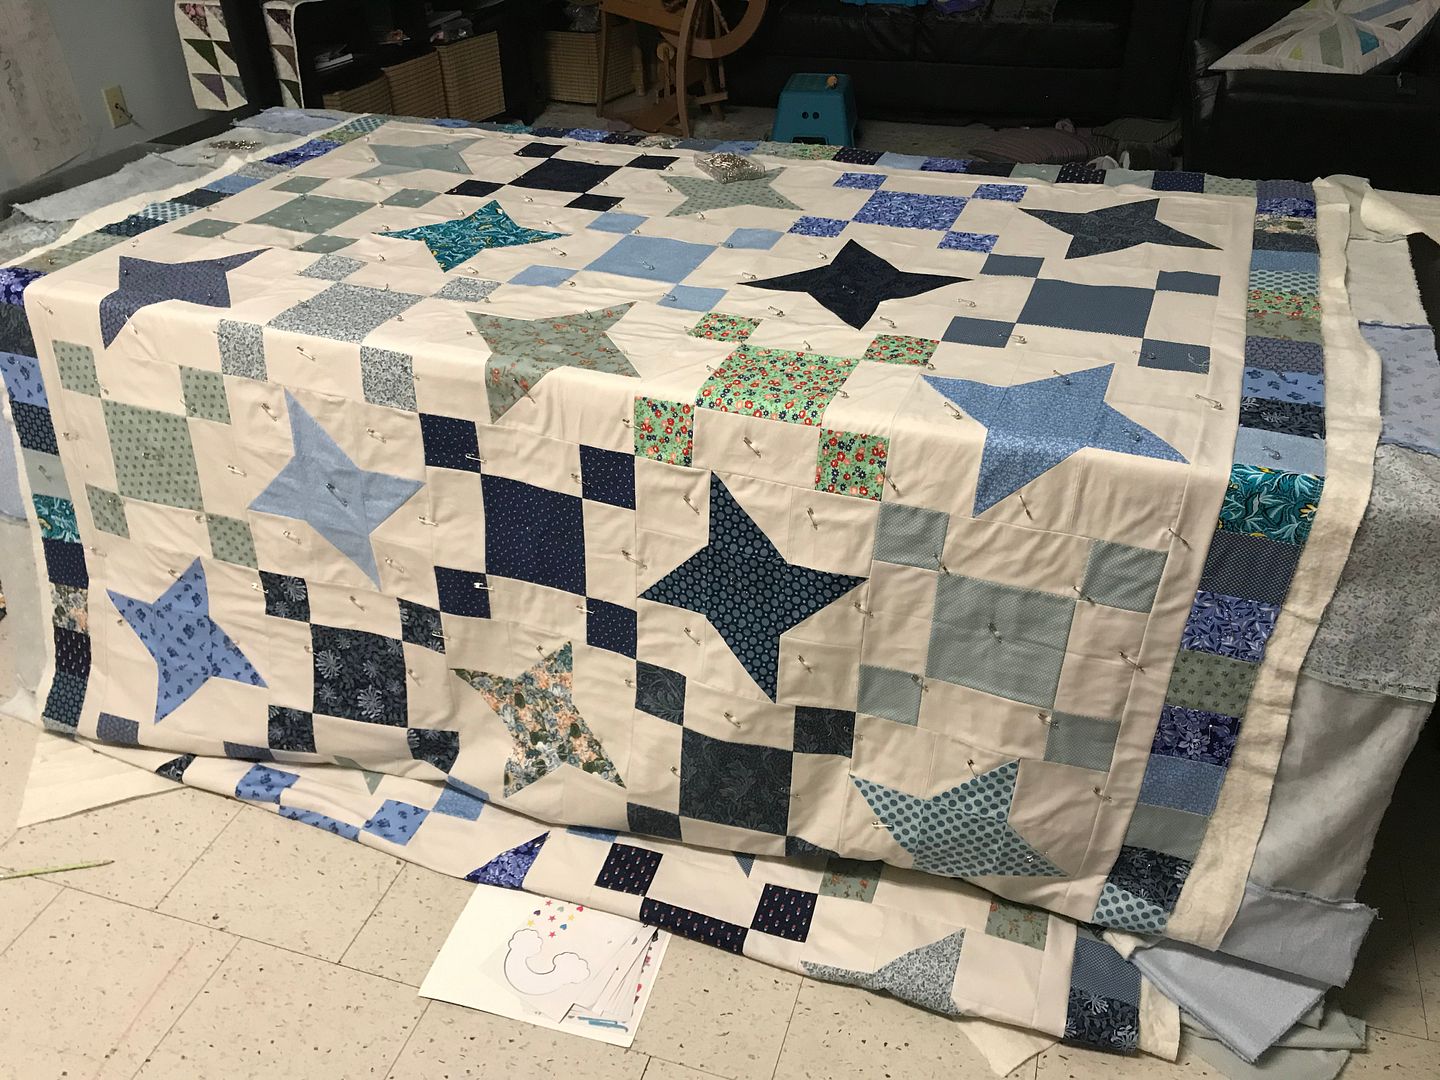
This looks impressive, but the quilt top wasn’t quite done yet. next was the floater border, which involved lots of pinning…
And the pieced border. This was a lot of fun to make, and visually I think it brought the quilt together wonderfully. Without it the different fabrics looked a little like a jumble; the border brings a unity to it which you’ll see when I show the whole thing.
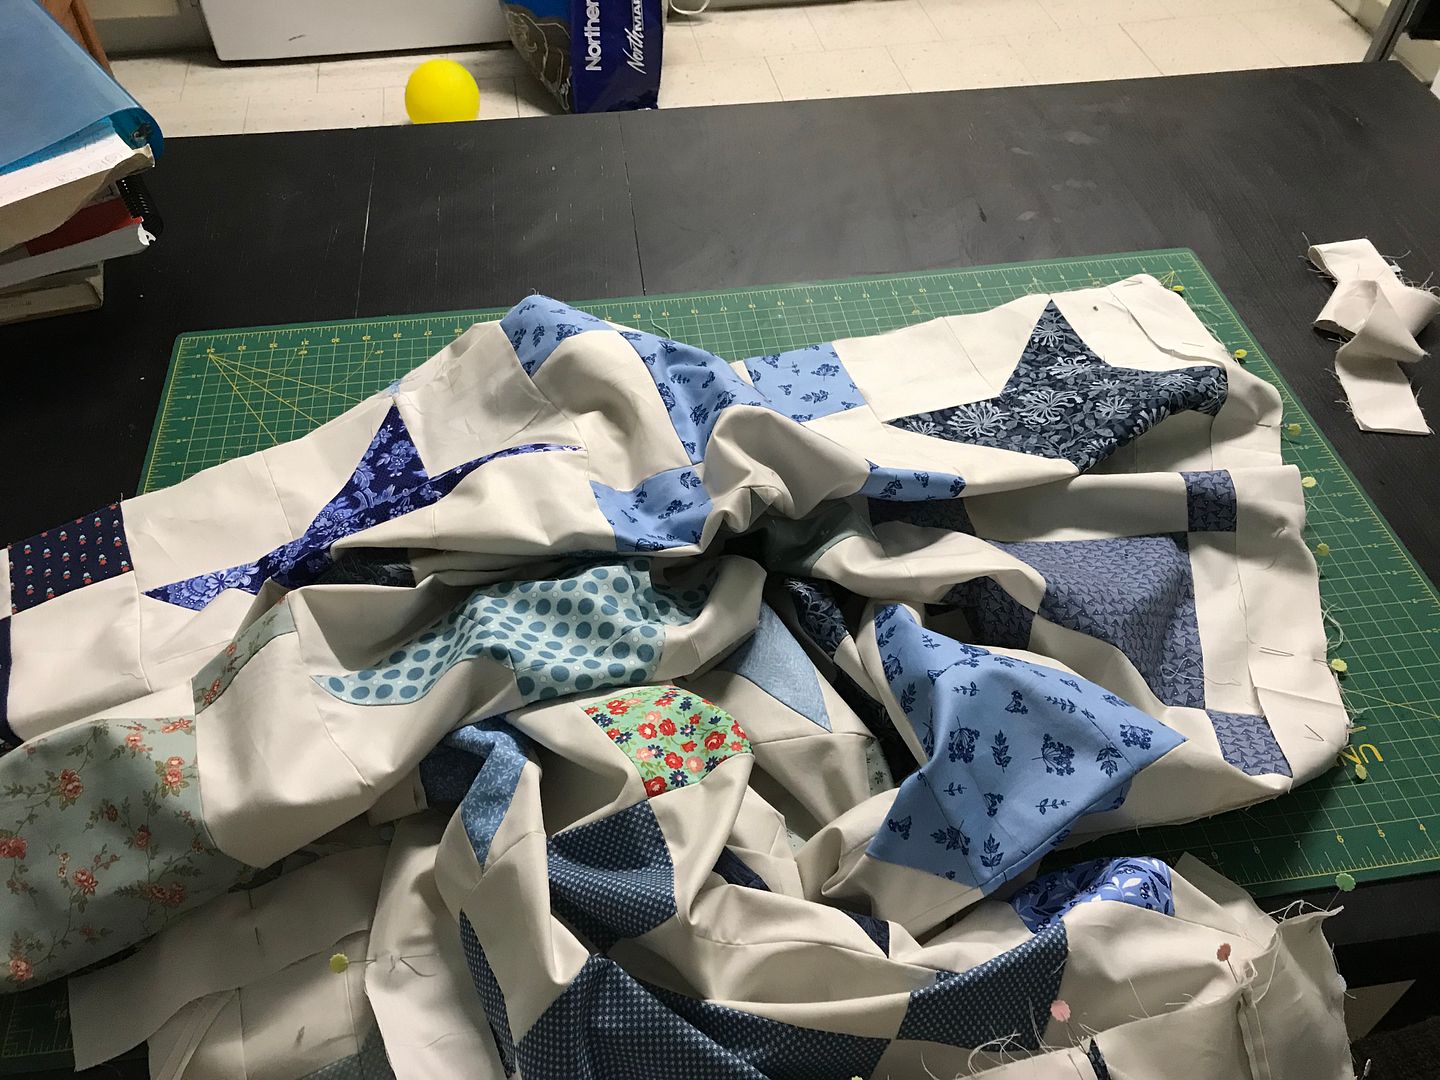
So far so good. I just had a little bit of piecing left on this project, to make the backing. This involved a pleasant day of ripping, ironing, and sewing long seams.
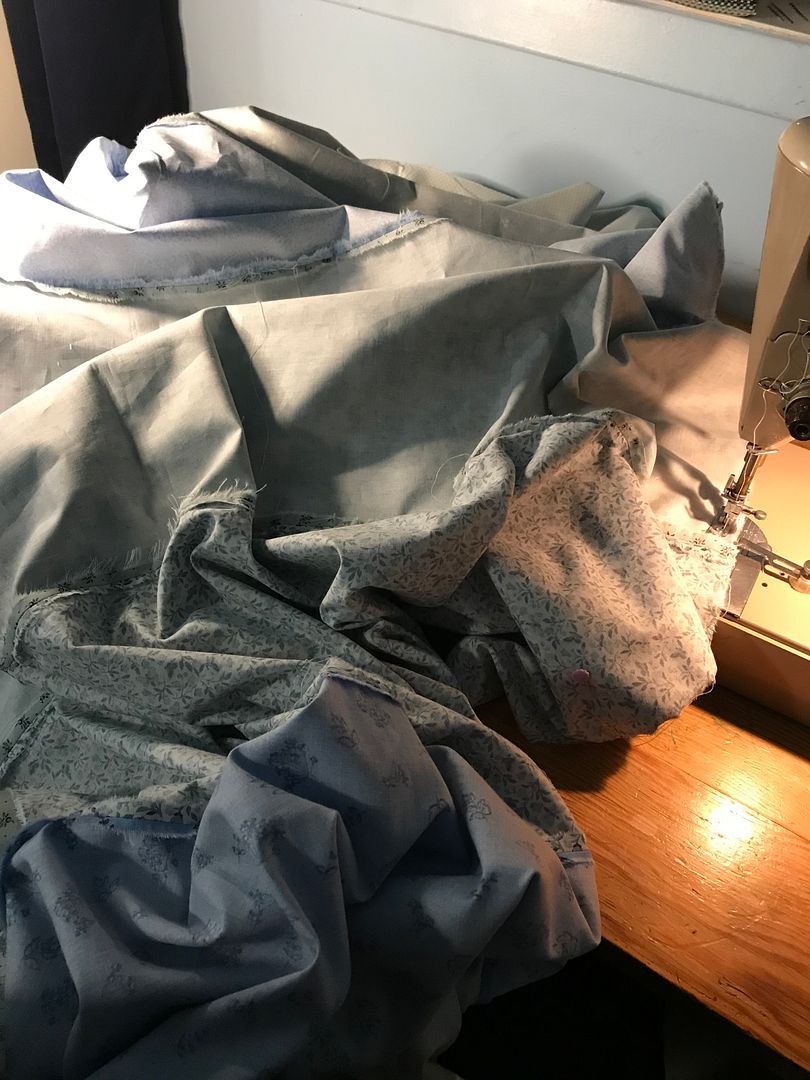
I’m very happy with how the backing design came out, but I decided it was a mistake to rip all the pieces rather than cutting them. I ripped following the advice on a Craftsy class, but that was for a backing made of just two pieces, in which the slight rippling in the edge of the fabric caused by ripping wouldn’t make a ton of difference. With all these edges ripped, the lie of the fabric was pretty distorted. But it saved a lot of time so… I’m.. torn. Can’t believe I went there.
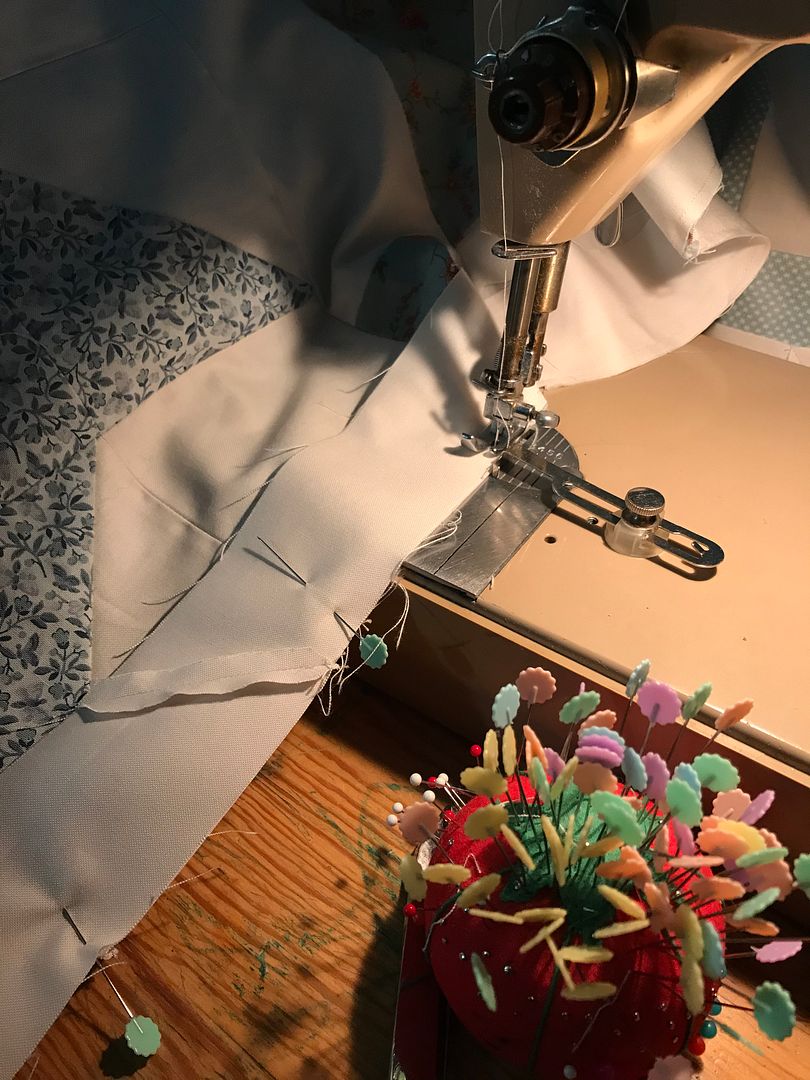
This was all followed by a LOT of ironing, then a quiet afternoon of basting. I made a mistake here too – I bought some green painters tape to secure the backing to the table, but this tape HATED my fabric. It curled right off it, didn’t stick at all. Unwilling to wait for another day, I went ahead, but there are some definite ripples and pleats on the back now. It’ll be worth it to find a better tape next time. I also underestimated the value of going through the process of exactly entering ones layers. It didn’t matter too much for this quilt, but I’ll go to the effort next time. It’s just fussy getting these enormous pieces to line up exactly in their layers.
I will say I liked the basting pins. The only spray baste I have access to was highly unsatisfactory, and I don’t really have a way to make a well-ventilated space this time of year. Pin basting was time-consuming, but surprisingly enjoyable with the curved pins I ordered.
Tomorrow I’ll tell you about the quilting!
