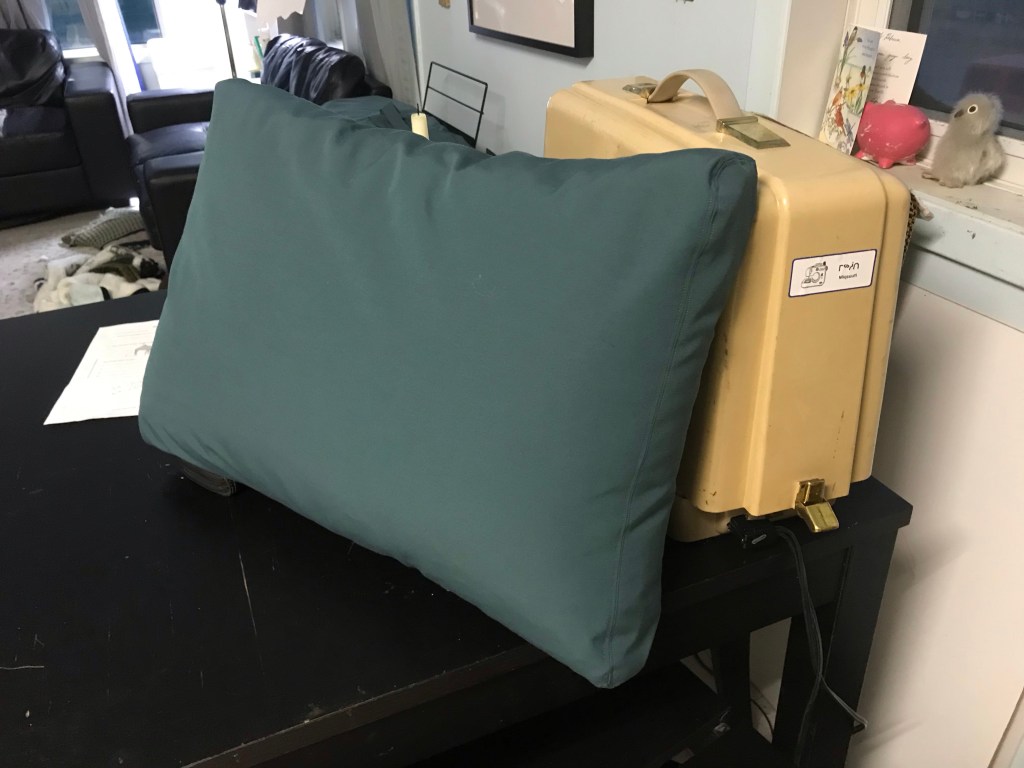
Remember when I finished that first couch cushion?
I’m now on the other side of all ten cushions. Let me tell you the whole story.
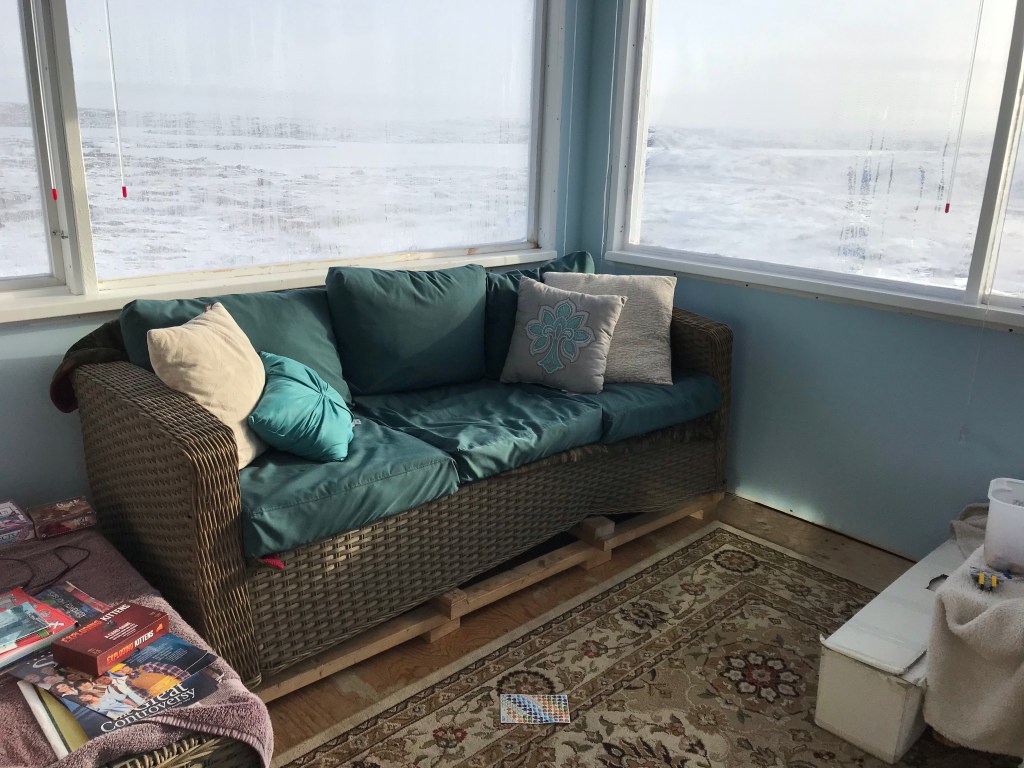
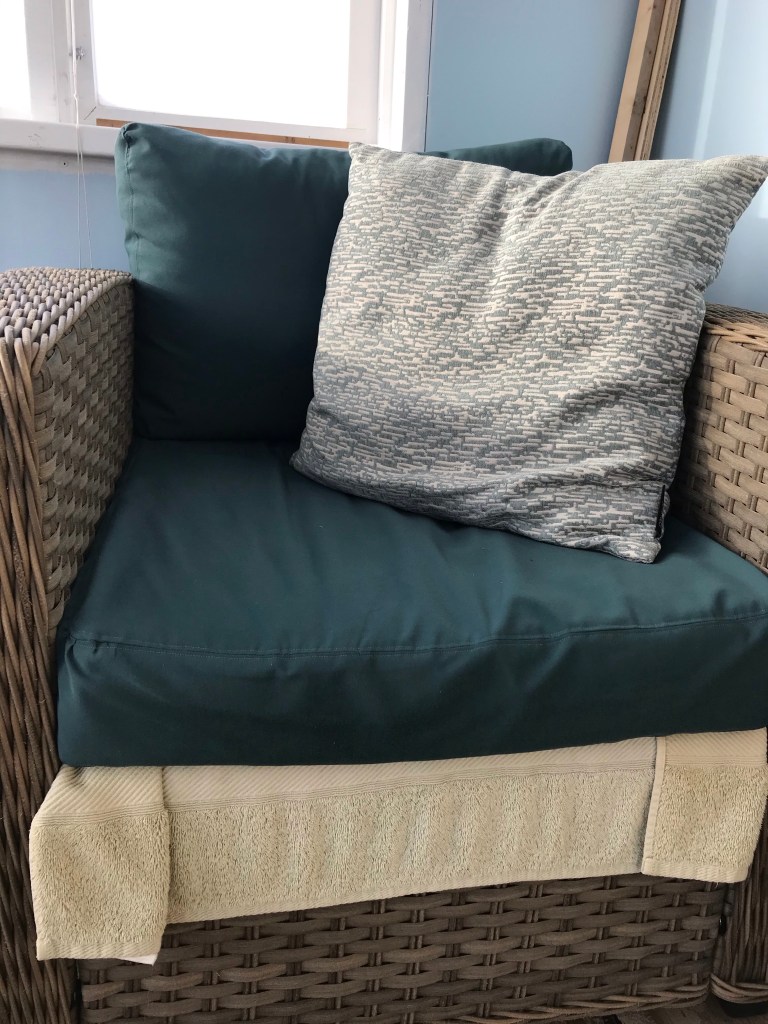
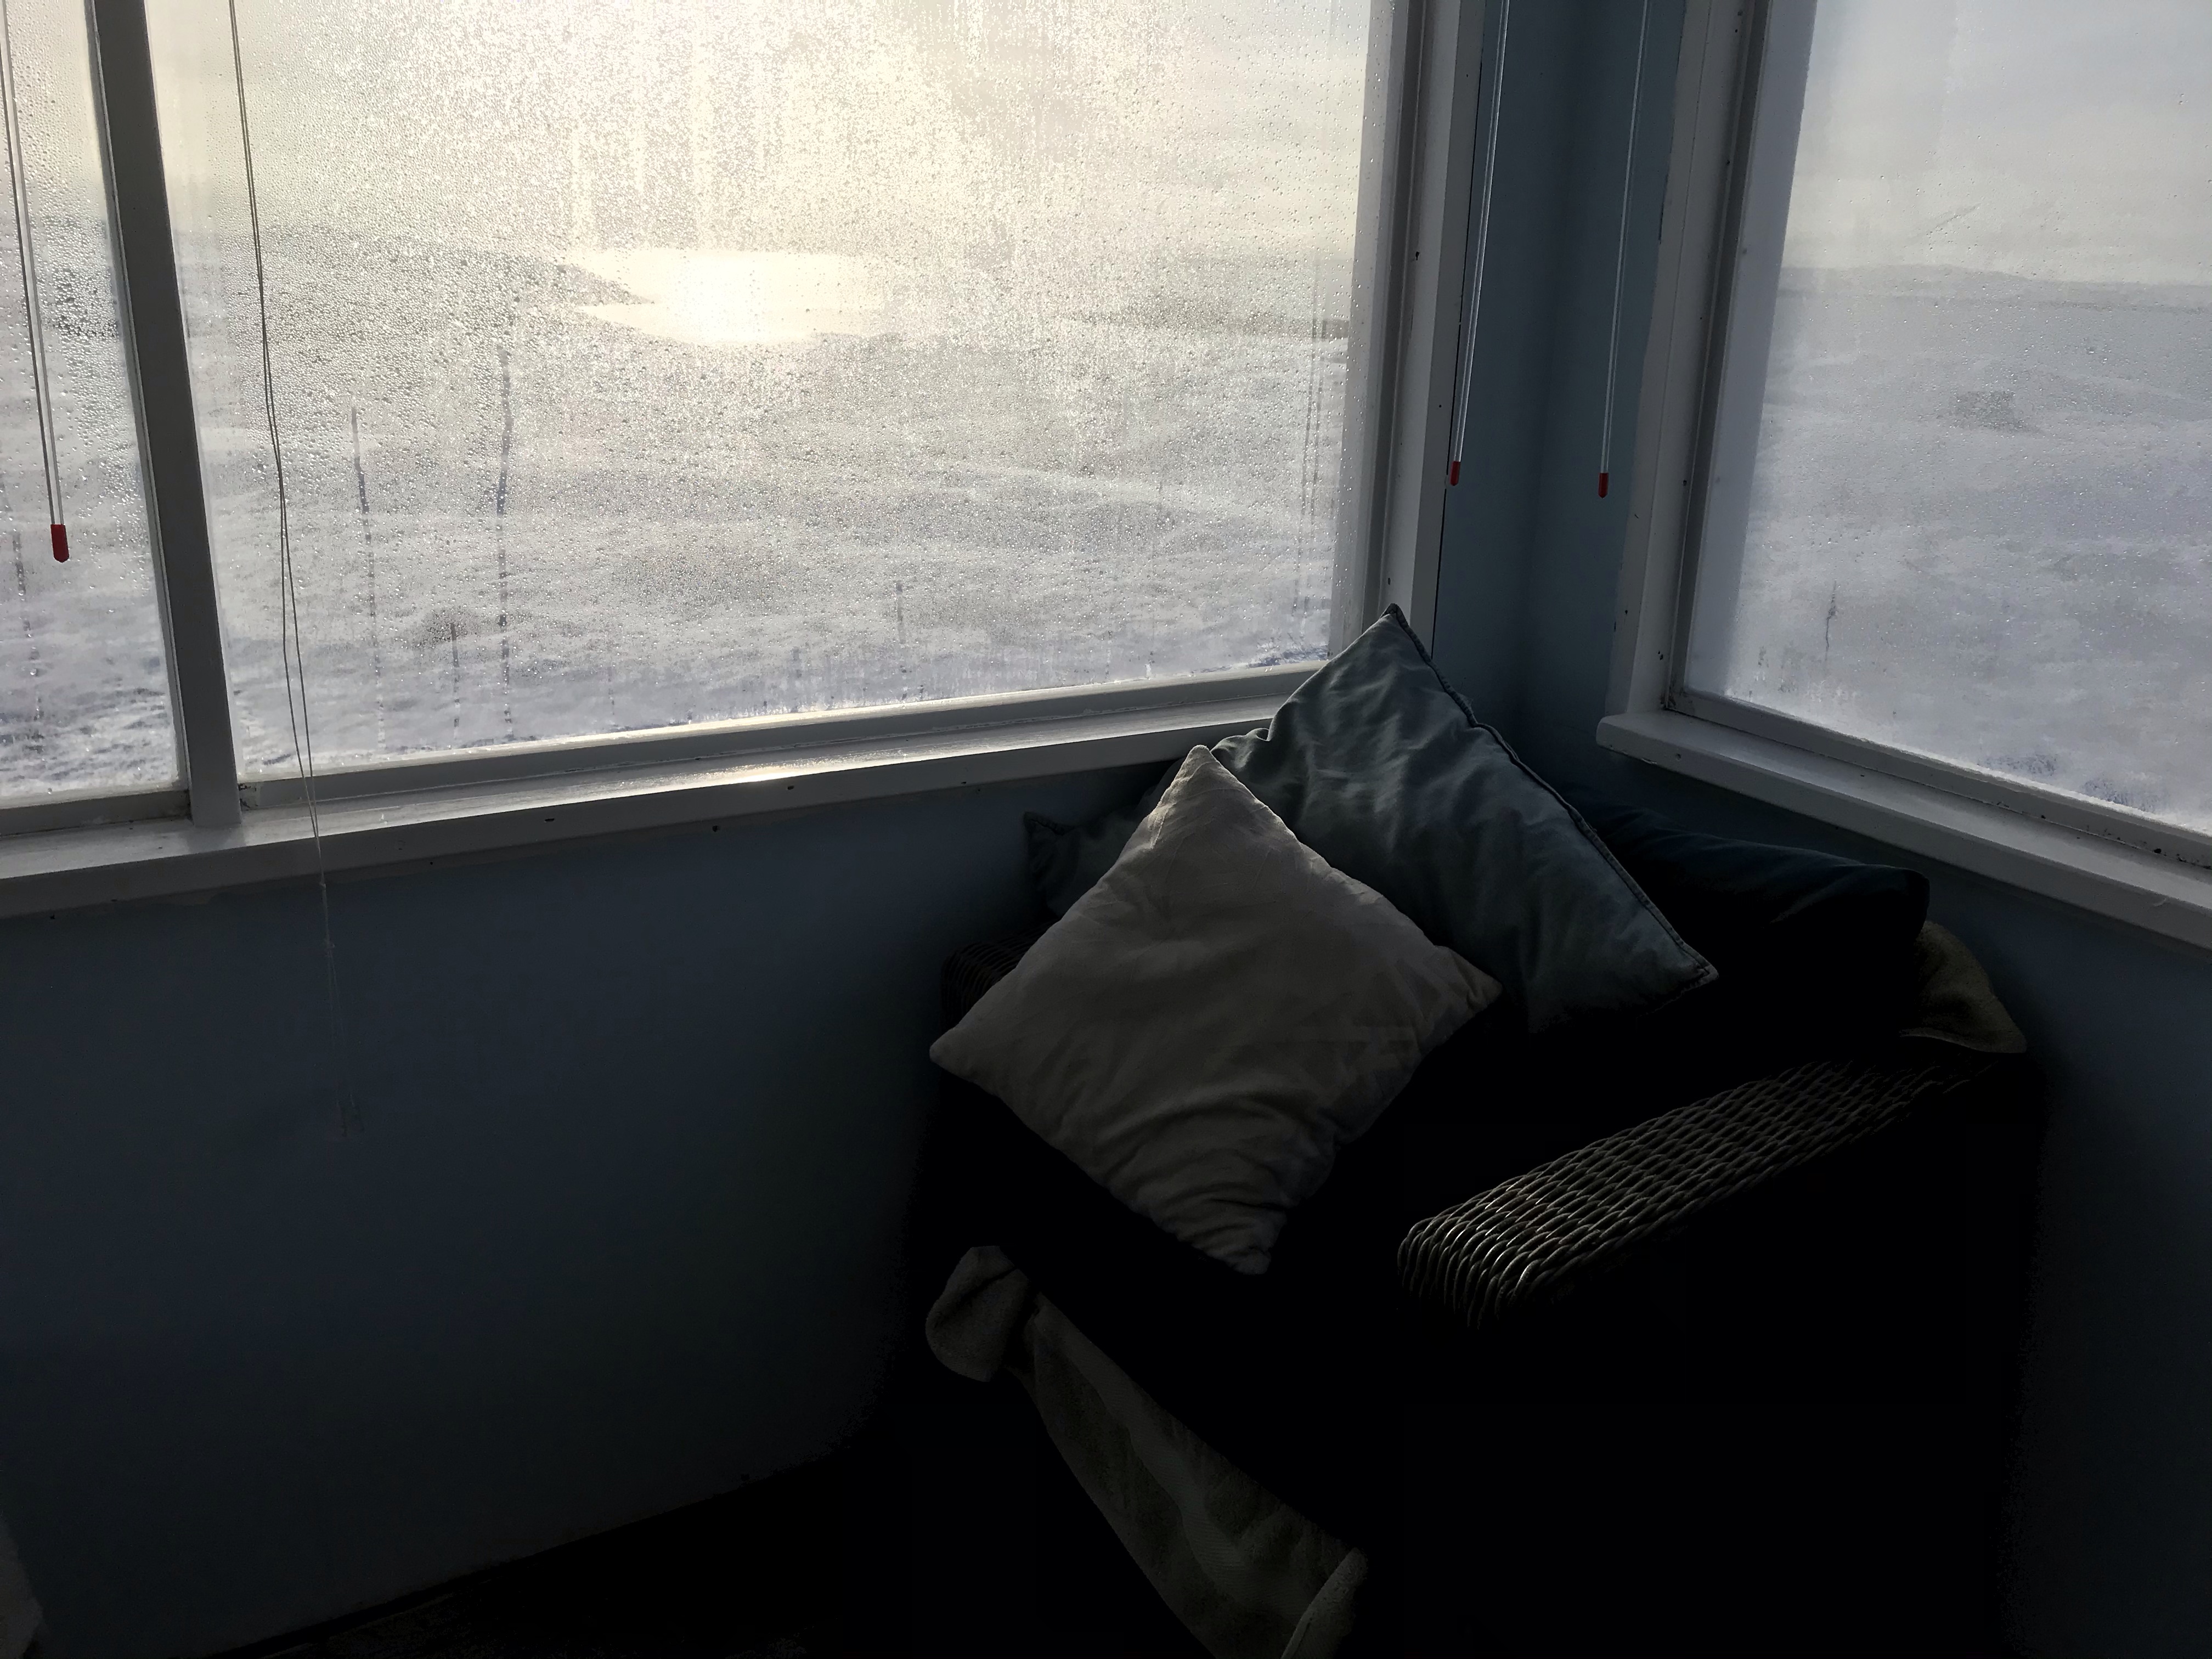
We have made some dear friends here in Rankin who let us use their cabin. In the sunroom of the cabin, they have some wicker outdoor furniture that makes it into a sort of warm-weather living room. After several years of use by energetic boys, the indoor/outdoor fabric covering the pillows was coming loose at the seams. The manufacturers used an enormous stitch on the loosely woven plastic fabric.
Our friends found out I was crafty, and I jumped at the chance to contribute to the cabin we had been allowed to use. We eventually decided to replace the indoor/outdoor fabric with Commander, a fabric readily available in town because its used to make parkas. It’s windproof and fairly sturdy. After much debating, we went with this stormy teal – it reminds me of the color of the water in the Hudson Bay.

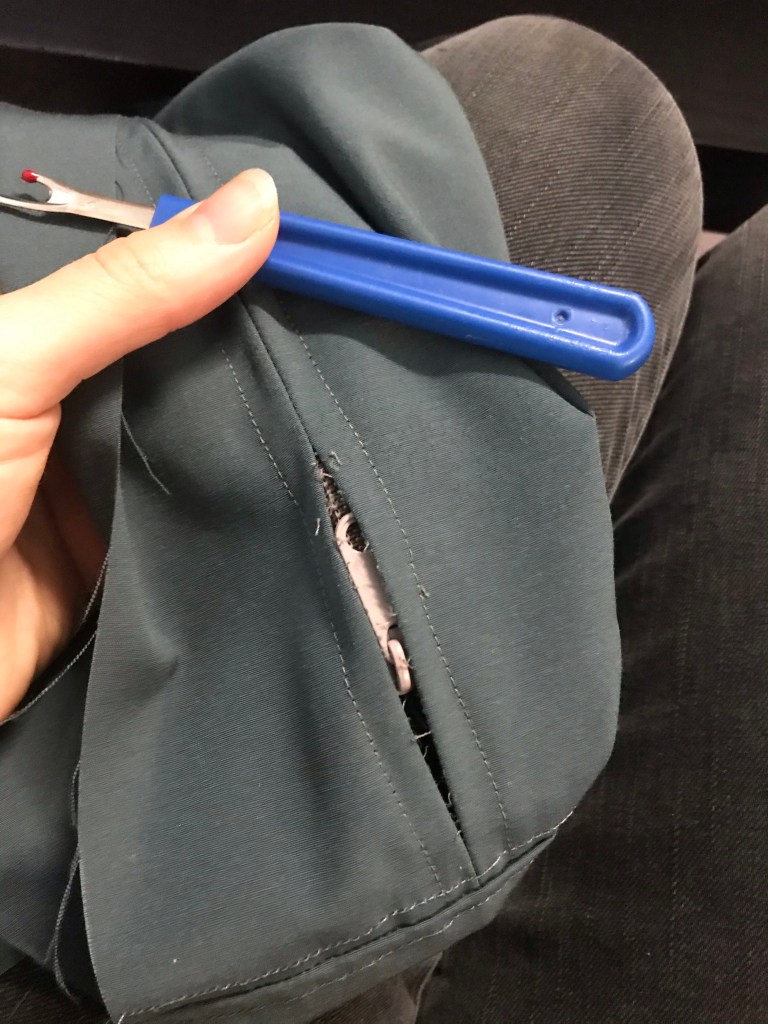
Only when I was seated at my machine did I remember: the last time I used it (to make some masks), we did not part on the best of terms. The thread was jamming, the tension was hopeless, and when it did stitch, it was skipping stitches constantly.
I was near tears, staring down this project with an uncooperative machine, in a town with no sewing machine mechanic. But with my friends having already invested in seven and a half meters of not-cheap fabric, I had to solve the problem myself.
Thank God for the University of YouTube. I spent hours digging into general fixes for thread jam and skipped stitches, and specific maintenance tutorials for my antique machine. I even found the service manual for the thing.
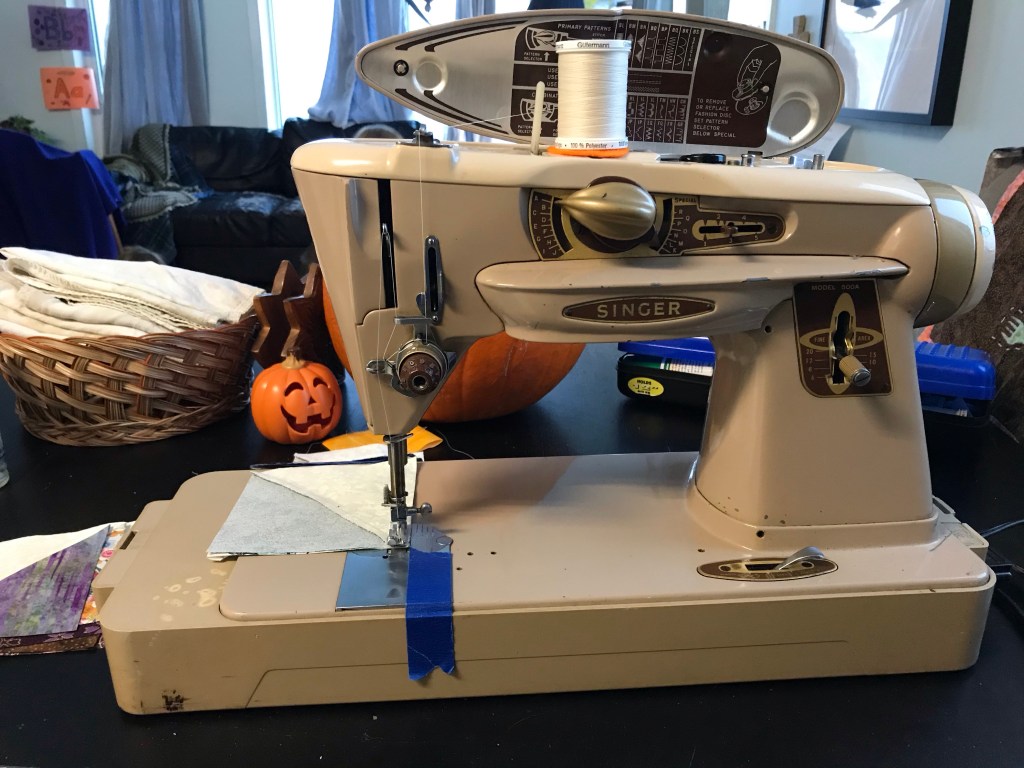
I was so grateful for my Singer Slant-O-Matic 500a. My mom bought me this machine soon after Jared and I were married, when we first thought we’d be living abroad. She went to the Sew-Vac in Ellicott City and bought a refurbished machine from the 1950s, with all-metal parts, because she wanted me to have something “that could fall out of a Jeep and keep running.” Well, where we live doesn’t seem that rustic, but we are a plane ride away from any kind of sewing machine technician. So what I’m super grateful for about it is that it’s fixable. It doesn’t have easily broken plastic parts, the service manual is pretty comprehensible. It’s a common enough model, albeit from over 60 years ago, that I can easily order replacement parts, and there are lots of folks making online content regarding this model and others like it.
Anyway, back to the project at hand. The back cushions were the first priority, being the most damaged, and they were pretty easy to reconstruct. Just a long strip bending around two side panels, with a simple fold-over to hide the zipper. The hardest part was learning to negotiate my way around those curves.
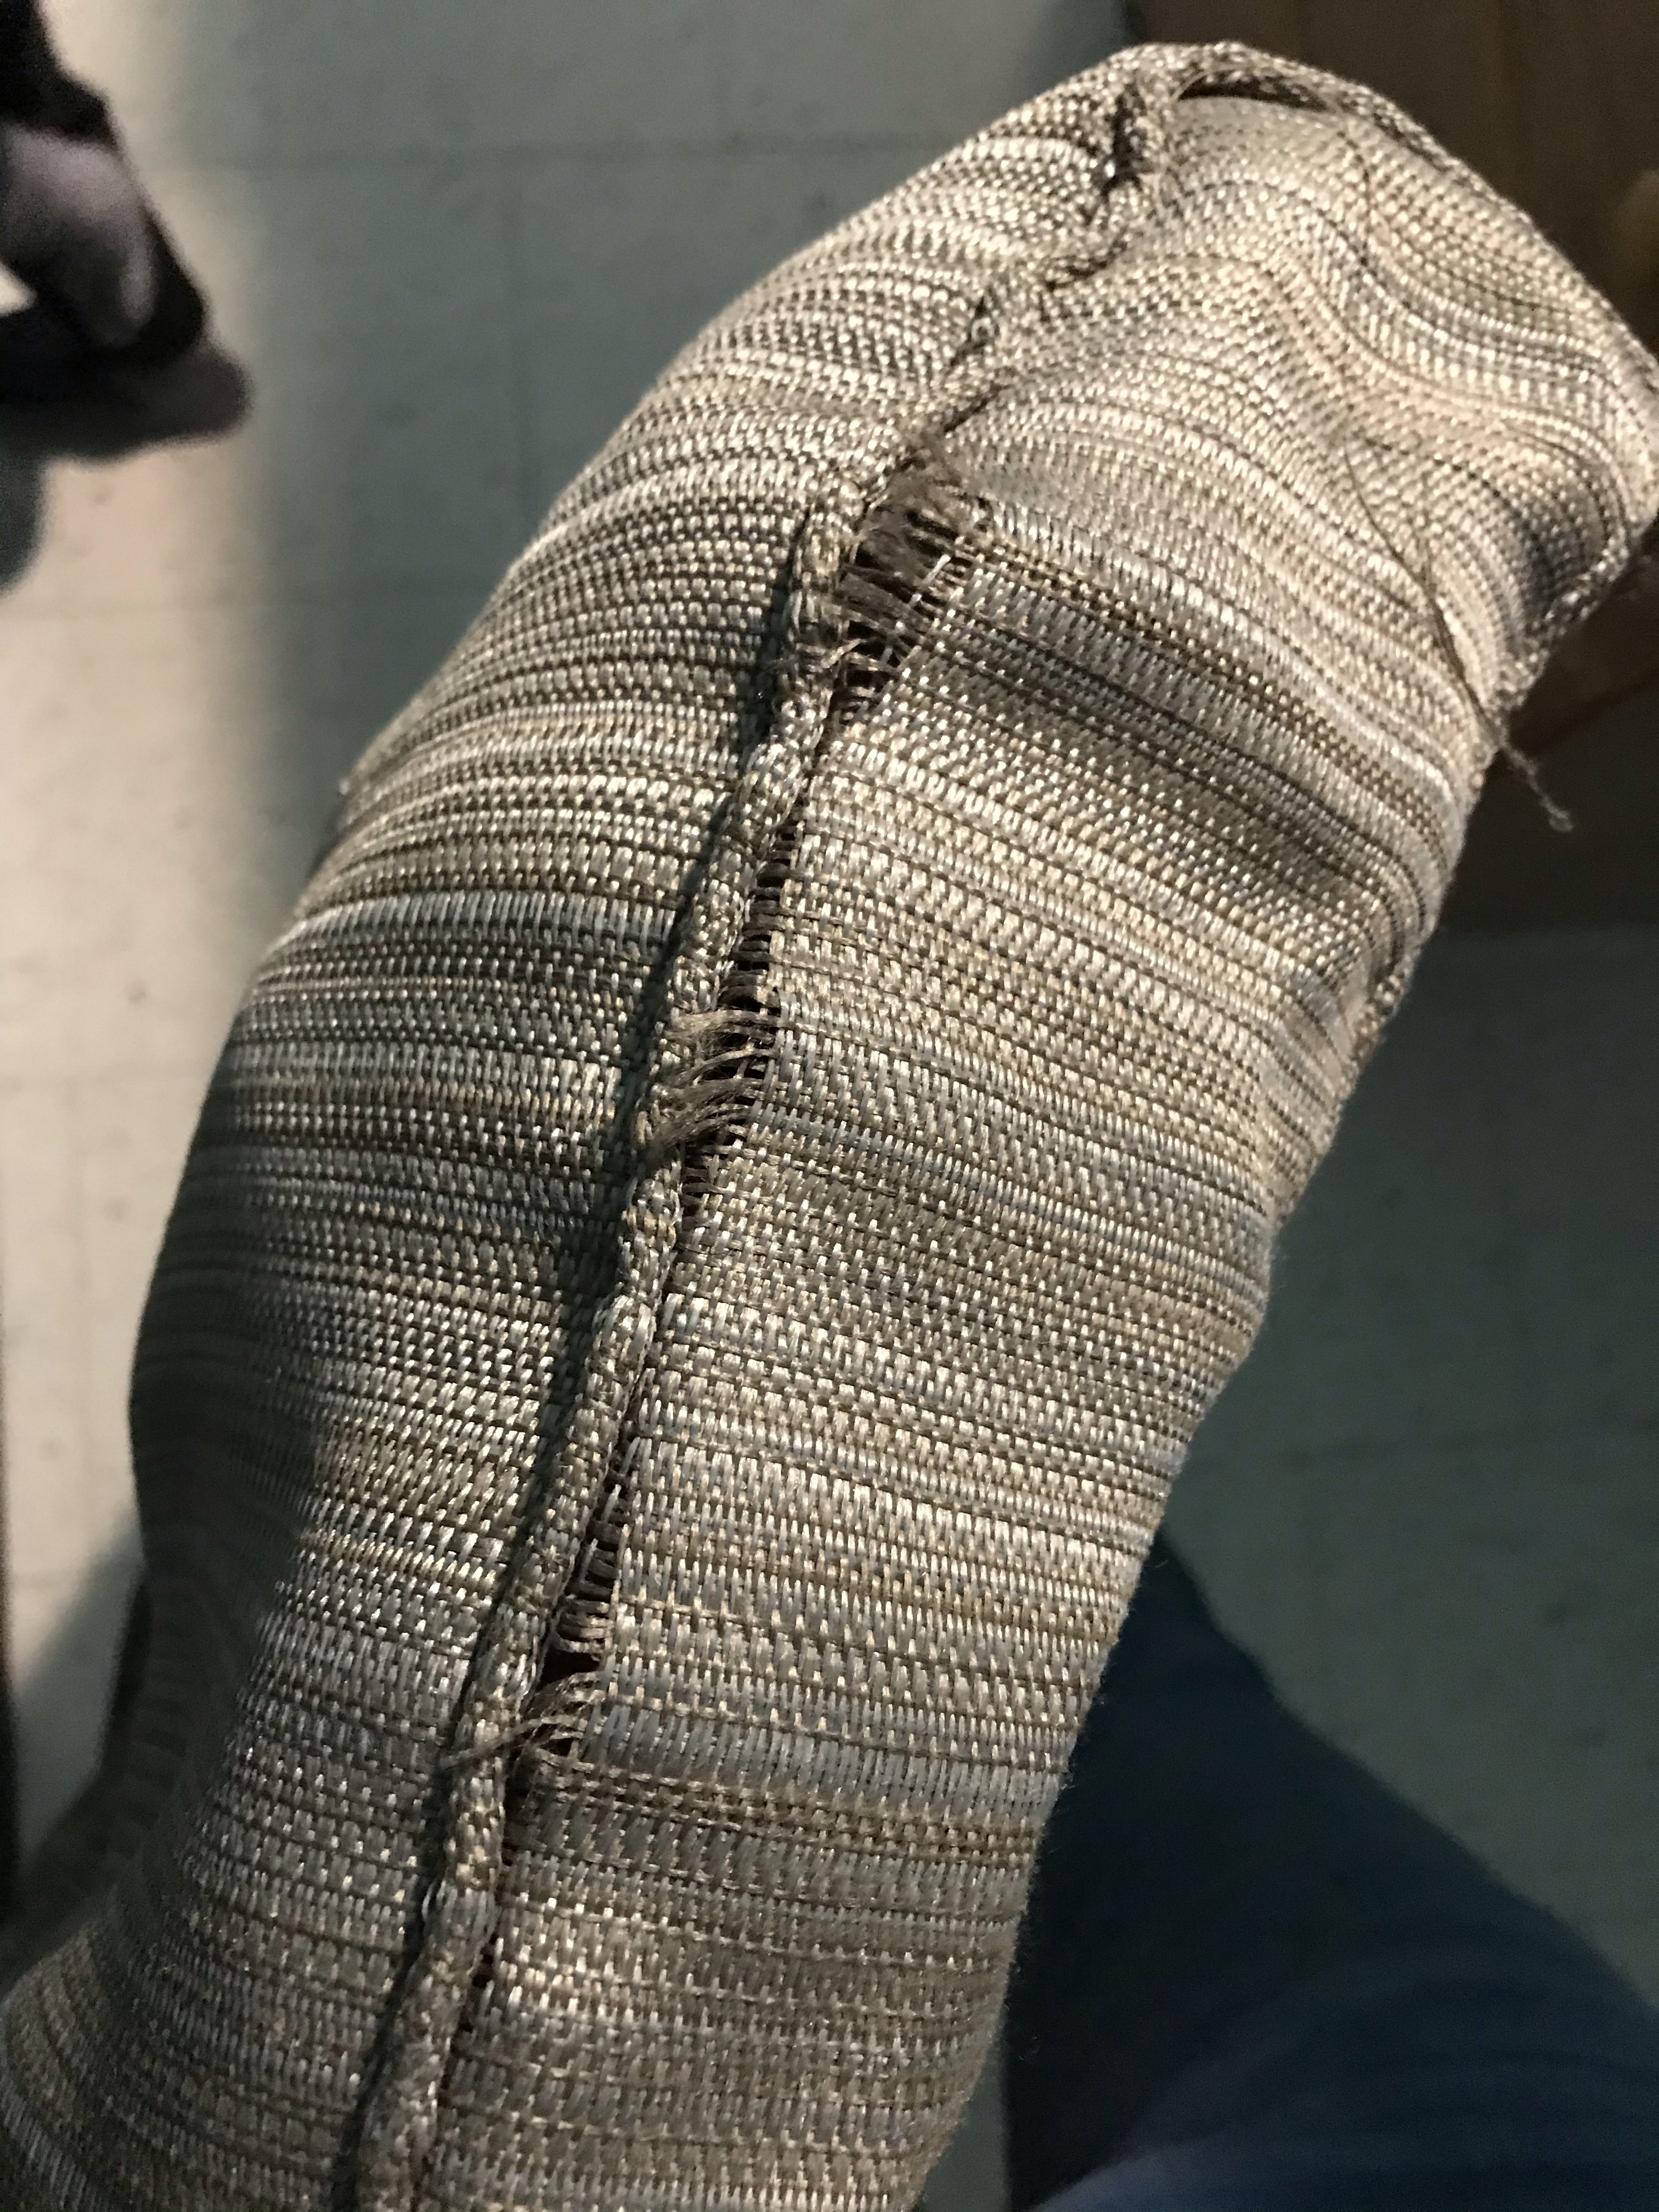
One major upgrade I made to these cushion designs is that I reinforced all the seams. I looked up every kind of felled seam and several French seams, and they all had the issue of putting all the weight of the seam on a single thickness of fabric, if only on one side. I wanted both sides of the seams connected, and the fabric supported. The only way I could think to do this was to add a strip of fabric on the inside and top stitch on both sides. I felt very validated when I discovered this is exactly how high-end vinyl upholstery is made for cars and boats and things.
After making the seam, with the piece inside out, I took a strip of fabric and pinned it inside, just finger pressing the seam open as I went, easing around the curves.

Then I turned the piece inside out and replaced all the pins inside with pins outside. This took forever and involved many pricked fingers.
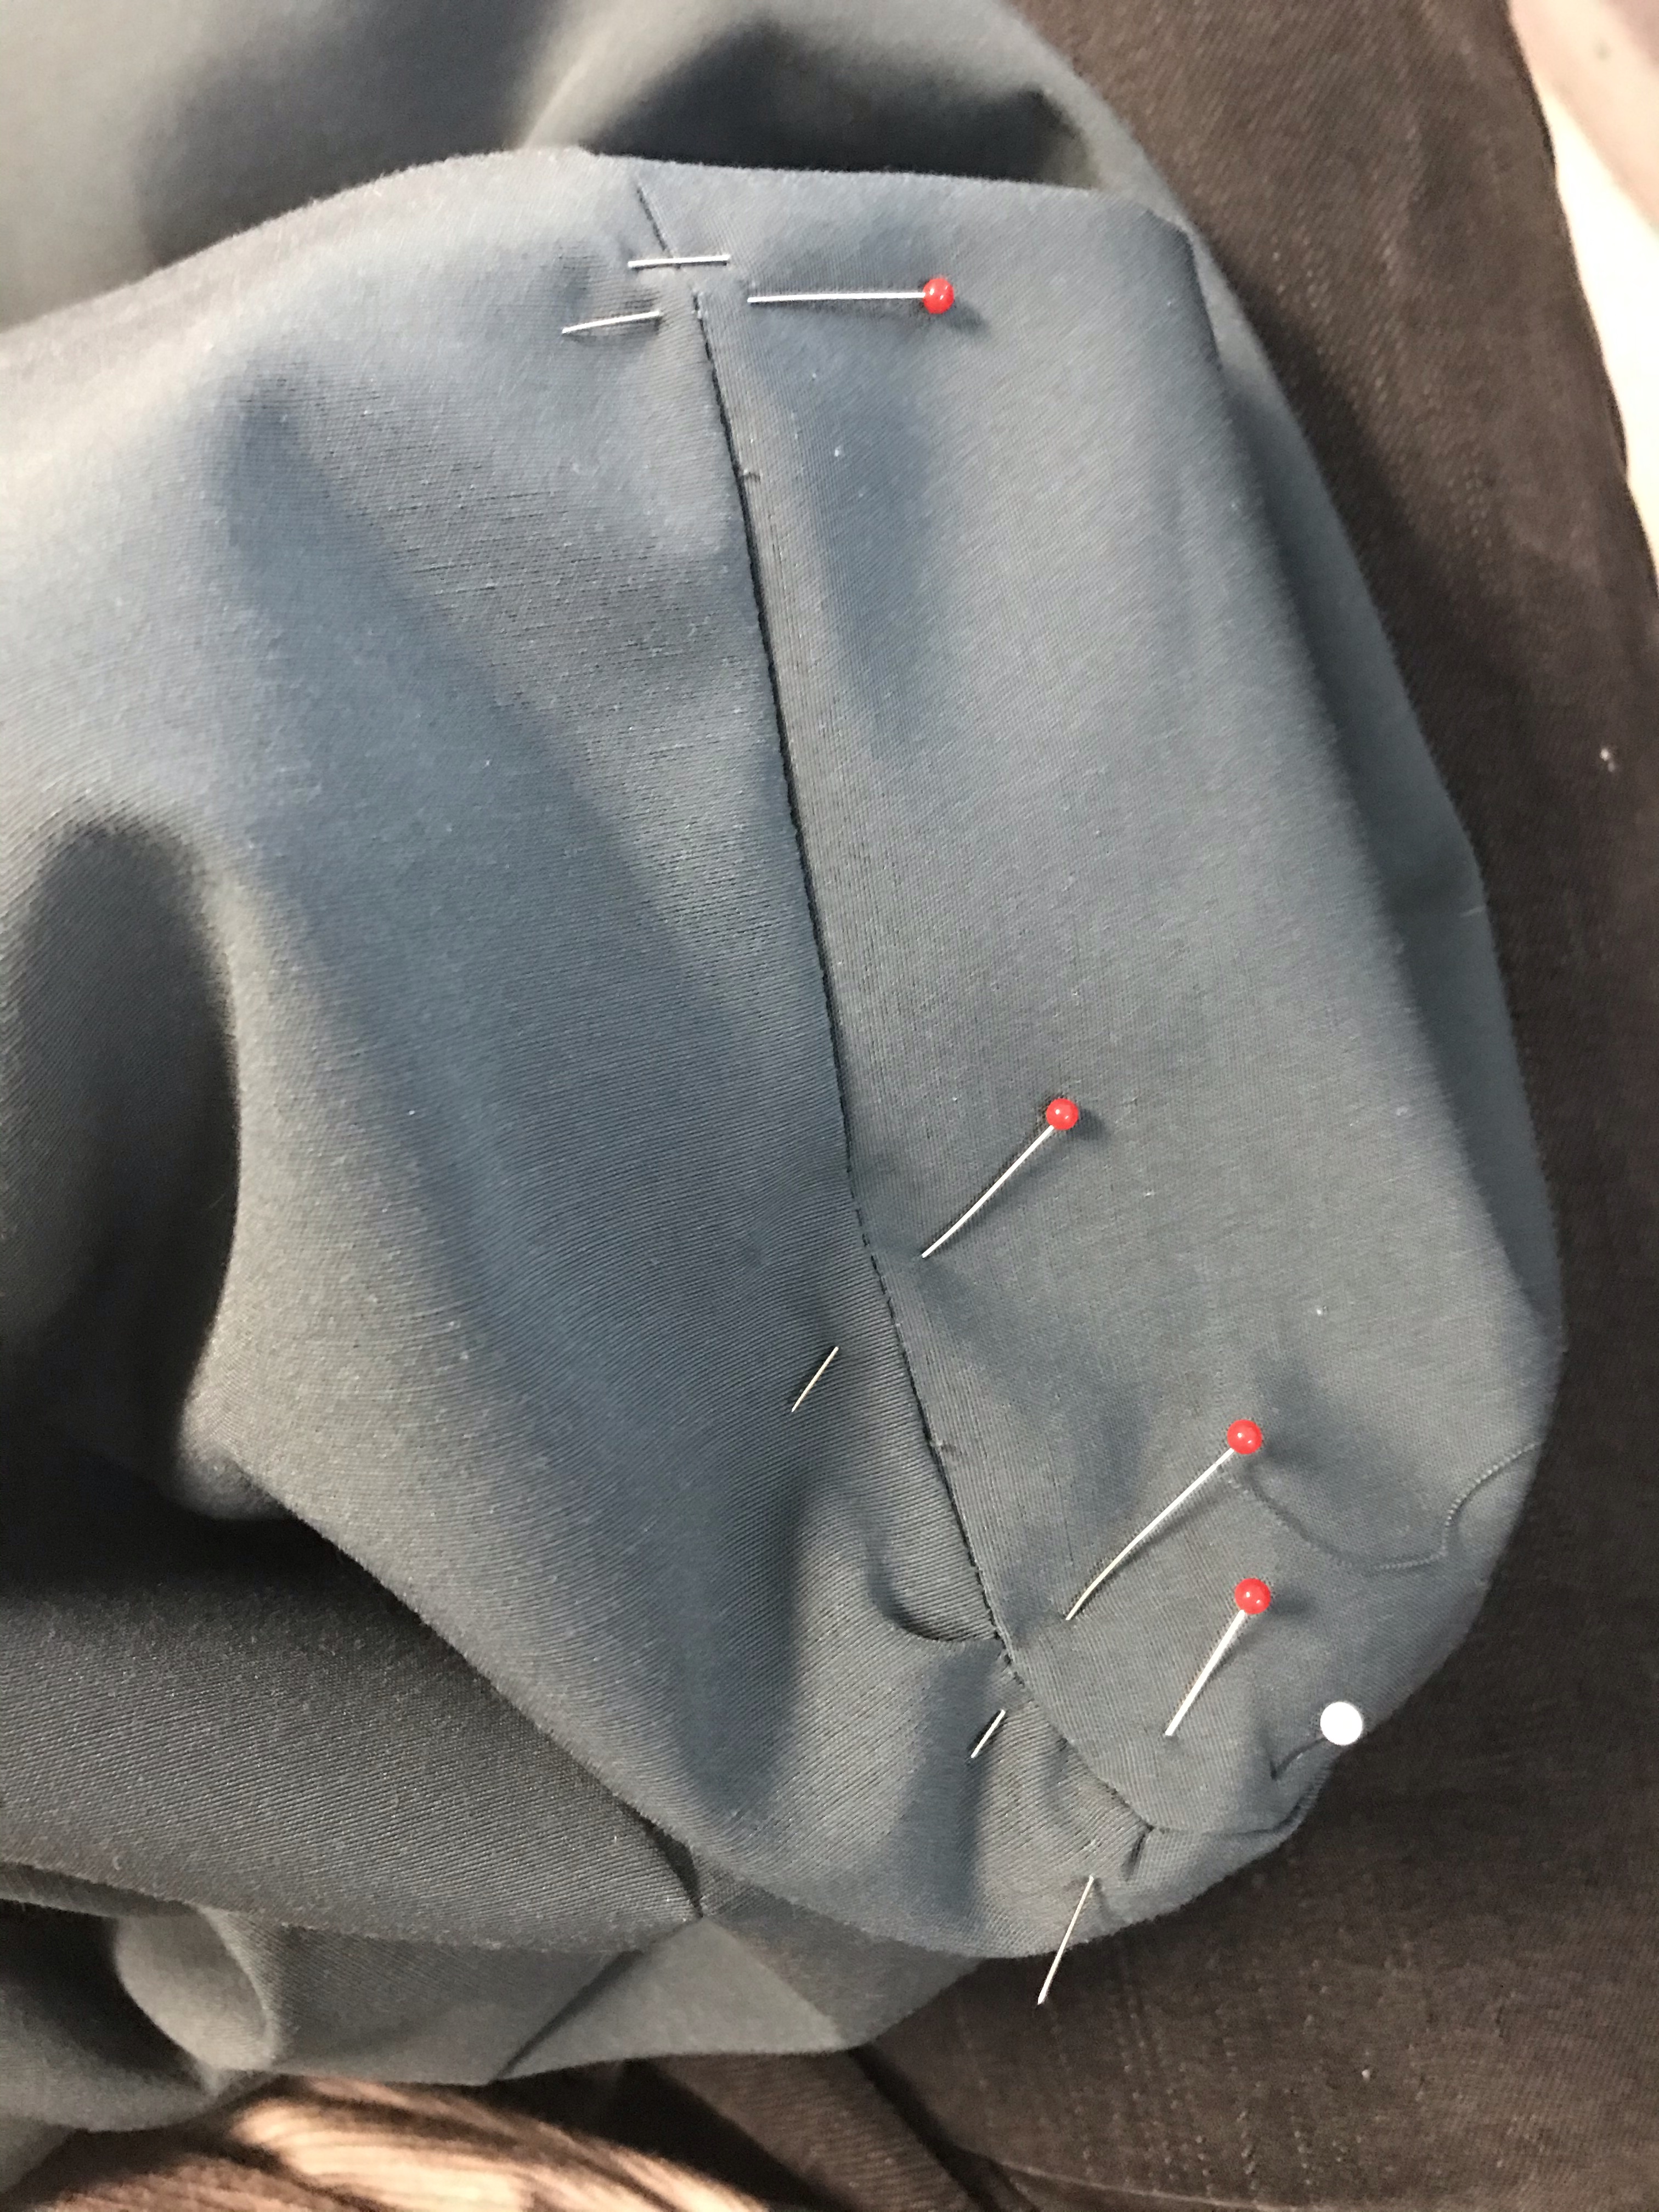
Then I could top stitch on each side of the seam, using an 1/8” foot I happen to have, and it looked pretty ok. As long as you don’t look too closely!

The back cushions were the necessary stage, but when I saw an excellent video on making box cushions, I knew I could handle the seat cushions too.
If you’re interested, this video is the tutorial I followed. What blew my mind was the zipper installation, so let me geek out at you for a minute.

The zipper panel is cut a little wider than the other long strip that makes up the rest of the “wall” around the box. You fold it in half, iron it, then sew a line along the fold, as if you were sewing two pieces together. Then you. It the fold, so it is as if you sewed two pieces together, without the fuss of cutting two pieces and having to pin them, etc. You press the seam open, as above, then pin the zipper behind the seam. Sew the zipper on, on either side of the seam, and then cut the seam open. You have a perfect hidden zipper, with none of that fuss about measuring. It blew my mind just a little.
Maybe that’s totally standard and I’m just clueless. I’m no experienced seamstress. But for the first time I can remember, I’m a seamstress having fun, which bodes well.
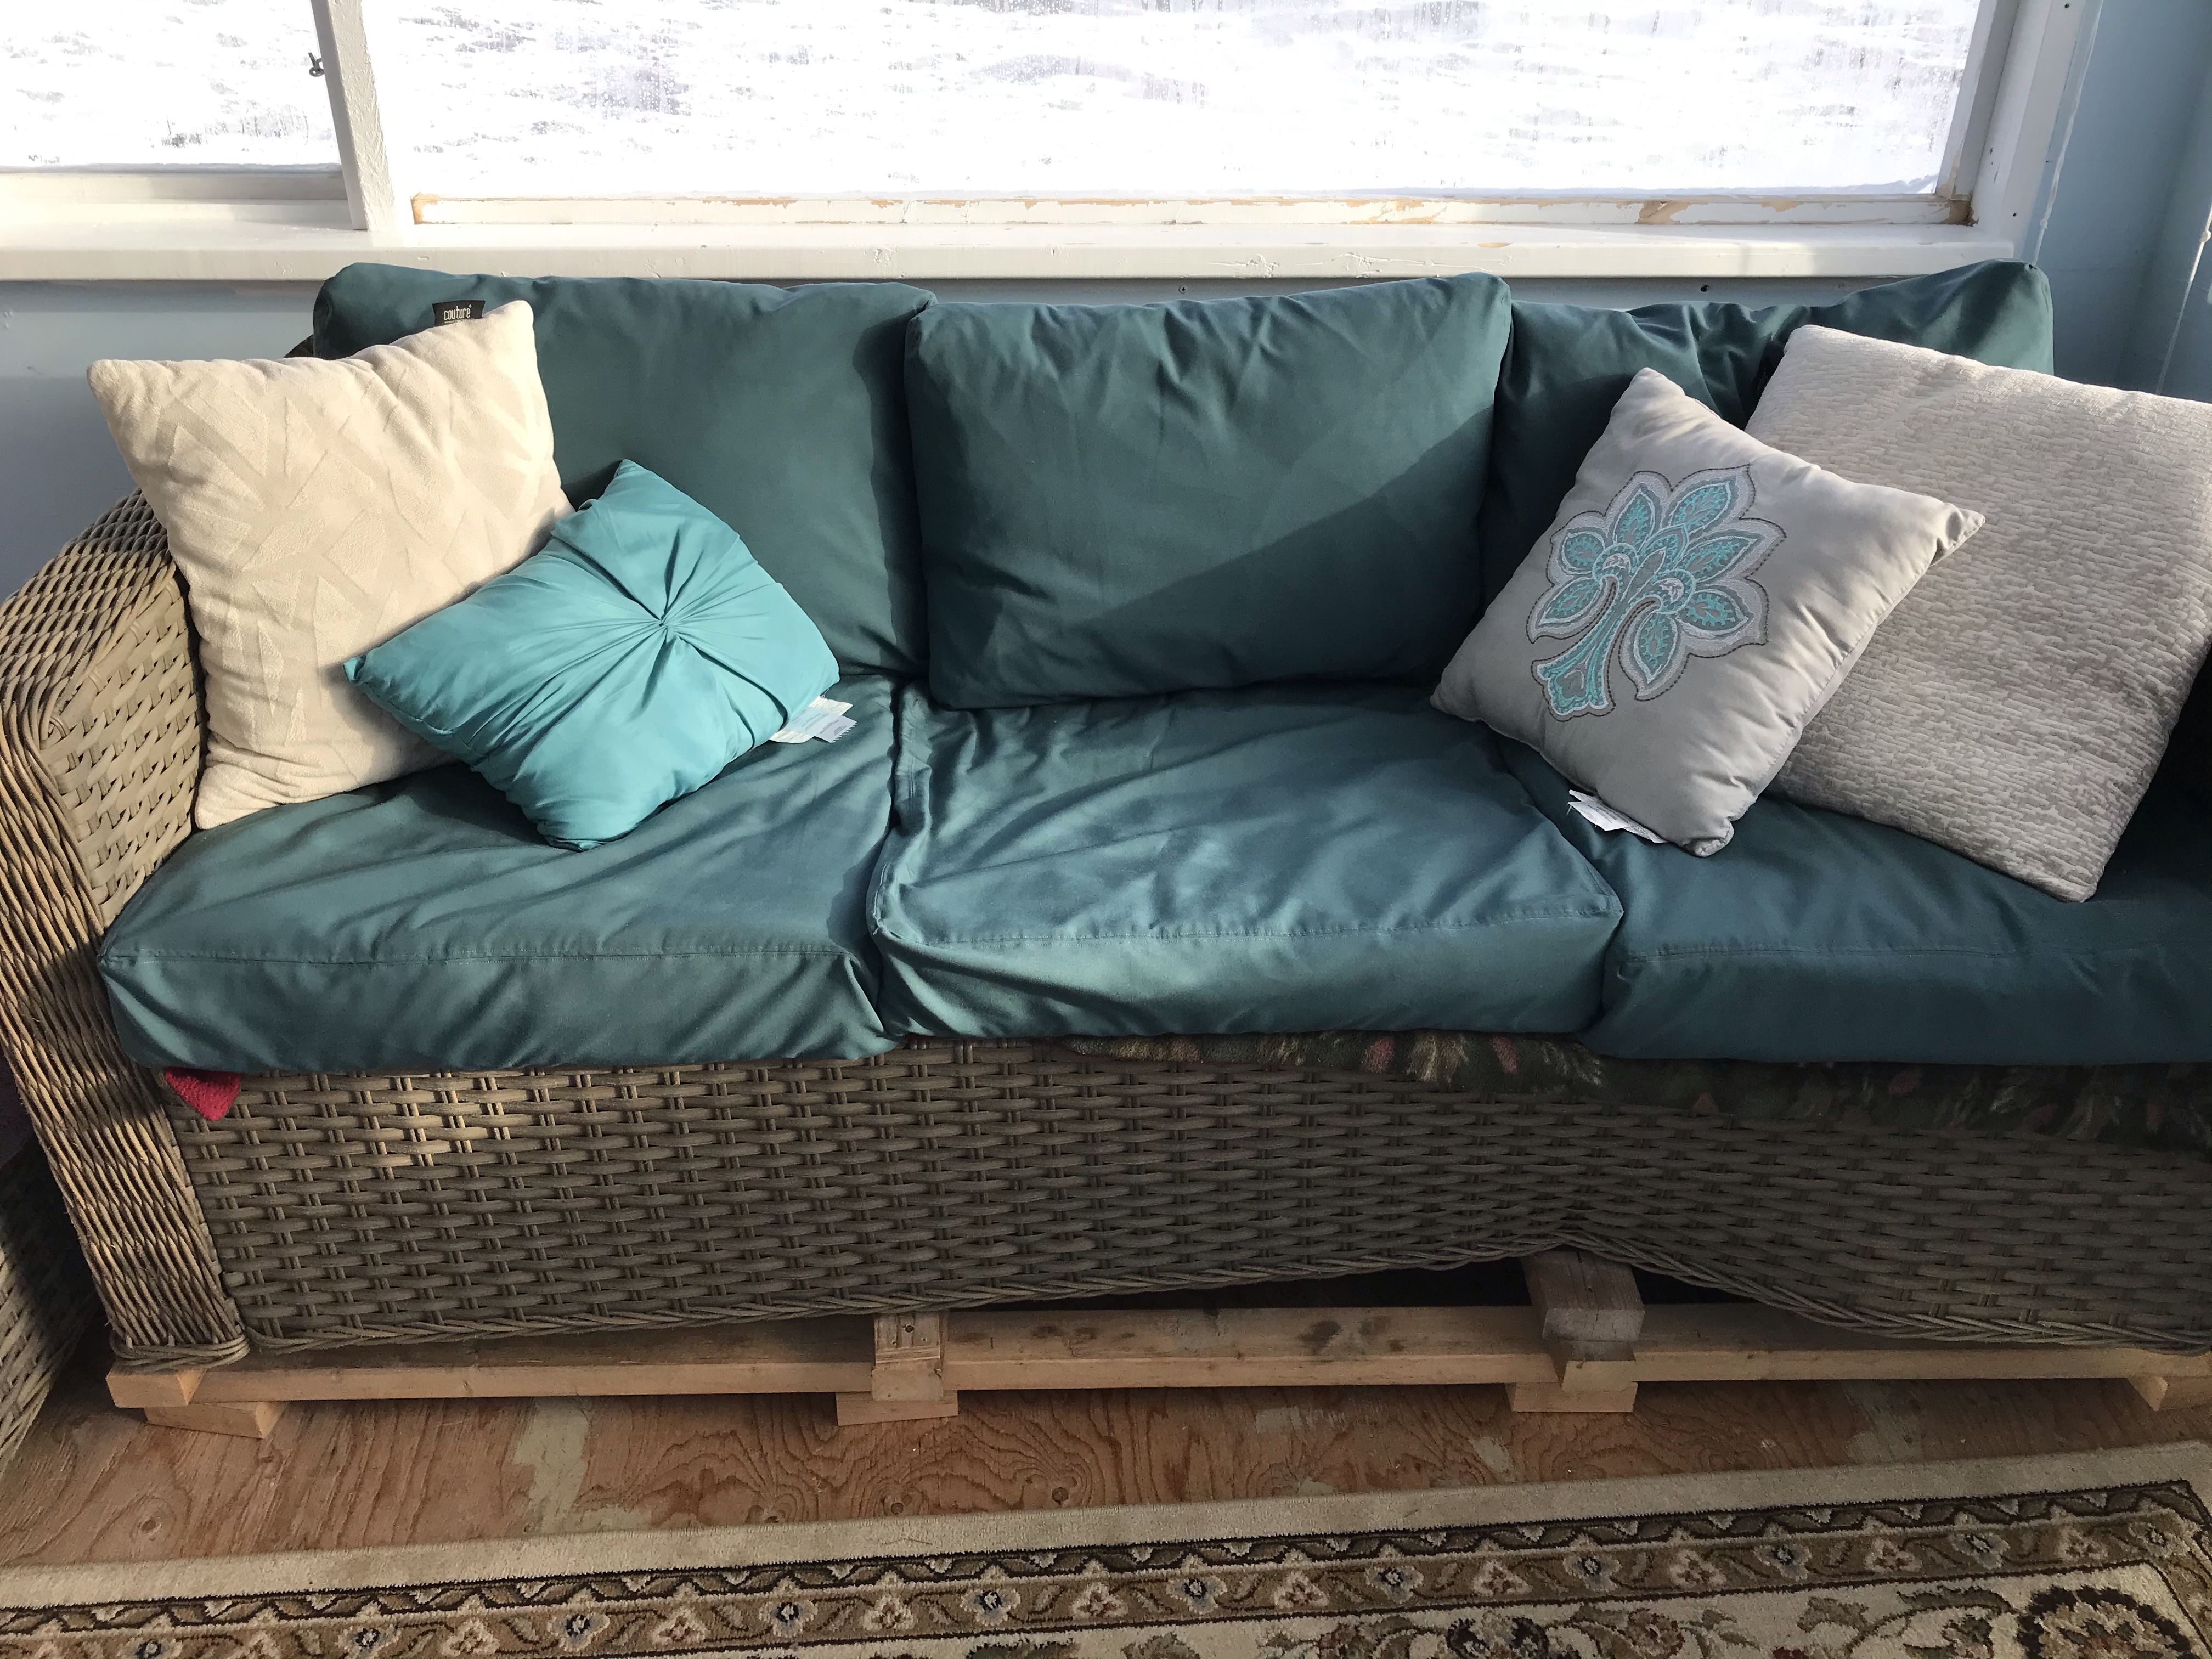
This week the kids have off school, so we spent a few days out at the cabin – just got back in fact. The covers are installed and I think they are pretty cute. They coordinate with the decor and the scenery. I’m praying they stand the test of time, because they were a lot of work!

2 thoughts on “Cabin Cushions”