This is the story of the only pair of socks I knit in all of 2012.
When I saw Jonica last Christmas (or was it two Christmases ago? Oh dear. I think it was last Christmas) she gave me a bunch of stash yarn she didn’t really want any more. In this delicious load was a ball of sock yarn, I think from JaWool, that I fell immediately in love with. It was all my favorite things in the Christmas aesthetic: scarletty red, forest green, made rustic with varied application of color that allowed plenty of white to peek from underneath.
I also wanted long-term movie theatre knitting: a project I knew would take me a while, be so brainless that I could always knit it in the dark, that I could keep in a bag ready to dash out to a film at the drop of a hat. (Which happens to me surprisingly often.) Loving this yarn dearly, I wanted to use every inch of it, without having to deal with toe up socks or other fussy things I didn’t feel like dealing with. So I just cast on 64 stitches and knit, figuring it would turn into socks eventually. Well it did, but it took a more circuitous route than I had hoped for. Here was my glorious plan as it unravelled (an unfortunate but accurate verb).
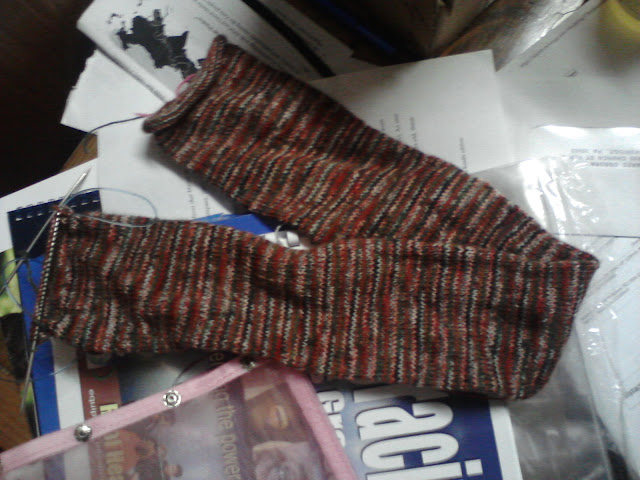
Step 1: Provisionally cast on 64 stitches (or whatever # you usually use for plain socks) and knit until you’re out of yarn. I didn’t count, but this took me about the same number of hours as I watched movies in the theatre over the course of a calendar year. I didn’t measure, but I think the finished tube when I really and truly ran out of yarn was at least 4′ in length. It might have been closer to 5′.
At this point you are out of movie knitting, but you still want socks. So you take this plain tube and do some clever things to it.
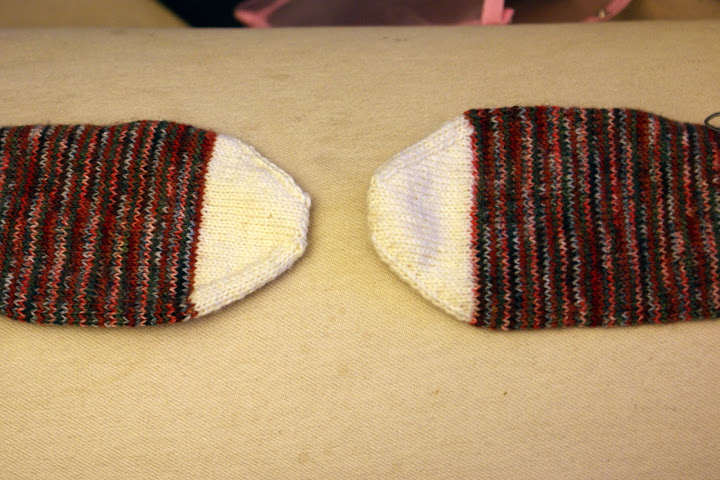
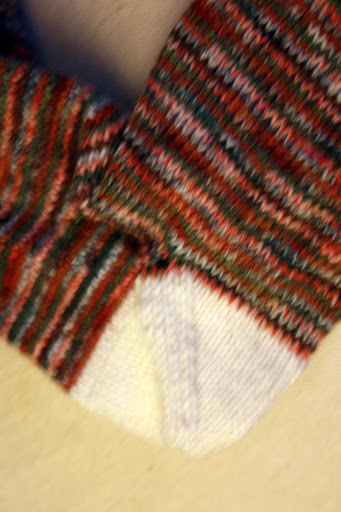
Step 2: Find the exact middle of this tube, pick out the stitches of the middle row, and knit a toe on each side of the split in your contrasting color of choice.
Step 3: Using your foot as a guide, add an afterthought heel in your contrasting color. (I held the sock up to the sole of my foot with the toe right at the end of my toe and placed the split for the heel 1.5″-2″ toward the toe from where the tube lined up with the very back of my heel. This was perfect.)
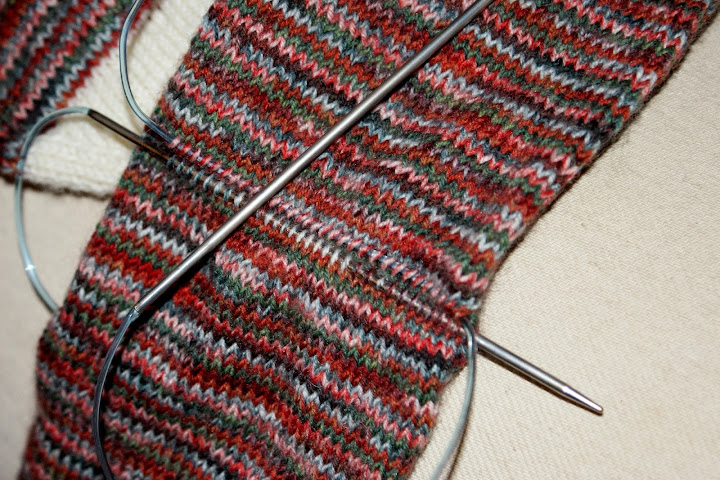
You can read how to do an afterthought heel in Folk Socks or some other competent sock book, but the ideas is that you remove a row of stitches from where you wish to place the heel, place both of the new half rows of live stitches on your needles of choice, and knit another toe.
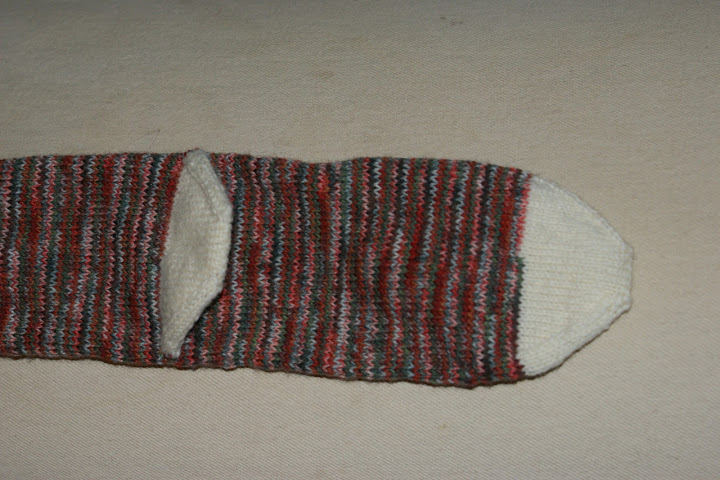
It may surprise you that, folded sideways , a toe is more or less the same shape as a heel. This makes me feel very smart almost without fail.
By now, you are probably feeling really clever. You’ve used up all your precious pretty yarn, you’ve made a toe and heel that fit you beautifully. But there’s one problem:
You didn’t think about the fact that using up a whole large-ish ball of sock yarn on just the tube part would want to make a sock much longer than the skinny part of your leg. If I want to use all this yarn, I need to make knee socks, and knee socks require increases to fit over my appropriately meaty calf. This rather changes the next step.
Step 4: Rip back your happy tube knitting until the leg is about 7″ long, then re-knit the rest of the leg with some calf increases. I do a KFB on either side of the beginning-of-round marker every 4th row, and I do this 10 times, bringing me up to 84 stitches. Then knit until you run out of yarn again.
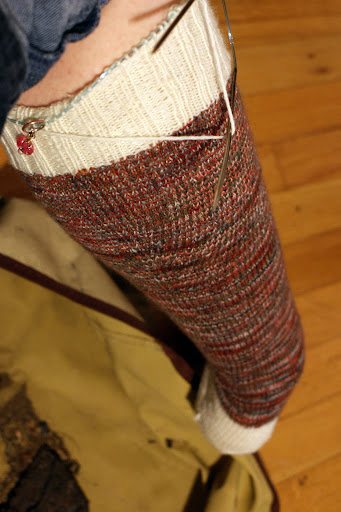
Step 5: Attach that contrasting color again and start in on the ribbing. (Don’t forget to knit 1 round in the new color before starting the ribbing proper.) You’re now committed to the whole knee-sock idea, so you have to keep going with that ribbing until the sock is long enough not to slide off your calf every five seconds. For me this took about 50 rounds. Mercifully it also counted as movie knitting; 50 rounds of 84 stitches takes me at least 1.5 movies.
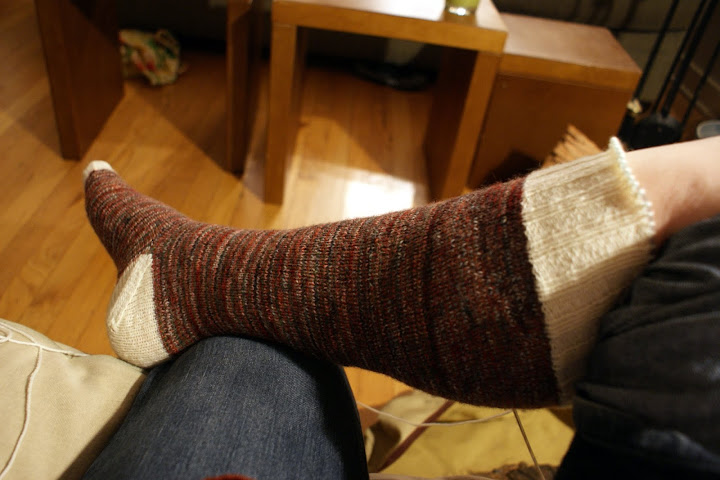
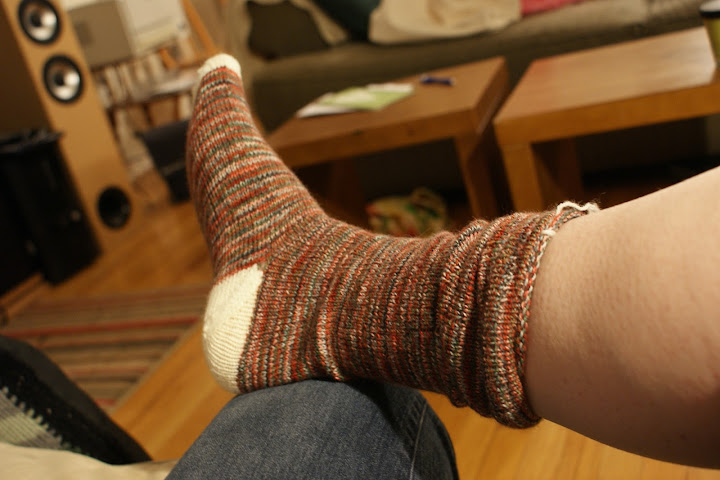
You are now free to bask in the glory of your perfectly fitted socks.
If I were to do this again, I would amend my steps as follows:
Step 1: Provisionally cast on 64 stitches, and knit a plain tube approximately 2′ long.
Step 2: On each end, do the calf increases, and continue until you run out of yarn. (In order to do this step justice, you’ll probably have to work both ends at the same time, pulling from the inside and outside of your ball, at least after the calf increases are done. If you are into that sort of thing, you can even work both ends at once on two circulars or one long circular. )
Step 3: Find the exact center, cut, and make two toes in contrasting color.
Step 4: Using your foot as a guide, add two provisional heels in contrasting color.
Step 5: Add ribbing to desired length in contrasting color.

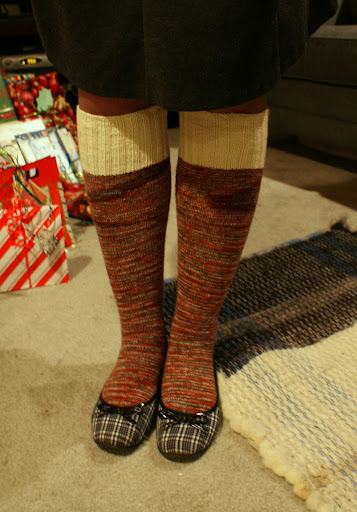
- Bonus belly picture at 32 weeks, 4 days! I cranked out the end of the socks quickly so I could incorporate them into my Christmas Eve outfit, and while they did not mitigate looking like a freaking whale, they were WARM and I was quite proud of myself.
So as you can see, my plan of doing something simple with a simple tube that used up all my yarn rather backfired. Either way I have to complicate matters. If I do it again, I might make them regular mid-length sock by making the plain tube around 2′ and doing the toes, heels, and ribbing in the same color. I wouldn’t use quite all the yarn, but I wouldn’t have to mess about with knitting both ends at the same time. Some people love that, but it messes with the minimalist groove I’m trying to get into with these socks.
You could also just knit the plain tube as in the original step 1, then cut a great nasty steek down the whole thing, reinforce the edges with crochet or sewing machine, and have a cute wee scarf!

Aha! I’ve been waiting for you to post about these socks ever since you told me about them waaaaaaaay back in September! 🙂 Even if they didn’t go exactly as planned, it was still a brilliant plan and a smashing success! Bravo!
LikeLike