Happy New Year! Let’s talk about fondant.
What fondant? I hear from lots of customers, “I don’t like fondant, don’t use it.” When this is the case, I don’t use it at all. But hear me out. I actually make my own fondant. I use this recipe from Sugar Geek Show. I tried it because I figured it would be cheaper to make my own than to buy it pre-made, though I honestly haven’t run the numbers. But it actually tastes good (it’s mostly marshmallows), and it’s much smoother and easier to use than the stuff out of the box.
I don’t really cover cakes in fondant. If you watch as many cake decorating videos on youtube as I do, you see cake decorators using fondant to cover cakes. I haven’t really done that. I did panel one cake with fondant:

I love this cake. It’s hilarious. (It’s a goodbye cake; the top says “crap, you’re leaving us.”) But the fondant part was a pain. Also, while I do (probably) save money by making my own fondant, it would still be costly to cover a whole cake in it.
I have done a couple cute little cakes like this, where the whole sides are covered in fondant, but it’s cut into shapes. This takes a lot of time, but it’s fun and doable.

Mostly, I use fondant for decorative details on buttercream cakes.
What tools I use: I talked about this back on day 2, but these are the tools I use for shaping and decorating fondant.
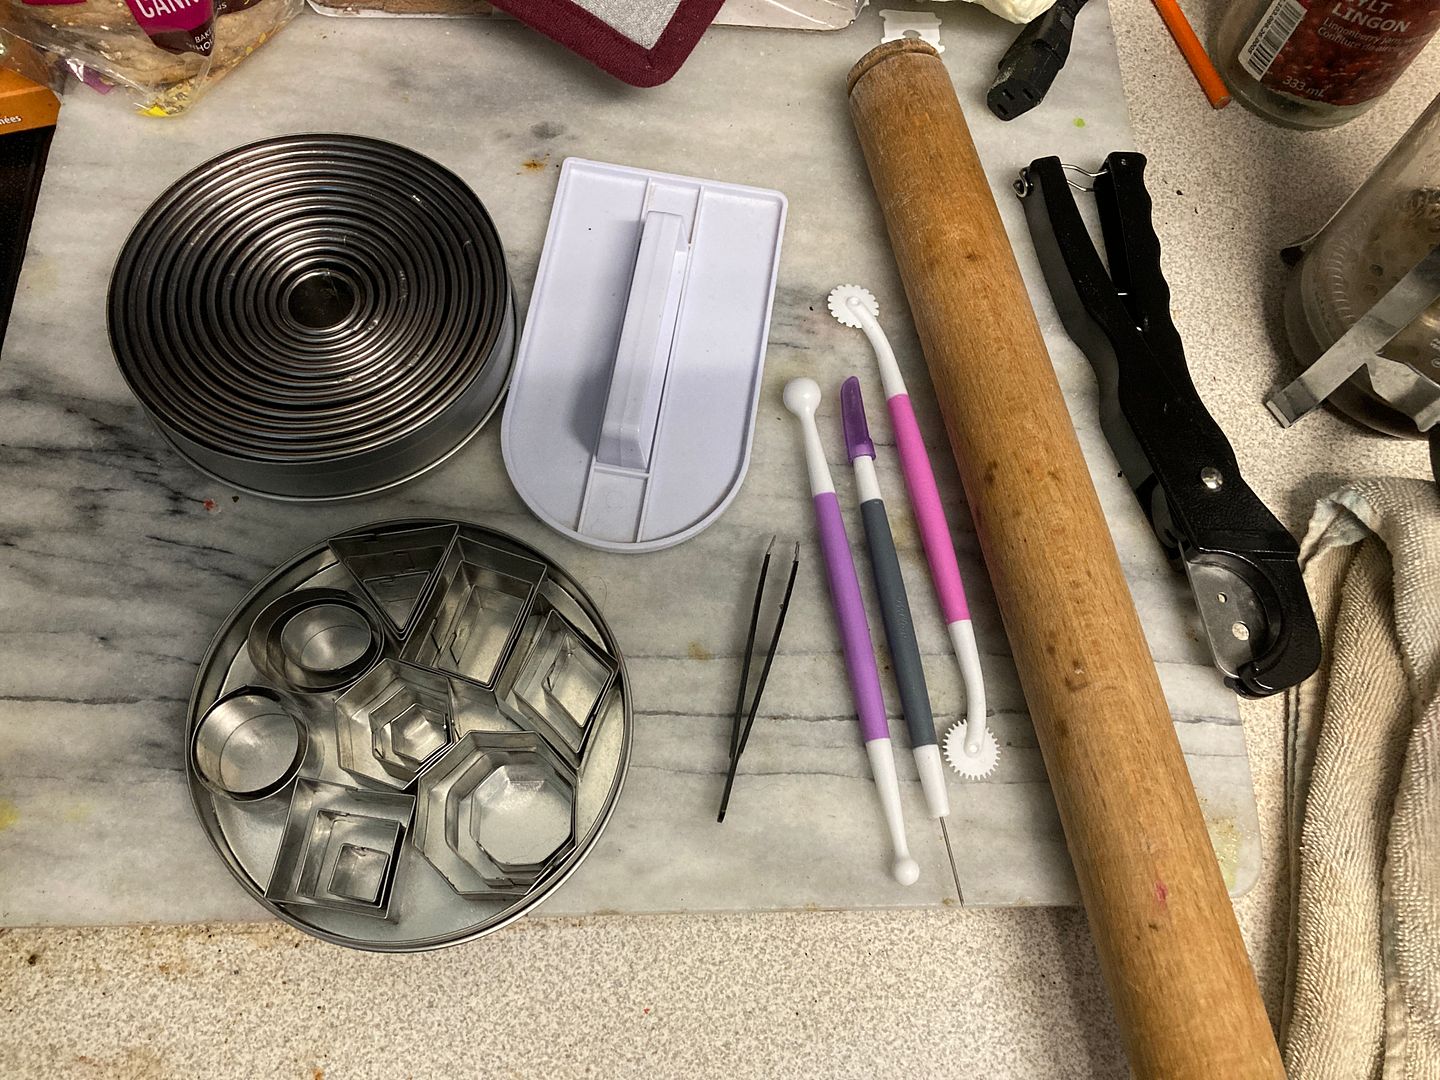
We also have a lot of play-doh tools in our house. I have used a few of these from time to time, but I always wash them first, with dishsoap and then soaking them in a bleach solution.

The actual coloring process is pretty straight forward. Just add a couple of drops in, and work with your hands until the color is all through. Add less than you think you need, and work your way up. If you accidentally make it too dark, just break off a piece of the too-dark and add it to white.
As you see, the finish on my kitchen table needs replacing. That’s why I always always always work on parchment paper. No one wants bits of flaked-off finish in their food.
Making flat elements: A lot of what I do is roll the fondant flat, then cut out shapes. Even if I can’t use a cutter to make exactly the shape I want, I can often use cutters together to make clean curves and lines. This is an awesome way to make character cakes.
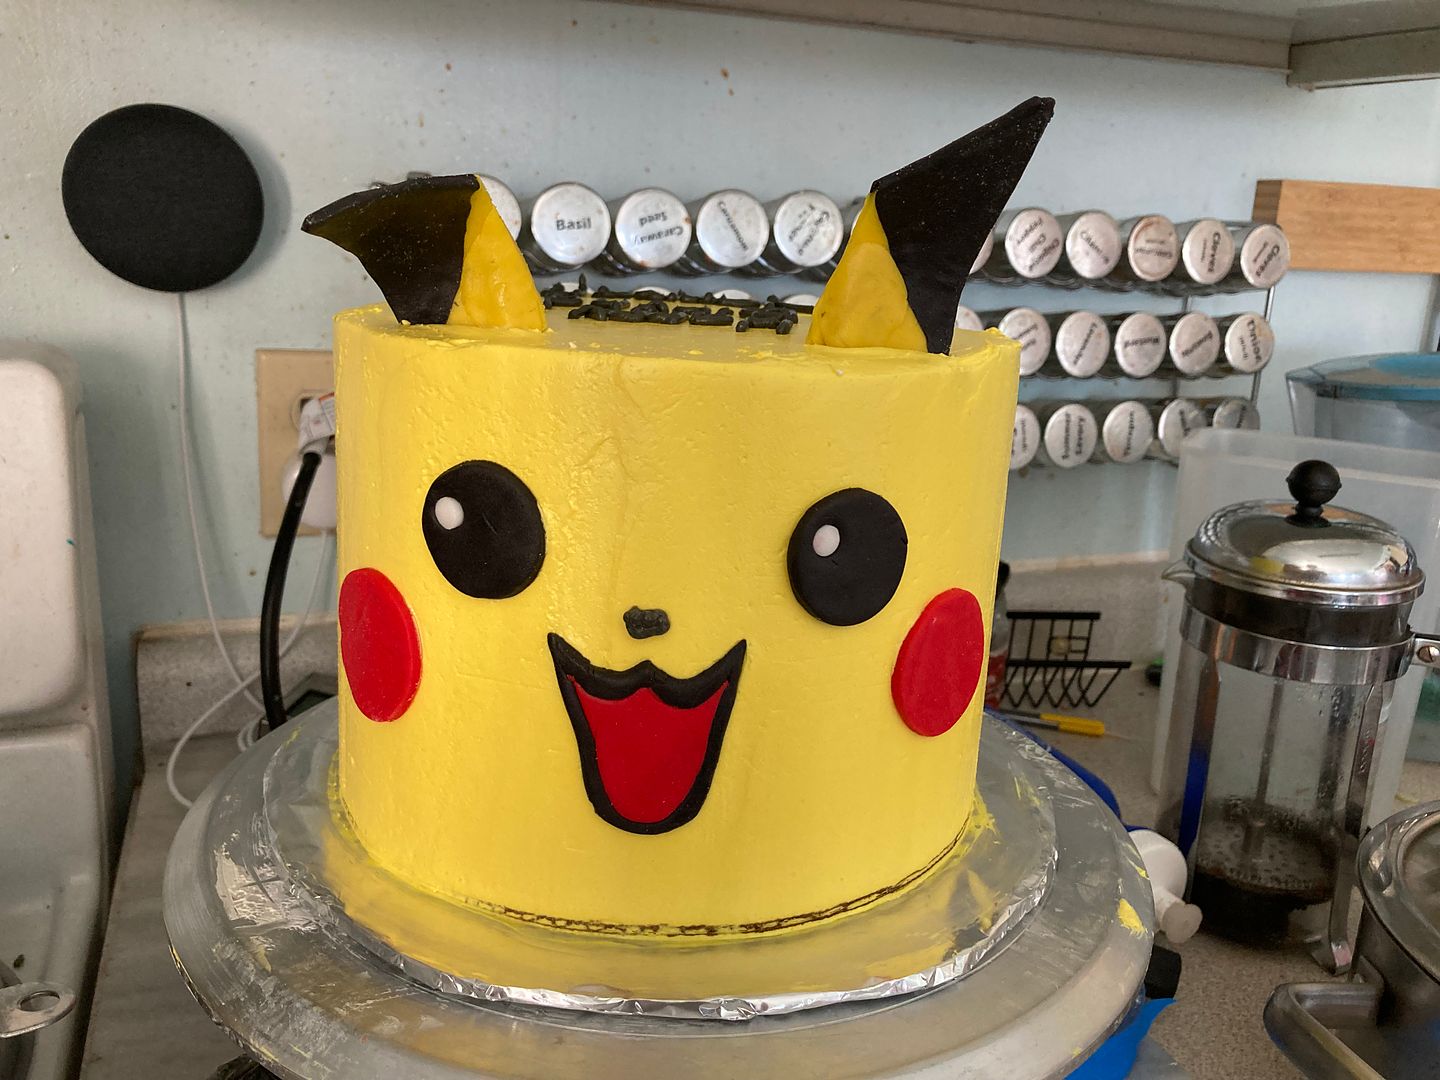
For Pikachu’s face, obviously I used a circle cutter for the cheeks and eyes, and a piping tip for the catchlight. For the mouth, I used circle shapes as a guide to cut out the top curves on the mouth, then gently pressed half a circle as a guide for the bottom as well. I cut the same shape out of red and black, then nested the red inside the black cutout and used the ball tool to massage the colors together. Then I used similar shapes – smaller circles for the top of the mouth, a larger one for the bottom.
I like to make the shapes while the crumb coat is chilling. Then, when the fondant shapes are done, I put on the final coat, and while the final coat is still soft, I press on the fondant shapes.
I love cakes like this. They are fun, relatively simple, and make a big impact.
A note on ears: Pikachu’s ears are made from fondant a well, a little thicker, with wooden skewers carefully inserted. If I wanted his ears to be more pointy, I should have added some tylose powder to make the fondant into gum paste, and left them overnight to dry. I bought tylose powder to this end, but have I ever gotten around to using it? No. I’ve just made floppy ears.
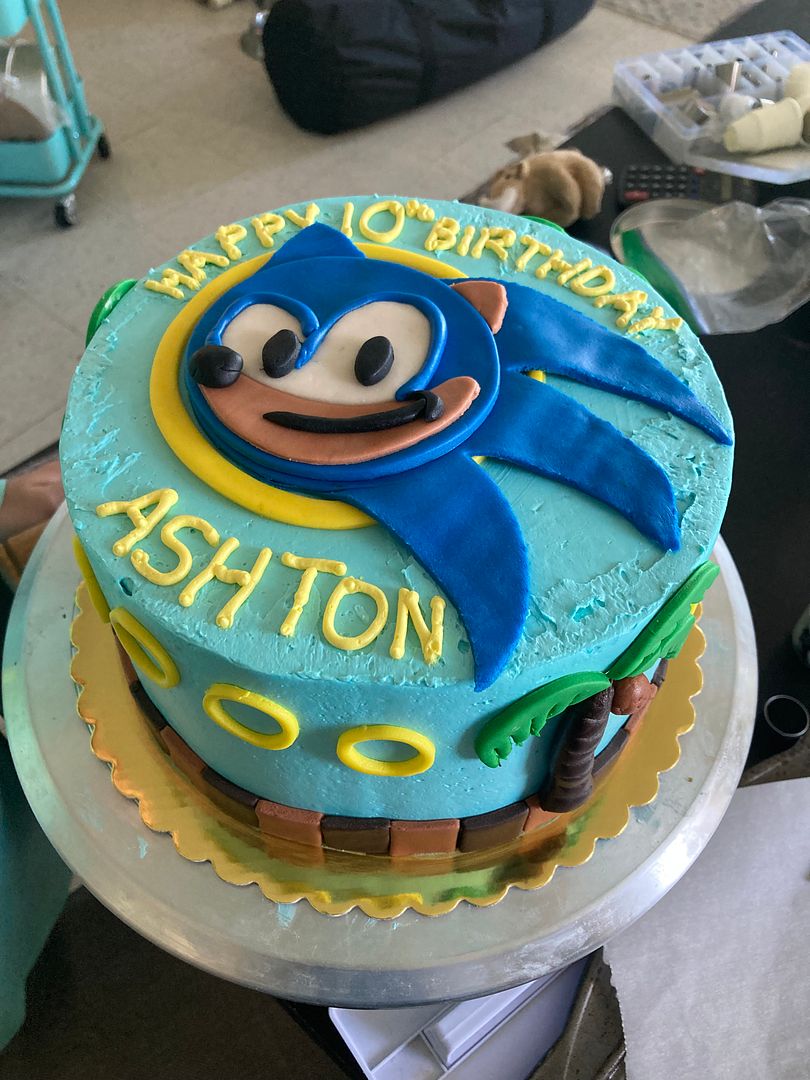
Sonic was made similarly. I love these Sonic cakes.
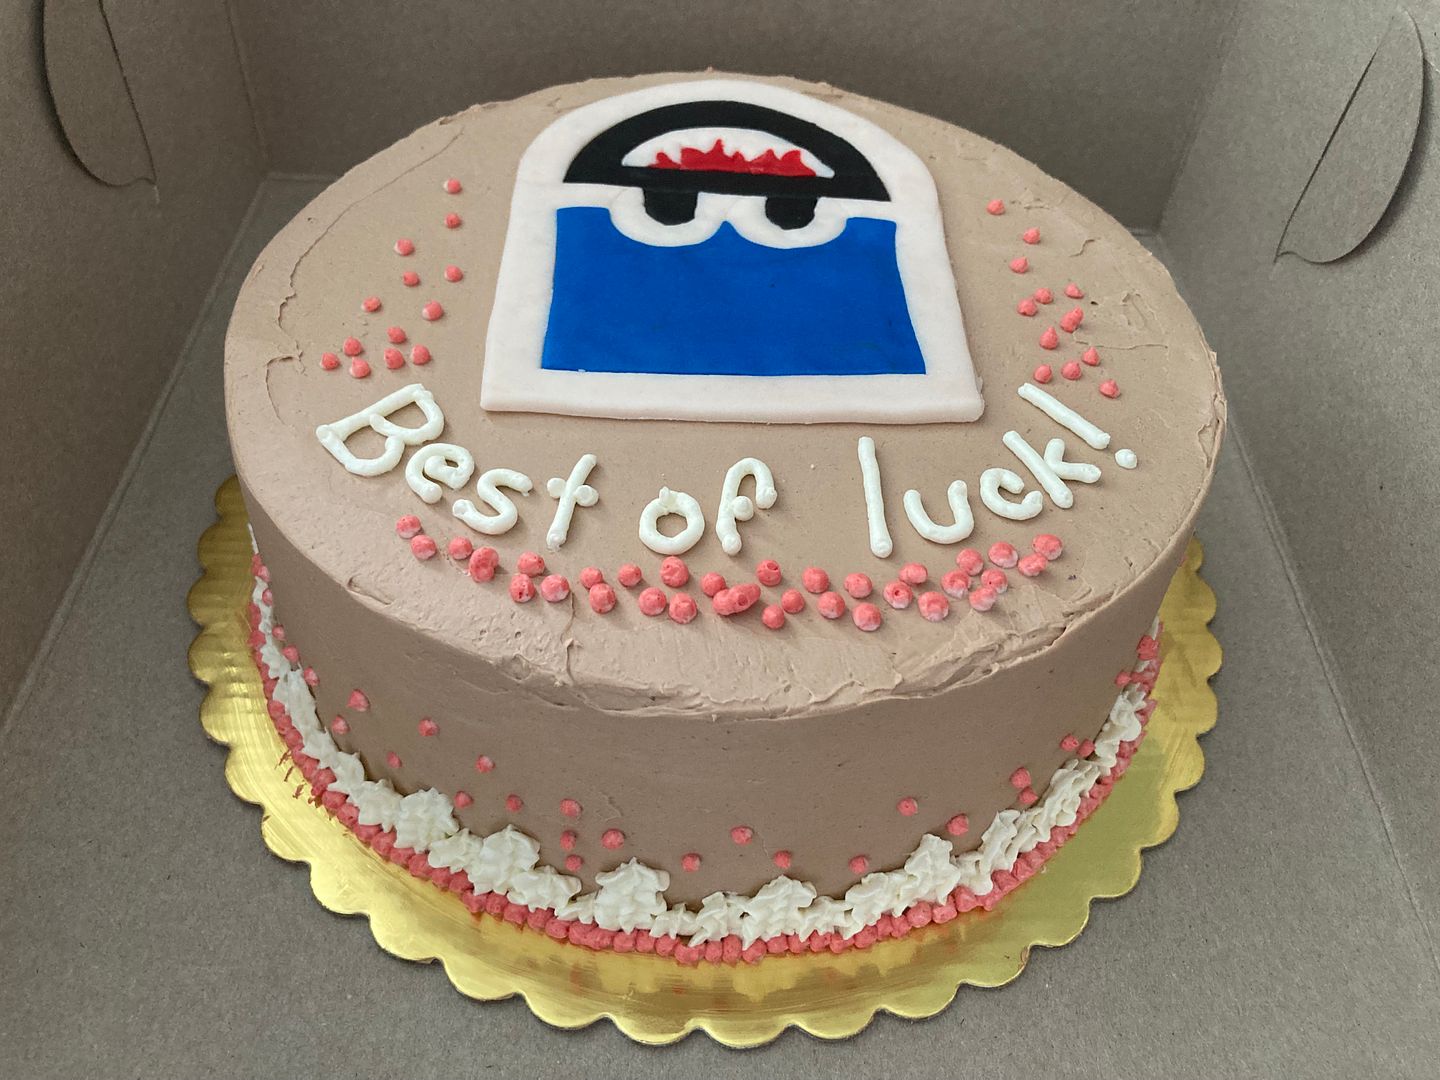
I was asked to make a cake for a work party for the local energy corporation, with their logo on the front. I was so proud of how the logo came out.
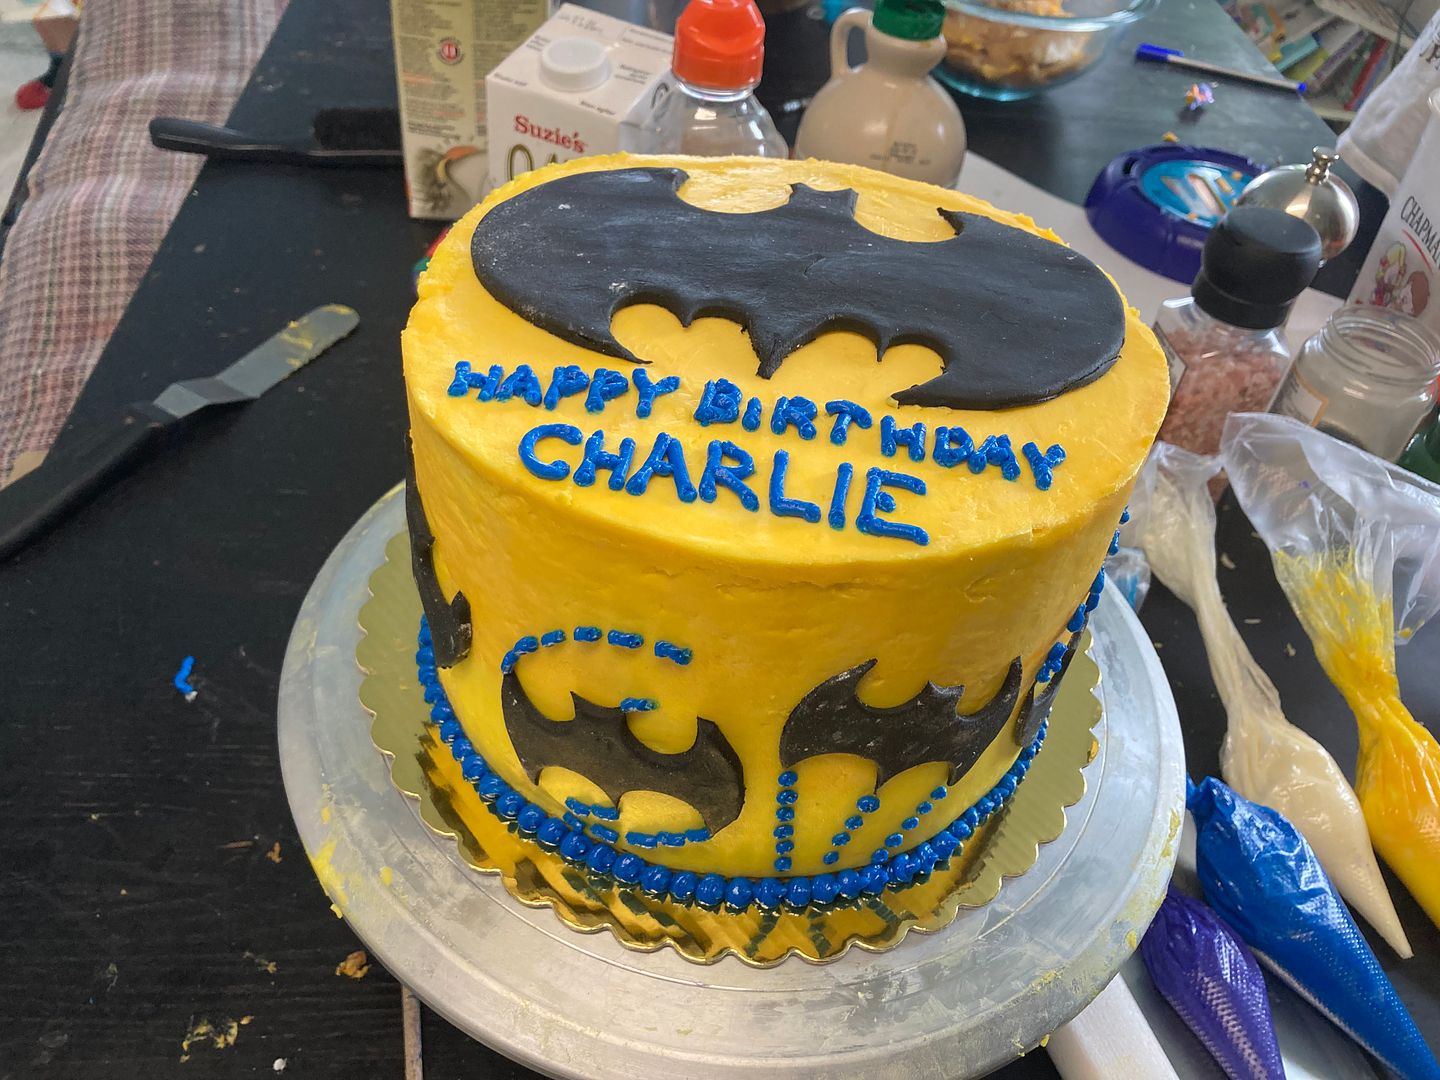
These Batman shapes were made entirely with different sizes of circle cutters.
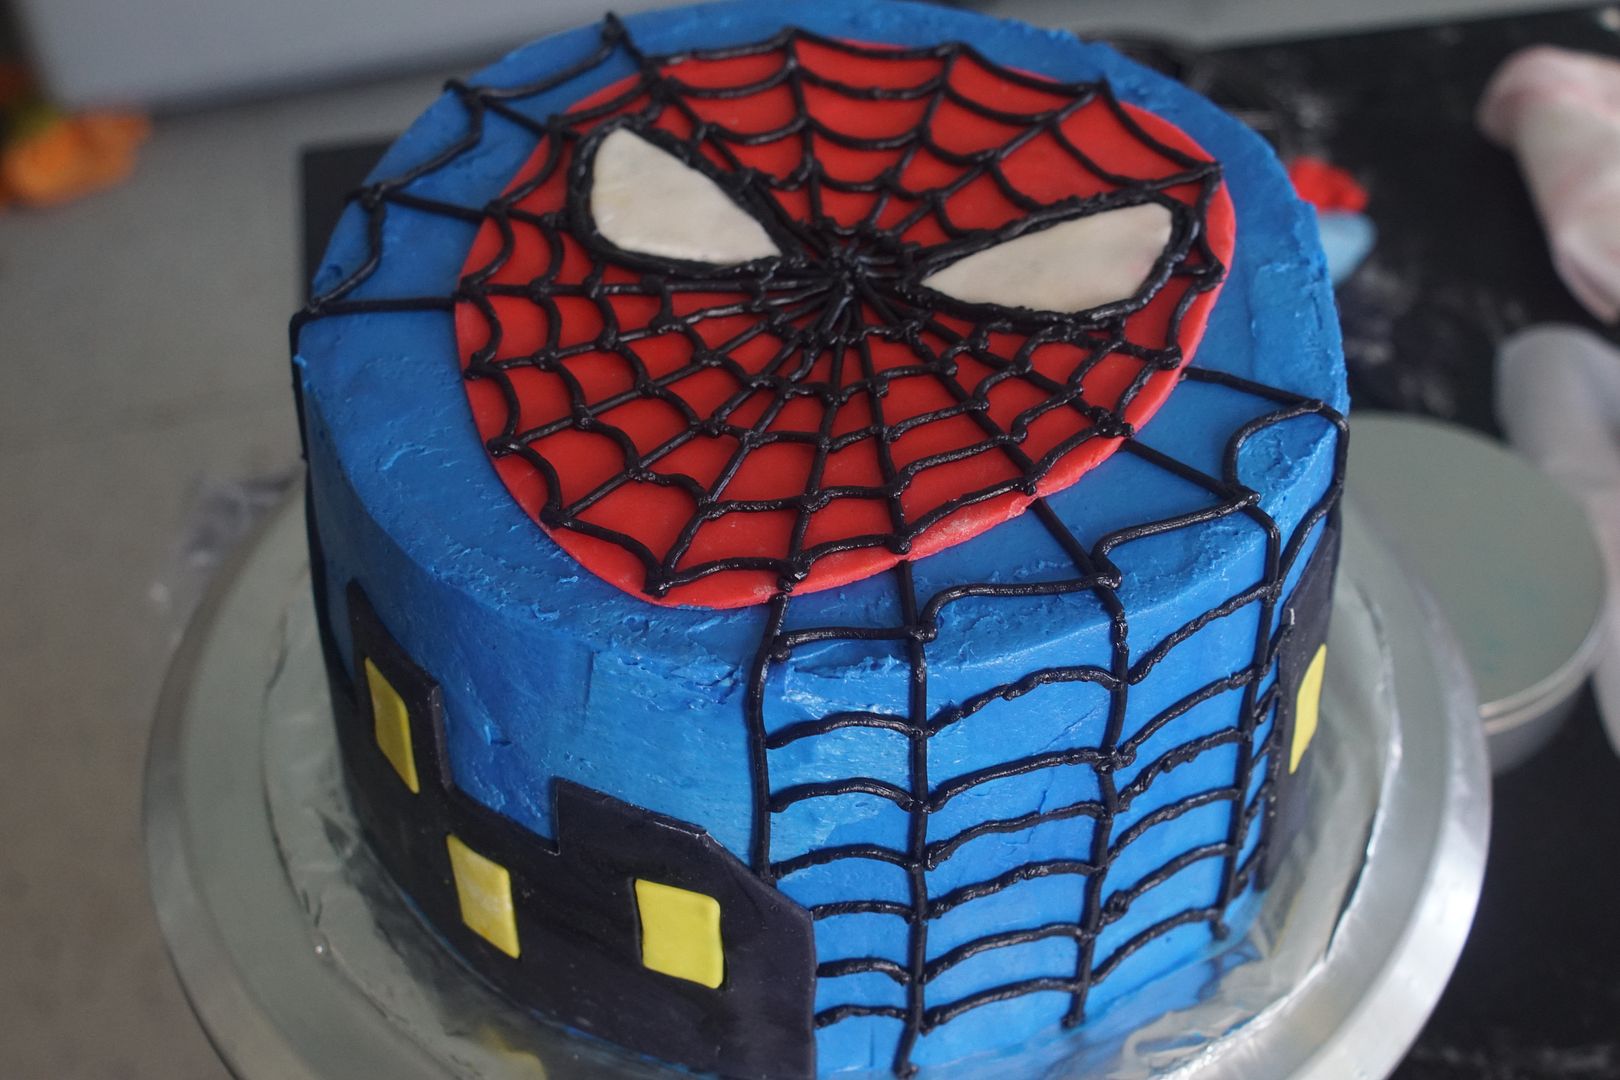
Spiderman’s head was made with a large cutter as a guide for the top, and careful curving motions for the bottom. The eyes were made by cutting ovals, then cutting them in half on a diagonal. The buildings were made with a bench scraper for long straight lines, and different sized rectangles to cut out windows and different buildings.
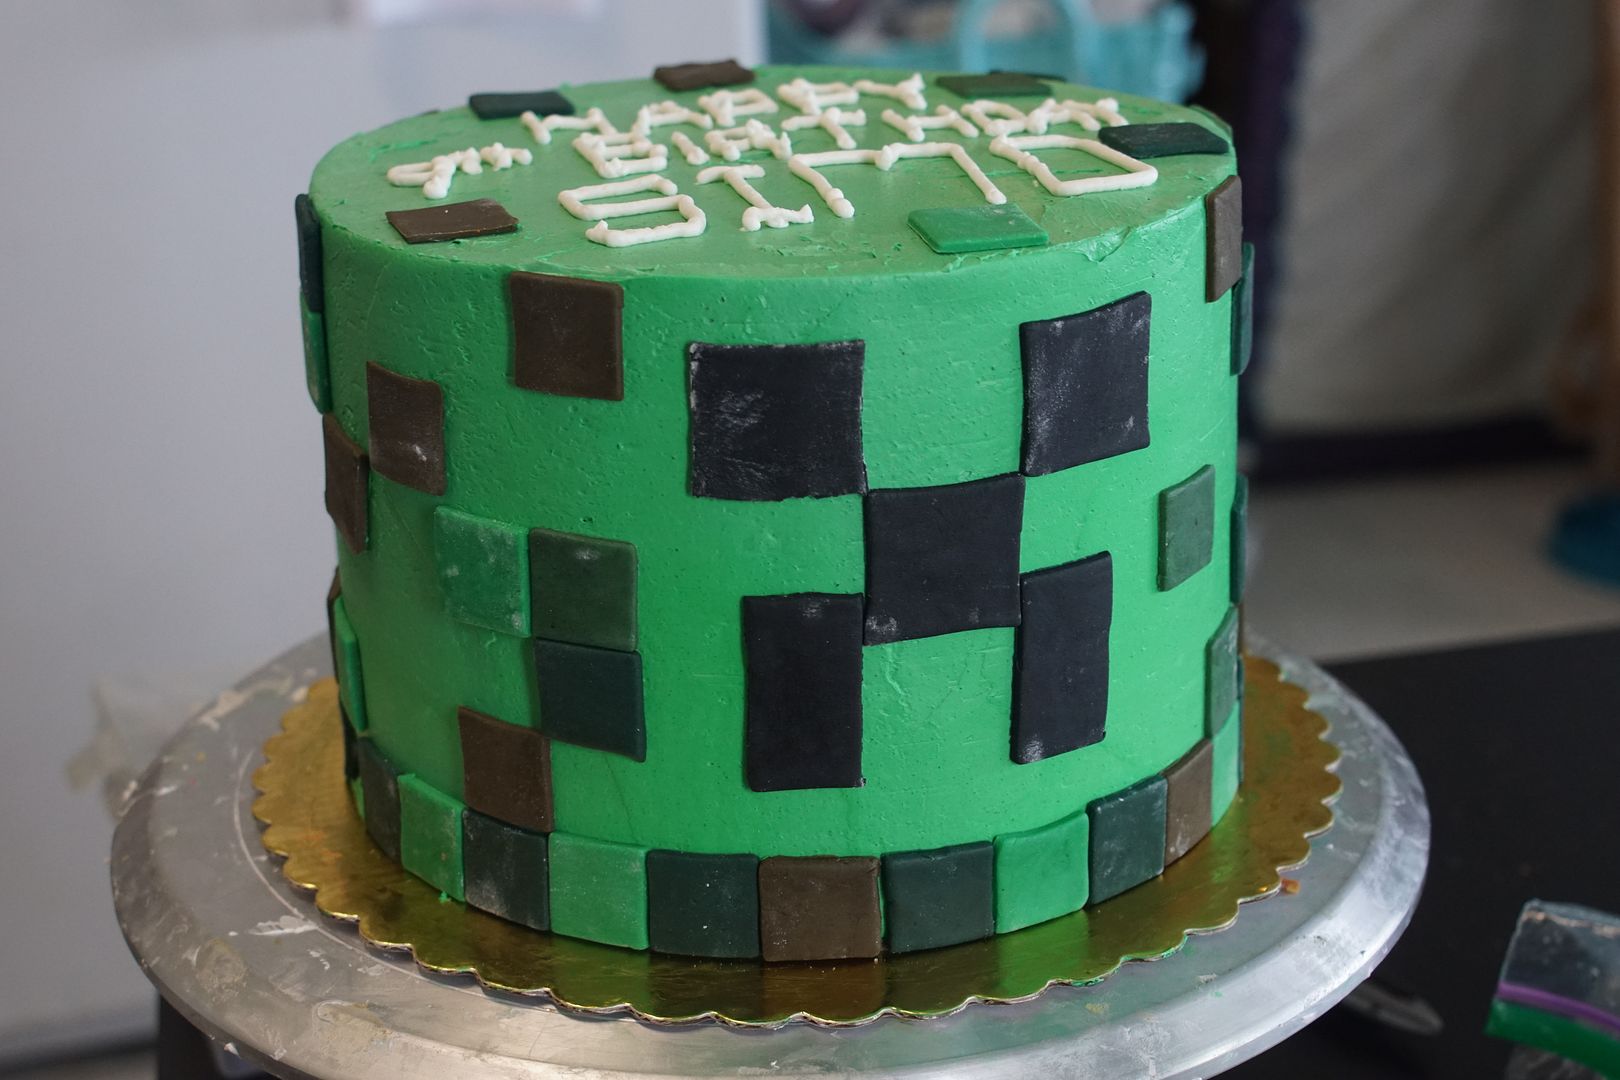
Minecraft cakes are super fun to do with fondant. It’s lots of squares, so the fondant smoother comes in very handy to get it looking fairly sharp at the end.
Hand-cutting shapes: It’s nice when the flat shapes are easy to make with cutters, but sometimes, I have to cut the pieces by hand.

I’ve made two cakes now with this Fortnite logo. It takes me a long time to make custom fondant logos like this, but they still look a lot better than if I were to try to do the same with buttercream.
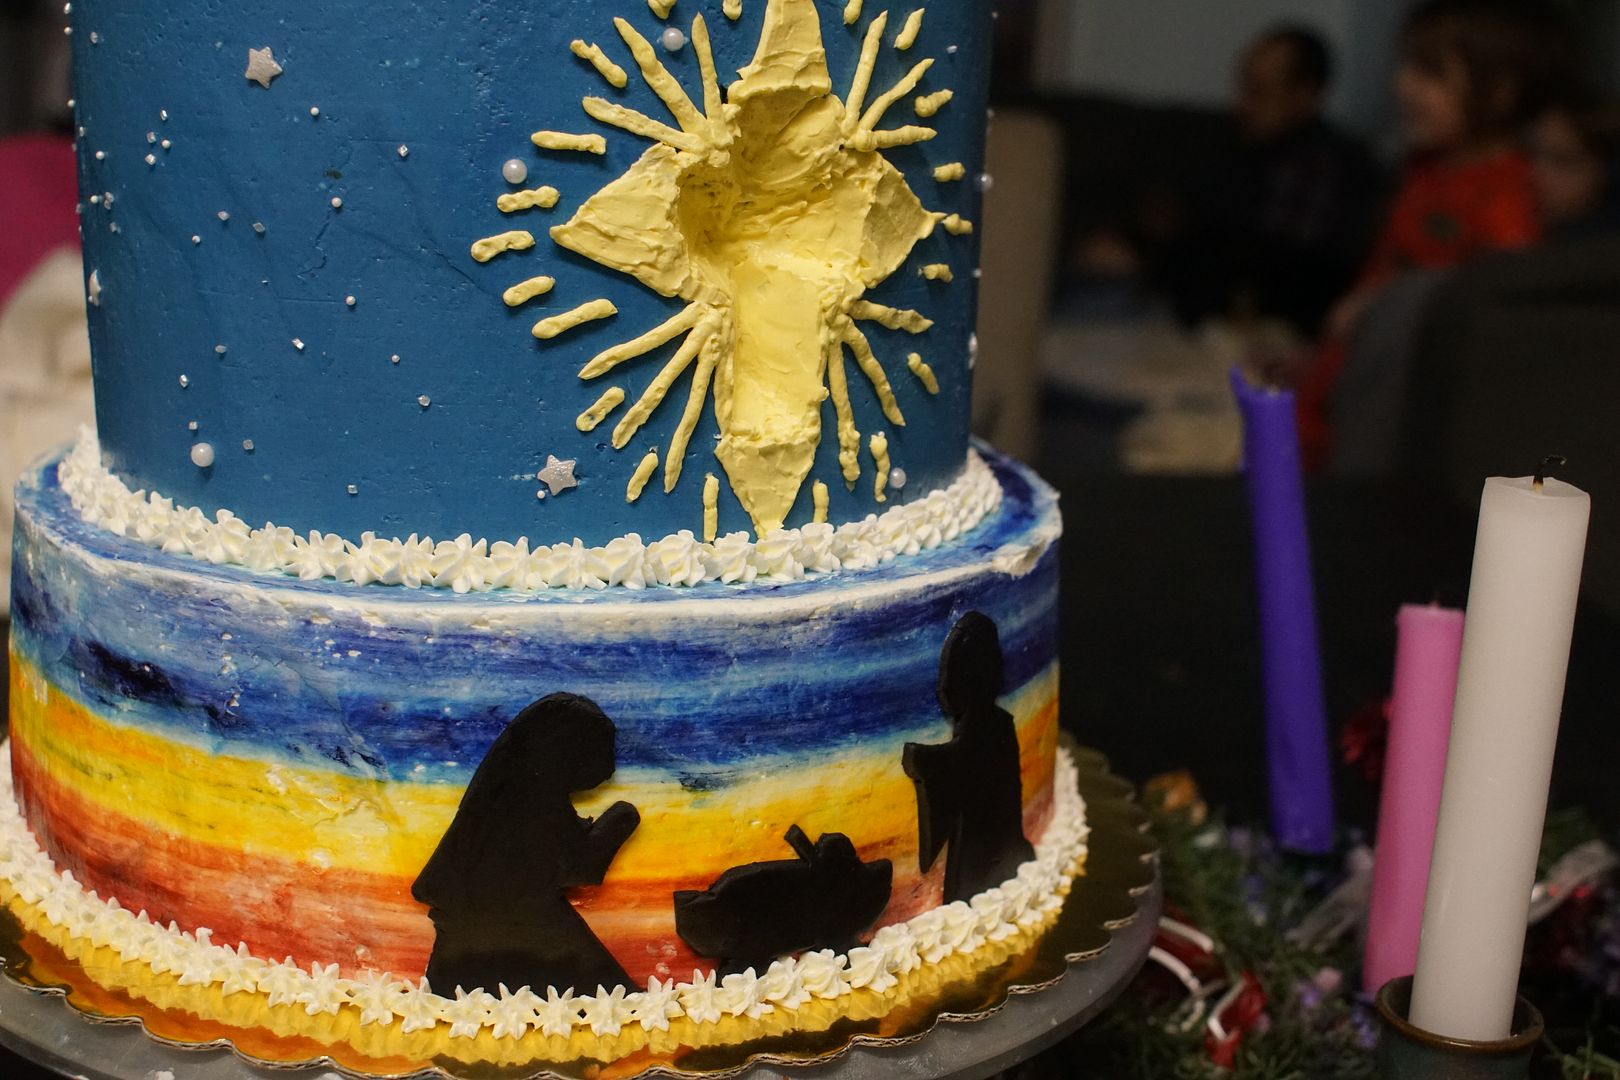
For the nativity scene on my Christmas cake, I cut out the characters by hand. I sort of sketched a shape with the pointy end of my knife tool, then used an actual sharp knife to cut them out. The edges sometimes look a little rough, so I use the flat of the knife tool to pat them into shape from the sides.

Fondant to make 3-D elements: Sometimes a design calls for a larger, more sculptural embellishment that can be made from fondant. For the Fortnite cake above, I made the treasure chest and pickaxe out of fondant. It’s just like making them out of play-doh. So much fun.
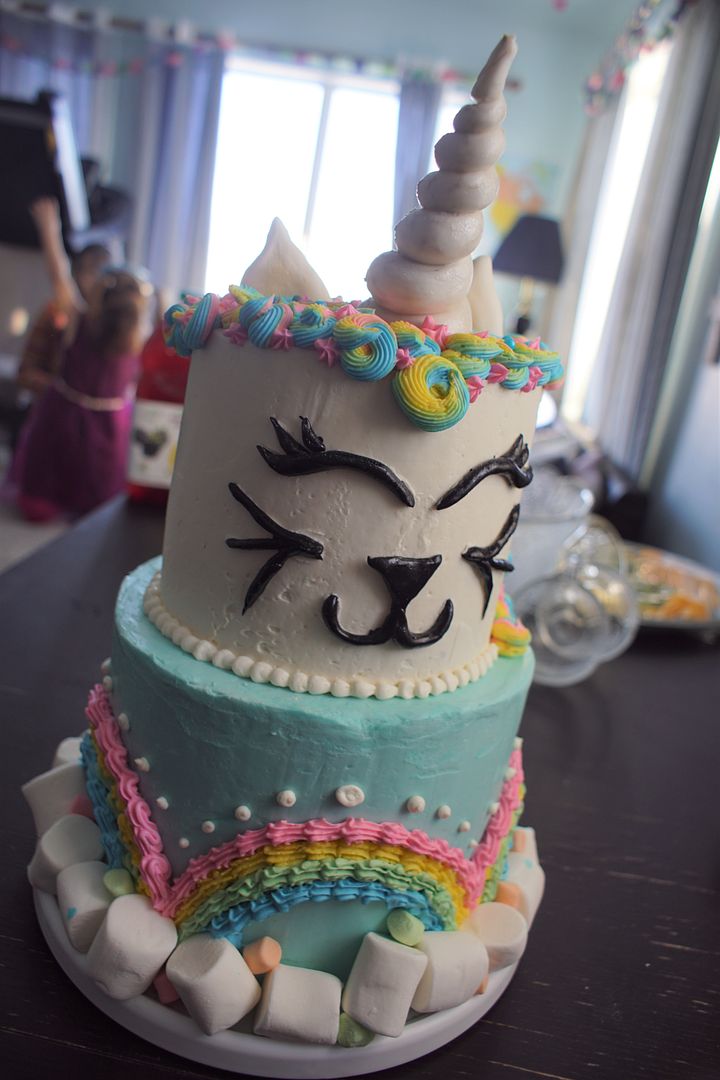
I made this unicorn horn and ears following this tutorial from the Sugar Geek Show. The face is made from fondant which I painted with food coloring – following this, I just colored the fondant.
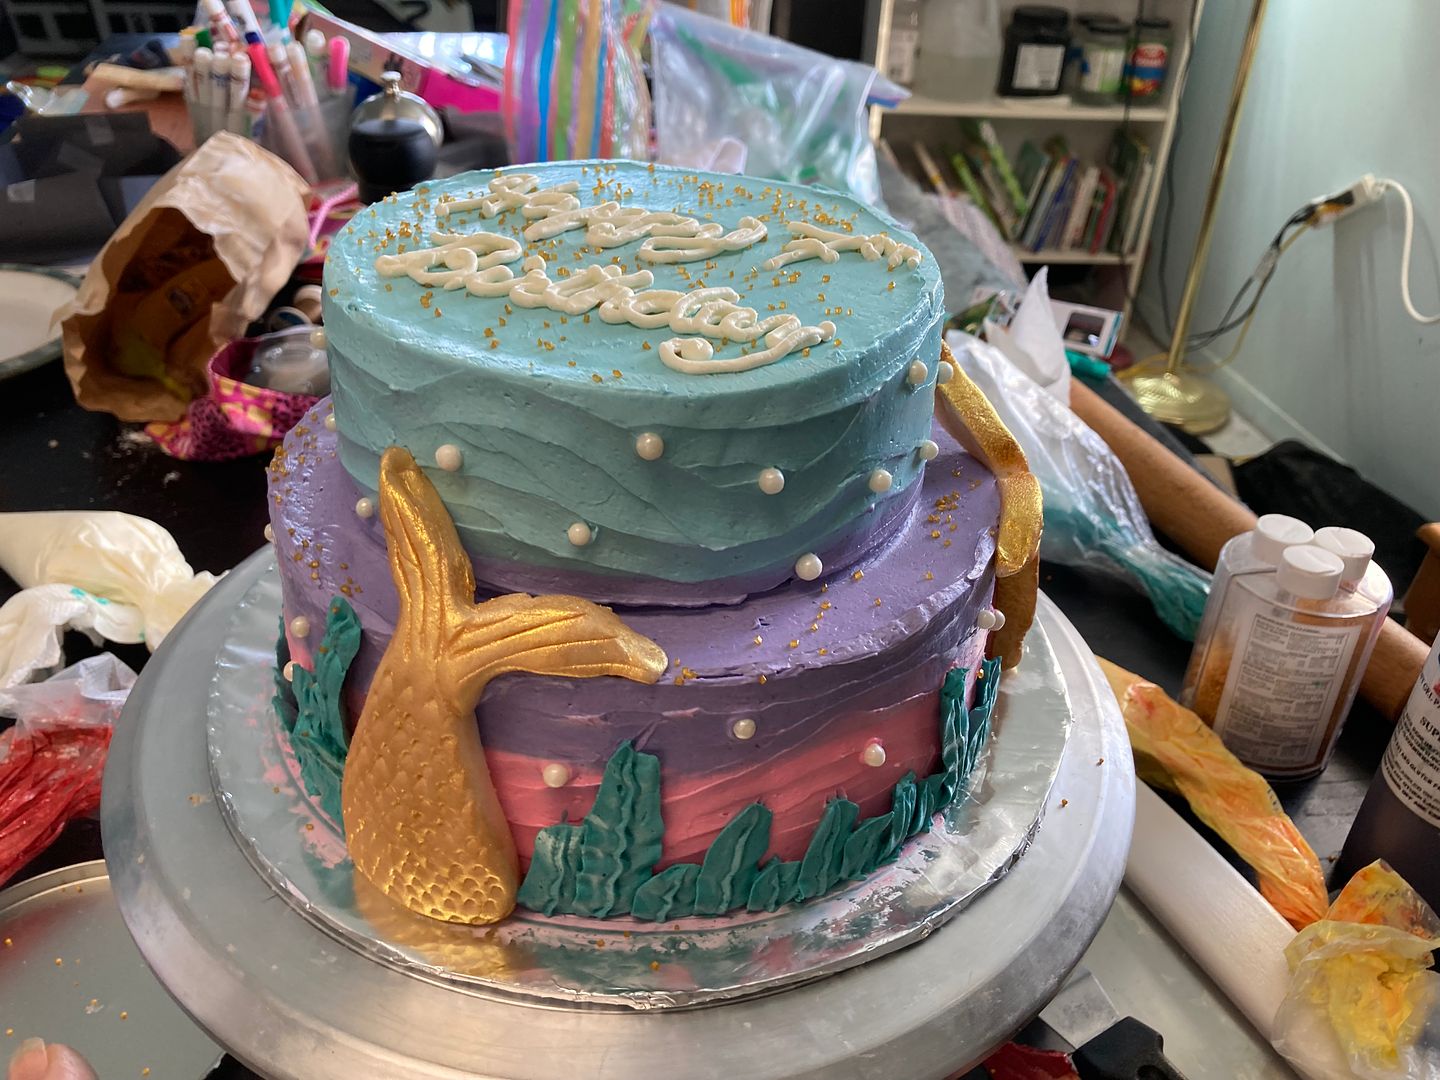
These mermaid tails were cut by hand from a thick layer of fondant, and I added the scales by pressing the flat tip of a knife into it. The whole thing is painted with luster dust.
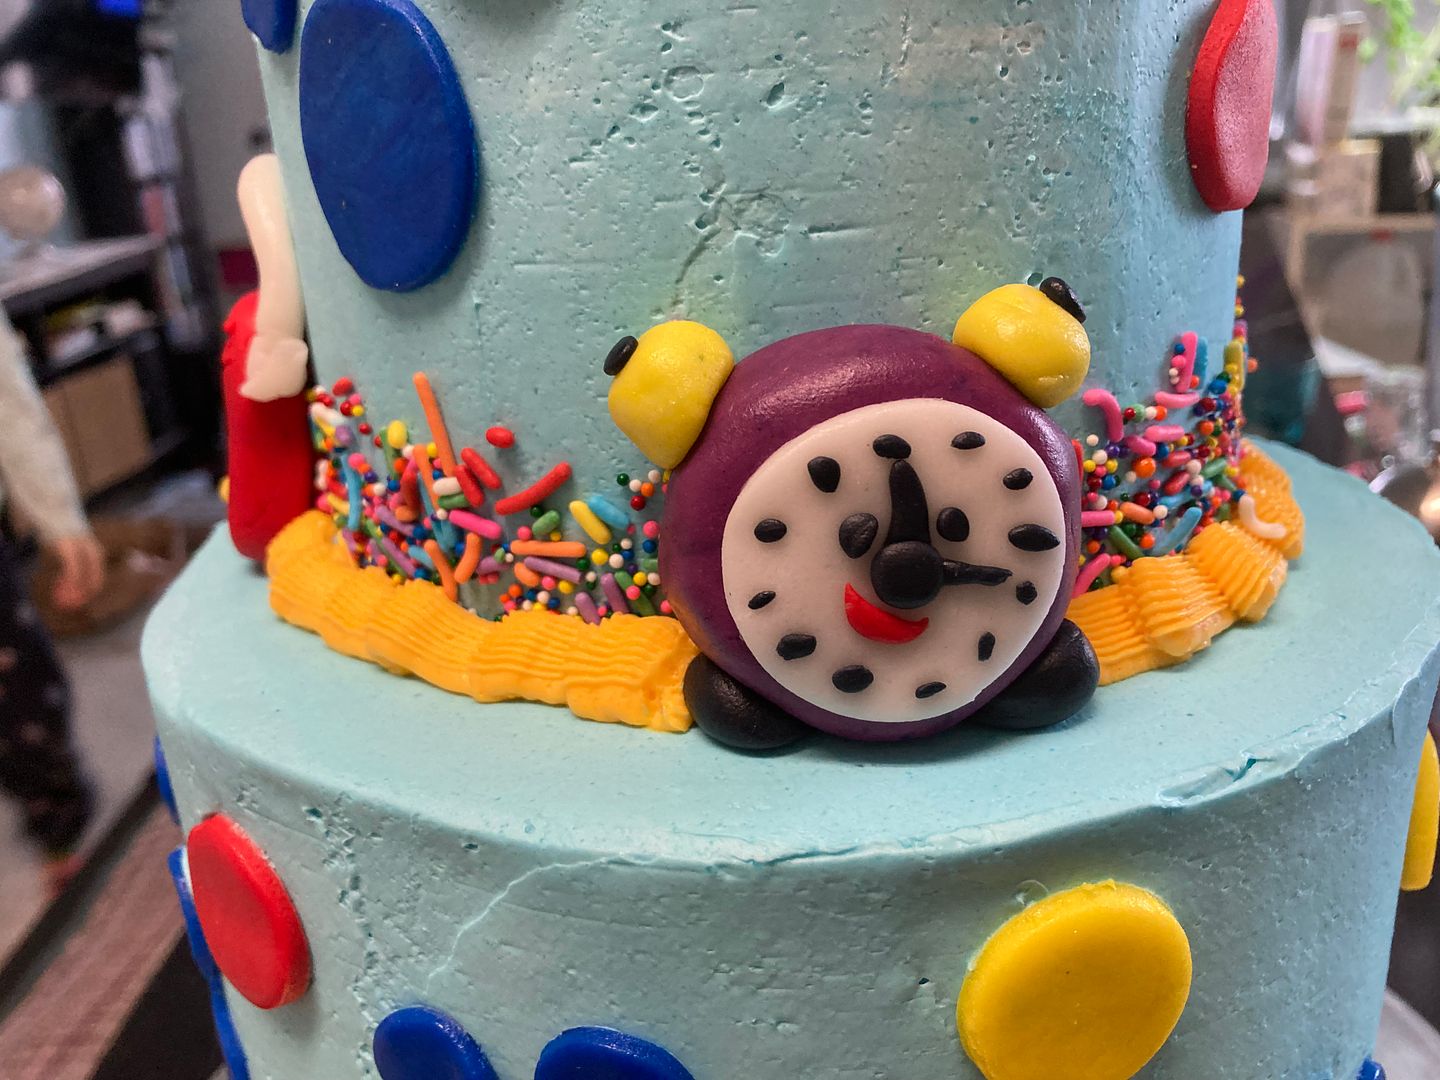
I’m particularly pleased about how the little elements on this Blues Clues cake came out. I studied the characters closely, and tried to break them down into their component shapes.


Difference between using fondant and not: Sometimes a customer will specifically ask me not to use fondant. That’s what I did with this cake. When I’m trying to make these surface designs with buttercream, I pipe them on, then smooth them out with a spatula. This one I would say looks OK, but I would have preferred to cut the designs out of fondant.
_IMG_2430.png)
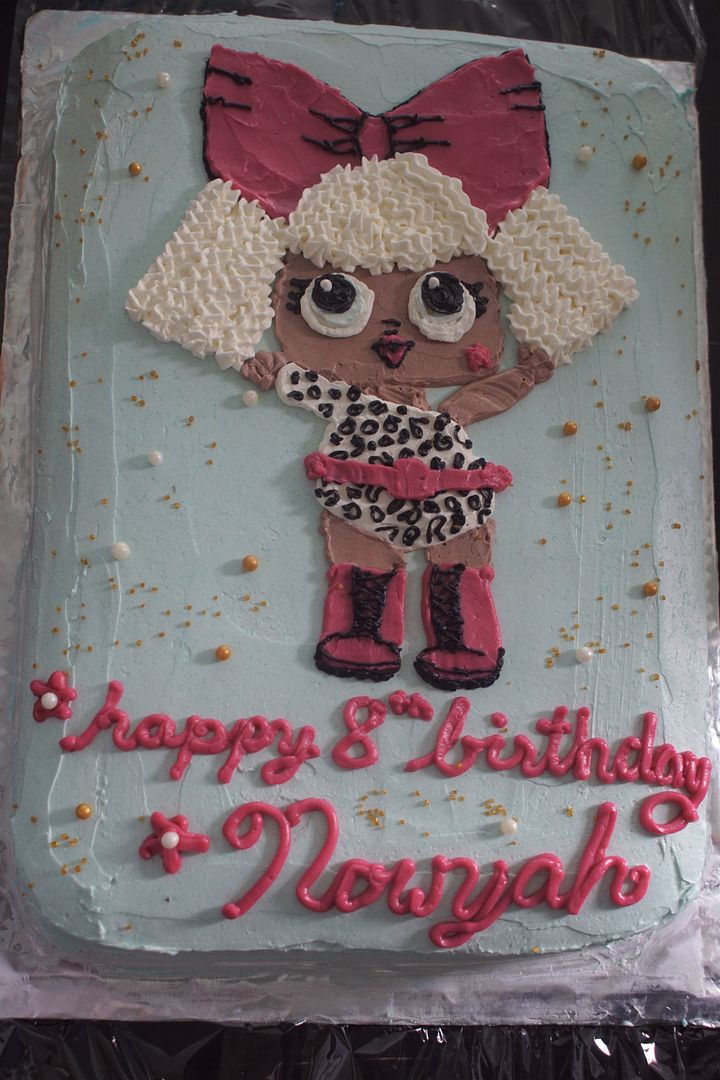
I just like fondant because it’s so sharp. It makes small elements look really lifelike and crisp. Take the two LOL cakes below as examples. I am really pleased with how both of them turned out. Both are mostly made with buttercream. But on the second cake, I used fondant just for the facial elements.
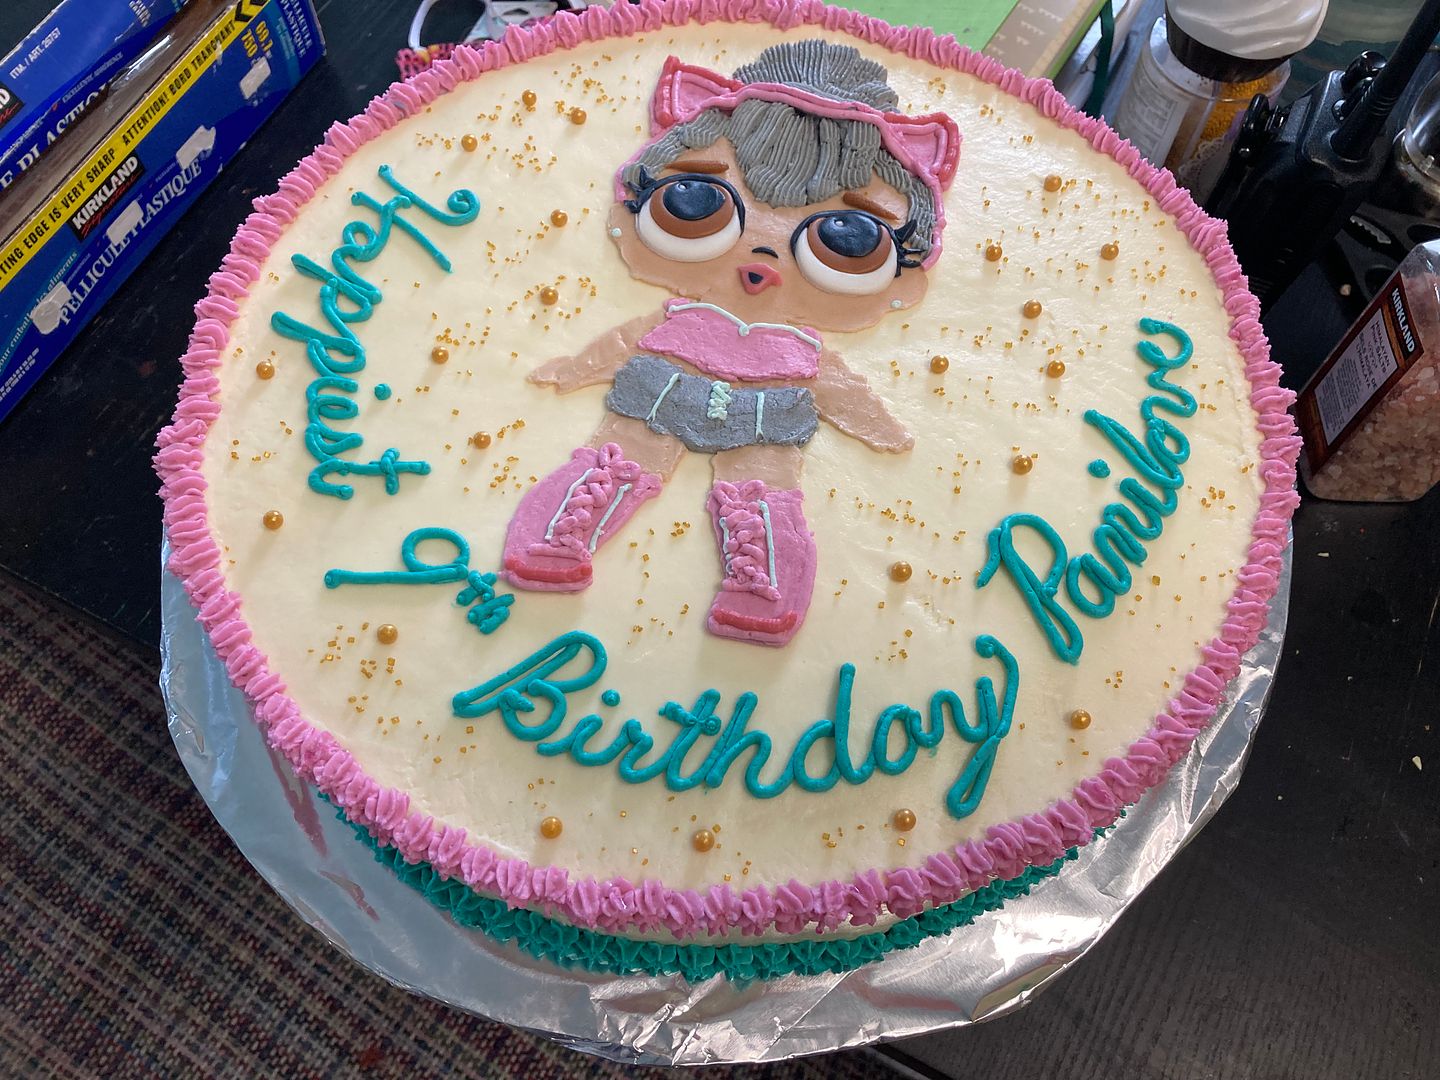
Doing fondant is just… less stressful. You’re playing with edible play-doh after all! If you mess up, you just try again. Whereas, if you’re piping a super-precise shape on a cake, it’s much easier to mess it up, it’s much harder to fix, and even if you do it really well, it doesn’t look quite as good.
A few final notes: I discovered recently that you can, very carefully, with gel food coloring, paint on fondant. Work with care, as water and fondant don’t get along very well. I’m still experimenting with this.
Also, a cautionary note: fondant does not get along very well with cream cheese frosting. I had an awful time getting these fondant circles to stick to the sides of this CCBC-frosted cake.

But, putting fondant elements on top of a cream cheese frosting cake is just fine. Not that cream cheese frosting and I are getting along very well right now. I might try it again in the summer.
Anyway, I hope that all is as clear as mud. I don’t know if other people are using fondant in this way, without covering the whole cake in fondant first. But I find these small fondant elements very effective in getting great-looking results in a non-stressful, time-efficient way.
Have you ever tried fondant? What are your feelings about it? I find peoples’ feelings about fondant tend to be strong!

As a rule, I don’t like the taste of fondant. I might like homemade, though!
LikeLike
I am enjoying your series about cakes and cake decorating so much! Years ago, back when I had energy and enthusiasm for such things, I made a cake from Rose Levy Berenbaum’s Cake Bible that used an all-over fondant, with fondant decorations. I made fondant from her recipe; my main recollection is that as I rolled it out on what I believed to be an immaculately clean kitchen counter, I saw cat fur in the white fondant, over and over. I guess when you live with five cats, nothing is ever really fur-free. I’ve never made fondant again- it was far too sweet for us, but as I remember the decorations were pretty great…maybe I’ll give it a go again? Thanks so much for this blog; I enjoy it immensely
LikeLike